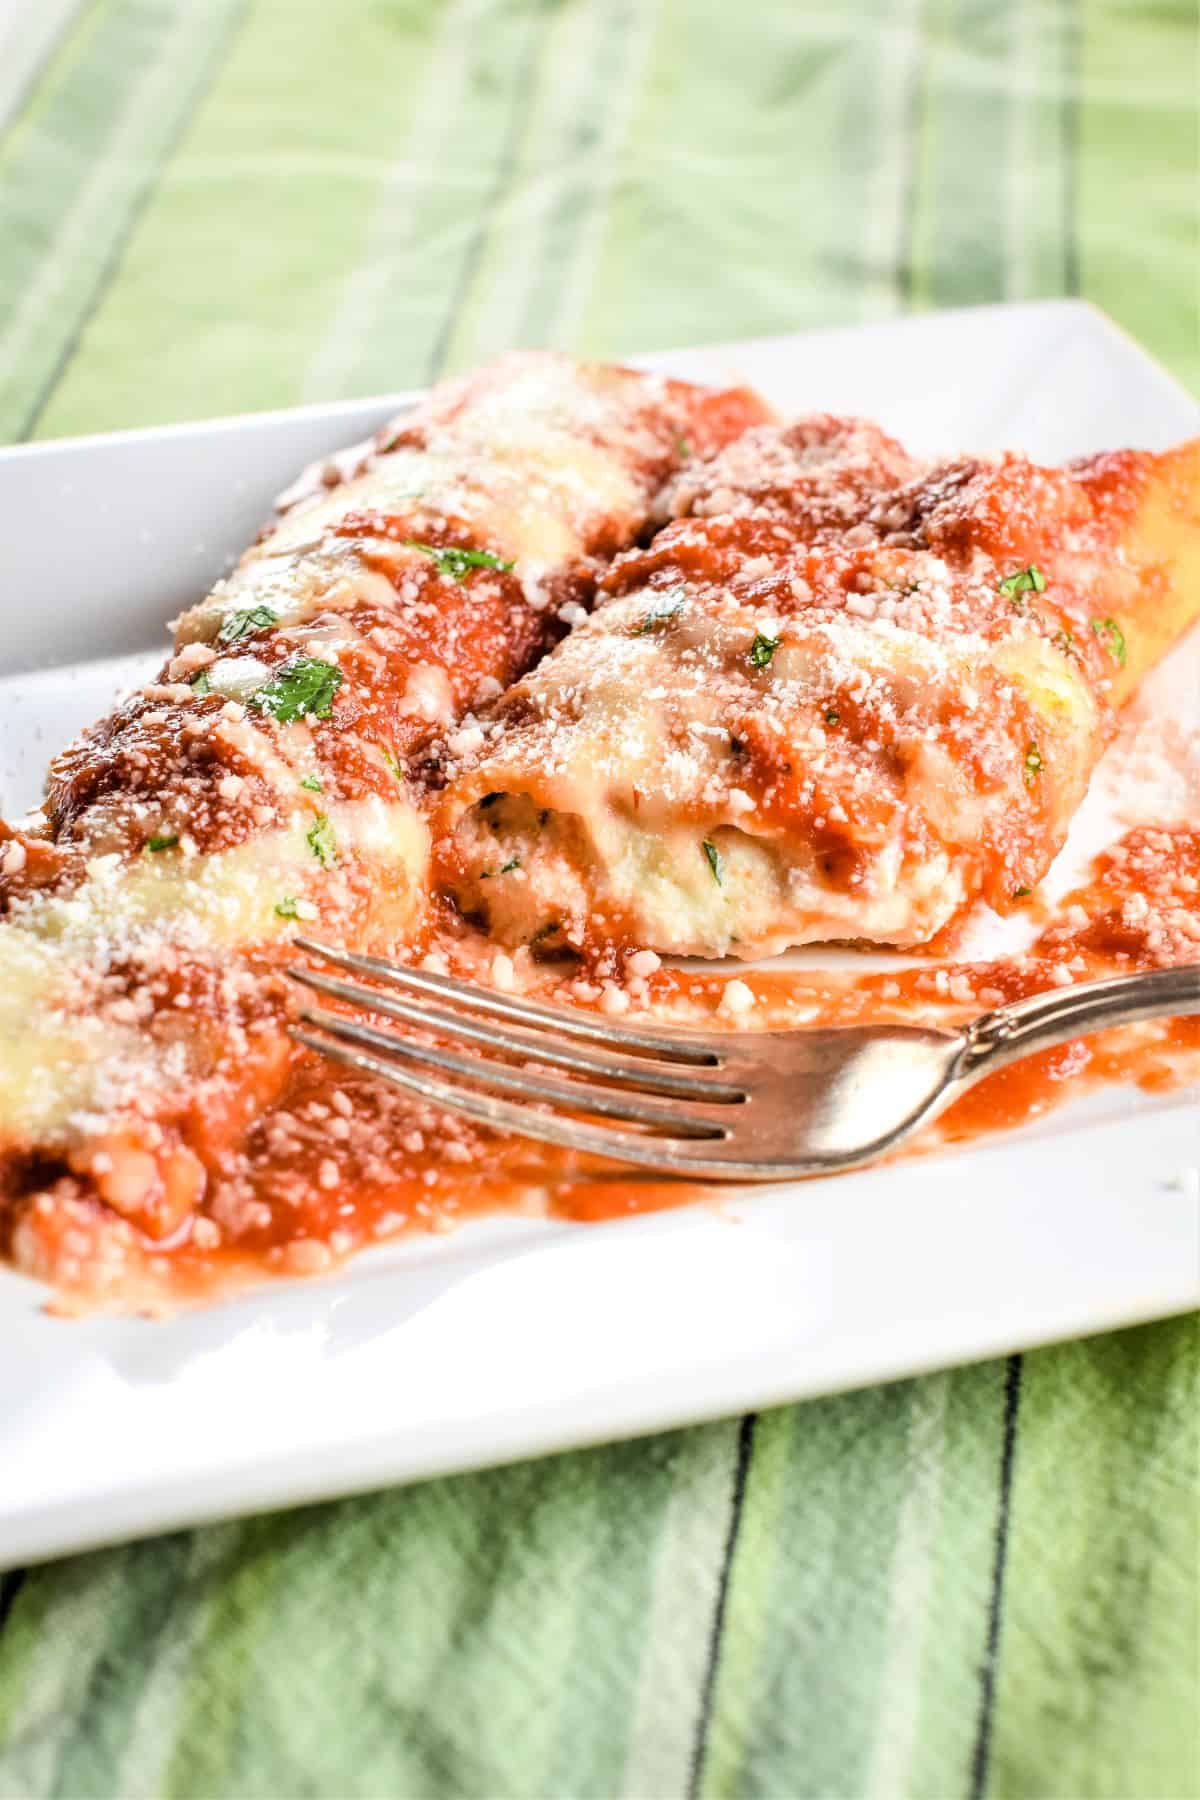
Homemade Manicotti [with GF Option]
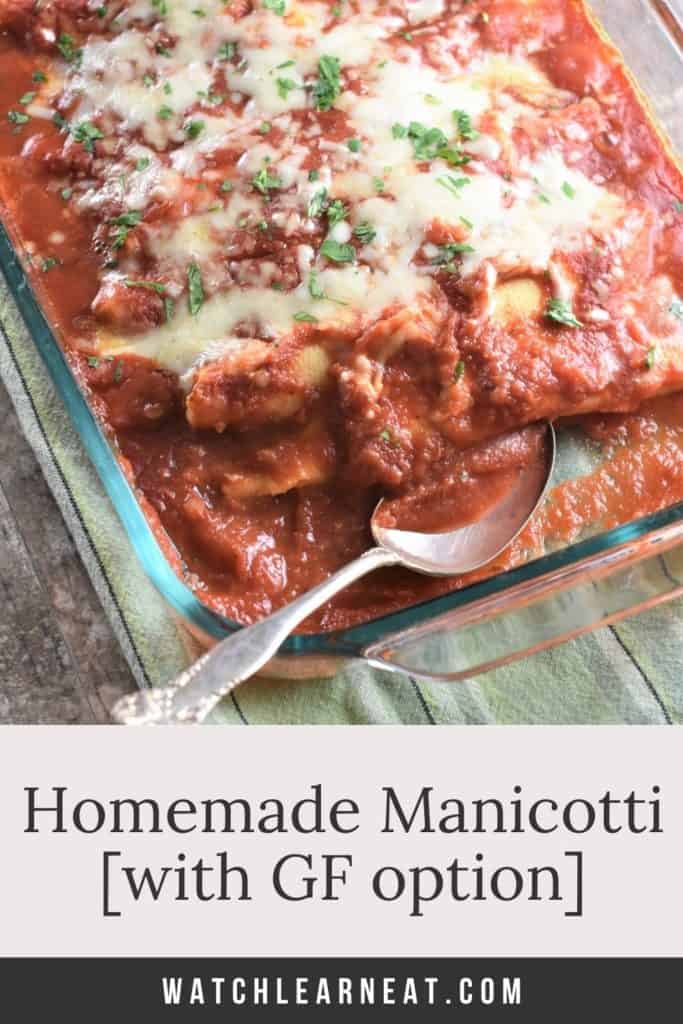

My dad has been making homemade manicotti since I can remember, and it was always one of my favorites.
I looked forward to having it for every holiday...Easter, Christmas, Thanksgiving...
OK, maybe not Thanksgiving.
I mean it is a requirement to eat some sort of Italian dish if you're even remotely Italian when you're from New Jersey. 😉
To be completely honest, I never thought I'd end up making this by myself.
Since it was my dad's signature dish, I kind of enjoyed having him make it for me.
The whole process just seemed so tedious. I didn't realize it was actually pretty easy until I finally broke down and actually made it.
Jump to:
Why you'll love this cheese manicotti recipe
- This homemade manicotti recipe is perfect for serving on special occasions or whenever you're in the mood for a cheesy comfort food dish.
- It's a great recipe for a family dinner and is fun for everyone to take a part in making together.
- It's not only amazing when you first make it, but it's still to die for the next day...leftovers to look forward to!
- Homemade pasta oozing with three different kinds of cheeses...um, what's not to love?
Ingredients you'll need
For the cheese filling
- Ricotta cheese
- Shredded mozzarella cheese
- Grated Romano or Parmesan cheese
- Eggs
- Fresh parlsey
- Black pepper
For the homemade crepes
- All purpose flour (use chickpea flour for the gluten-free version)
- Milk
- Eggs
- Olive oil spray (for greasing the pan)
For the manicotti bake
- Jarred or homemade marinara sauce
- Shredded mozzarella cheese
You can find all of the amounts and measurements for the ingredients in the recipe card below.
How to make homemade manicotti
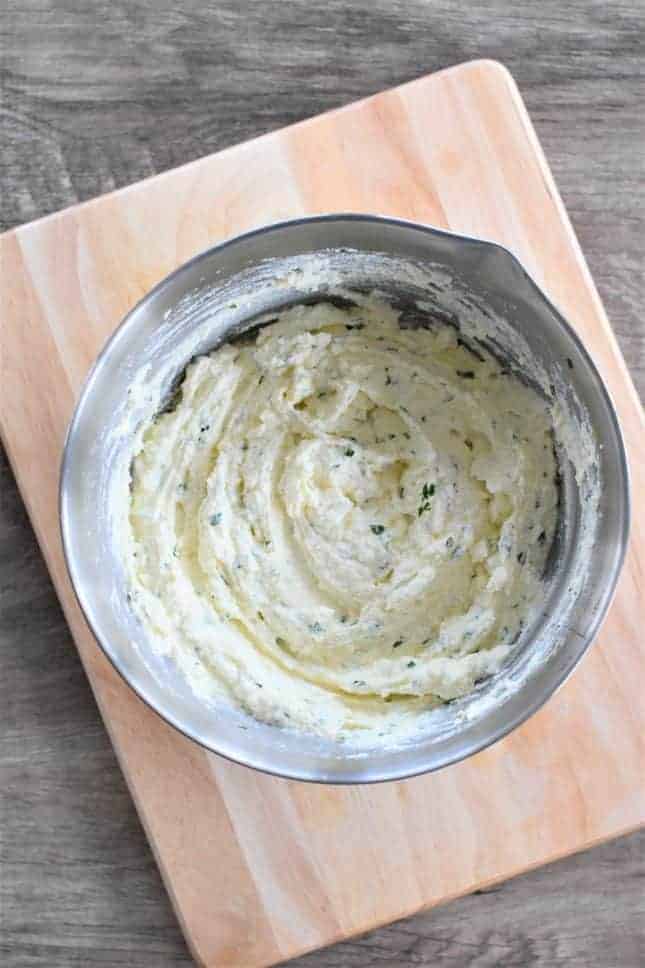
Make the ricotta filling
First, prepare this ricotta cheese mixture.
Combine cheeses and the other ingredients, and then cover and refrigerate the cheese mixture until ready to use.
Make the crepes (crespelle) aka "the shells" for the manicotti
Preheat your oven to 350°F and lay out two sheets of parchment or wax paper on the counter.
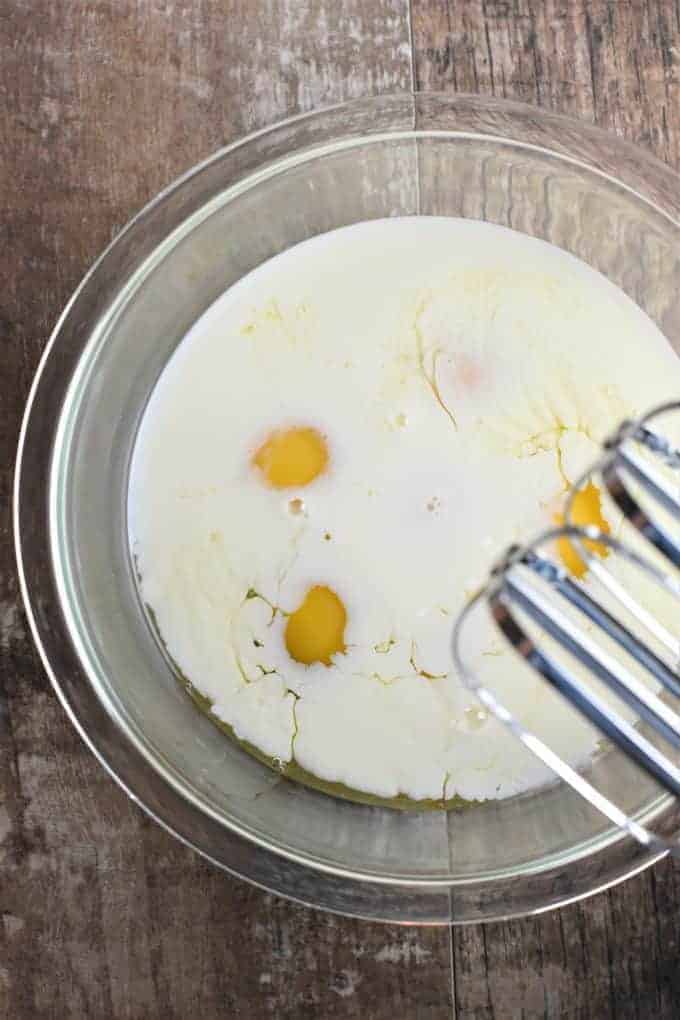
Now, prepare the crepe (crespelle) batter.
In a large bowl, beat eggs and milk together with handheld electric mixer.
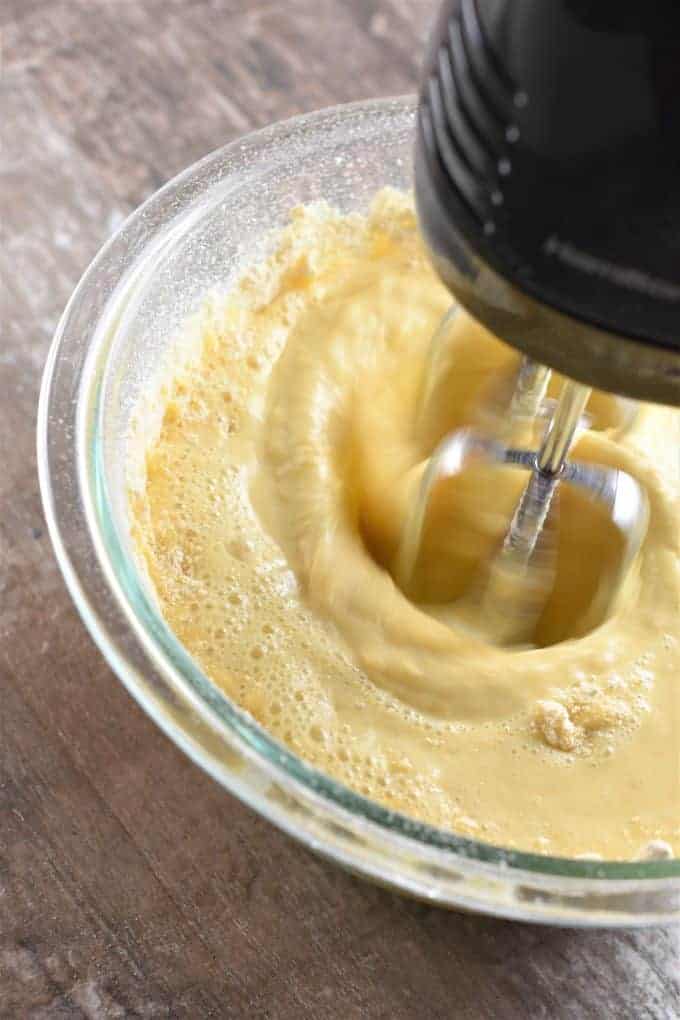
Add flour and beat with handheld mixer until there are no lumps.
Lightly grease an 8-inch nonstick pan by spraying some oil on a paper towel and wiping your pan with it.
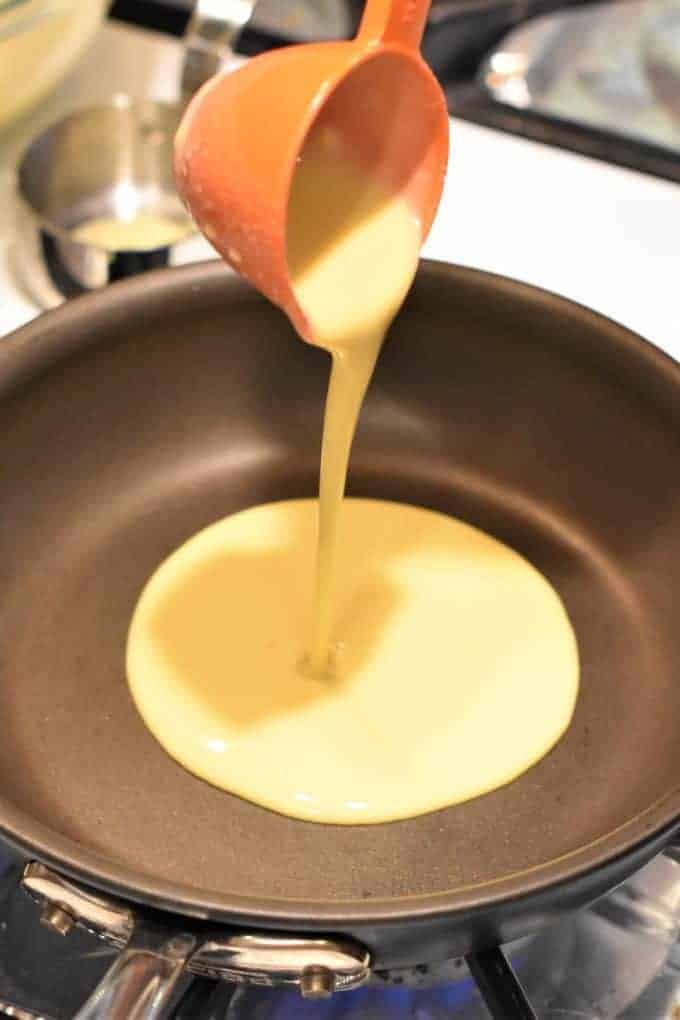
Heat pan over medium heat.
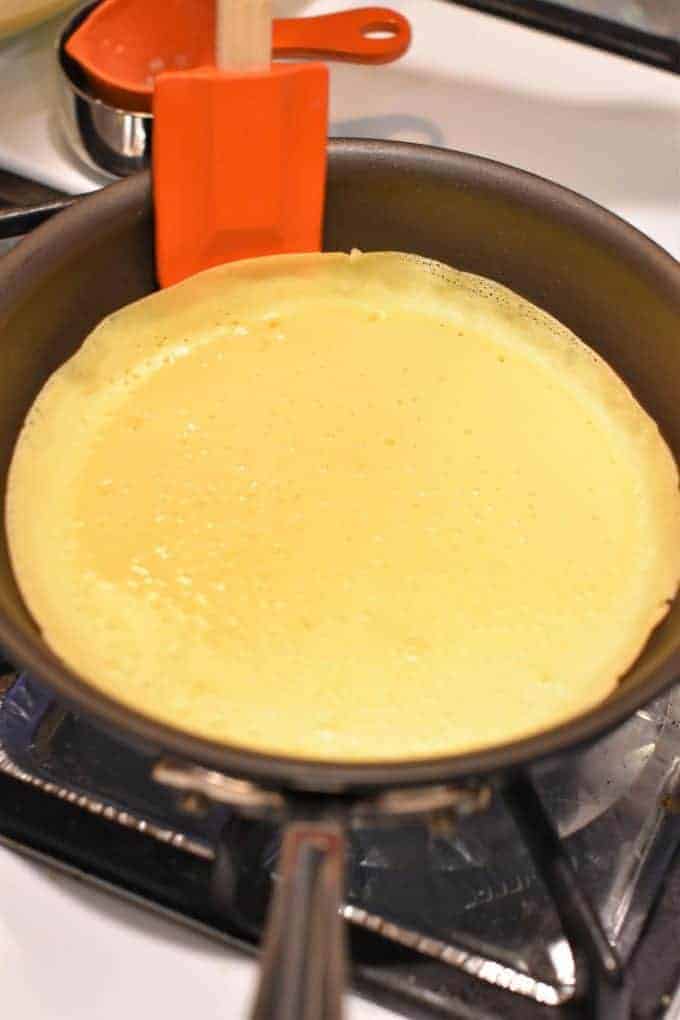
When the pan is hot, add approximately ¼ cup batter to the center of the pan and swirl to cover the bottom of the pan.
Cook until the sides are set and start to separate from pan.
The middle should be almost set but not quite (approximately 15-20 seconds).
Carefully lift edge with spatula and quickly flip crepe over.
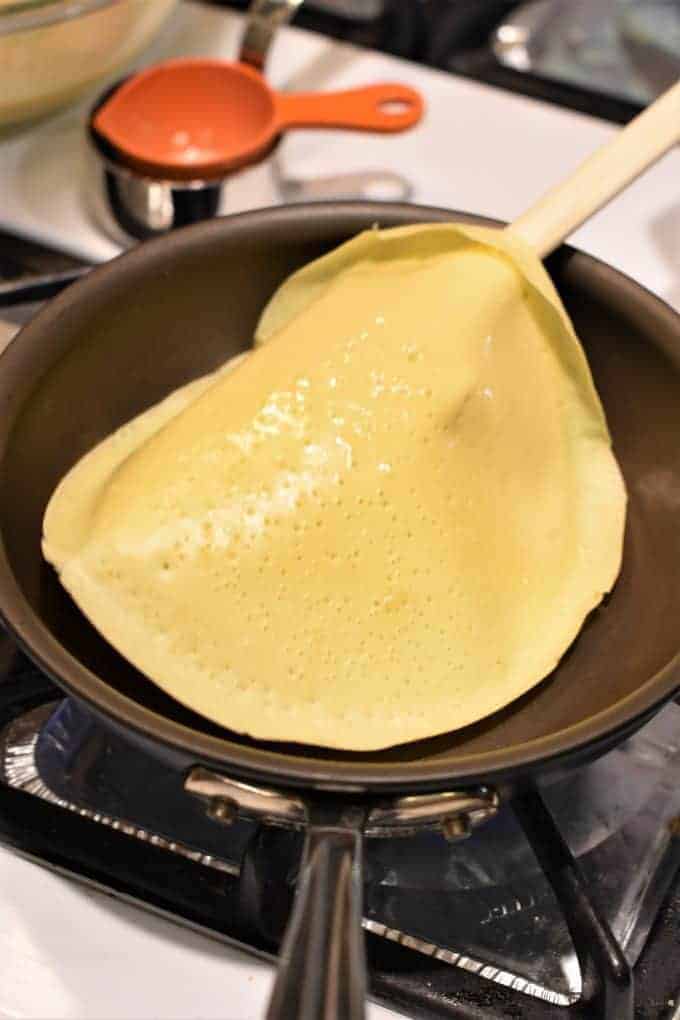
Cook for 15-20 seconds more (crepe should be a light golden brown).
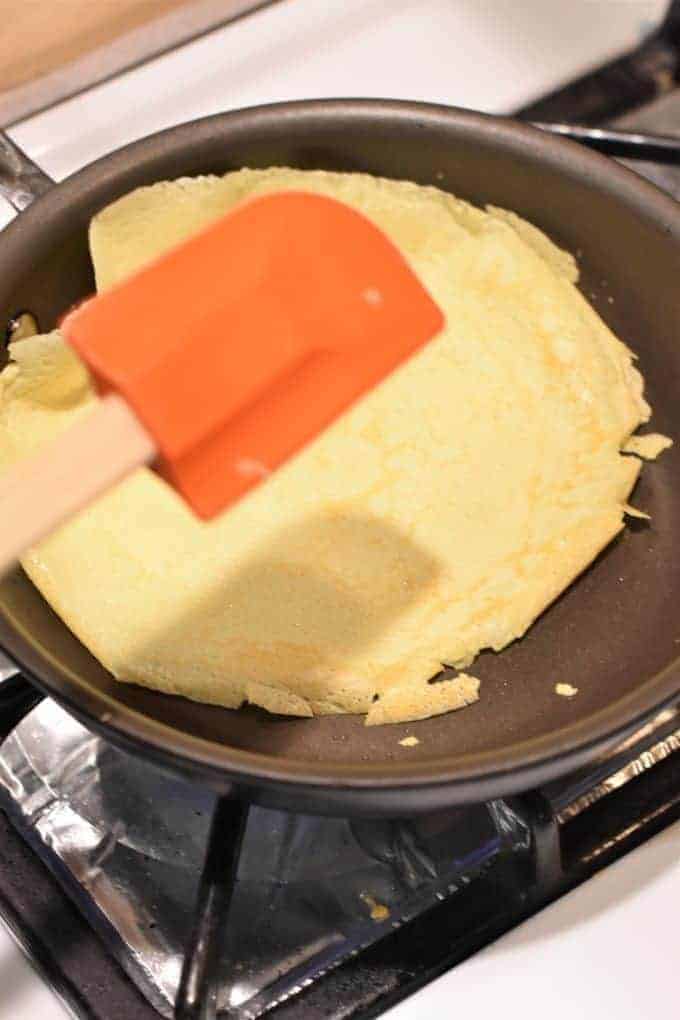
Use the spatula to remove the crepe from skillet and place onto the parchment or wax paper.
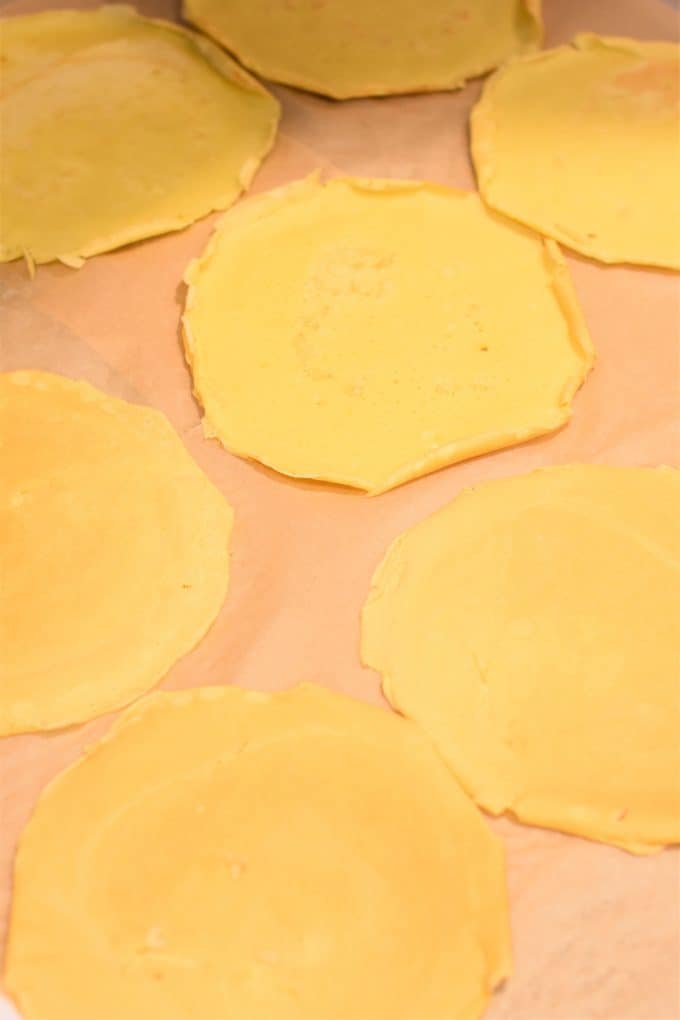
Repeat with the remaining batter, continuing to grease pan as needed until you’ve used up your batter.
Assemble the manicotti
Once all the manicotti crepes are done, lightly line the bottoms of two 13-inch baking dishes with tomato sauce and set aside.
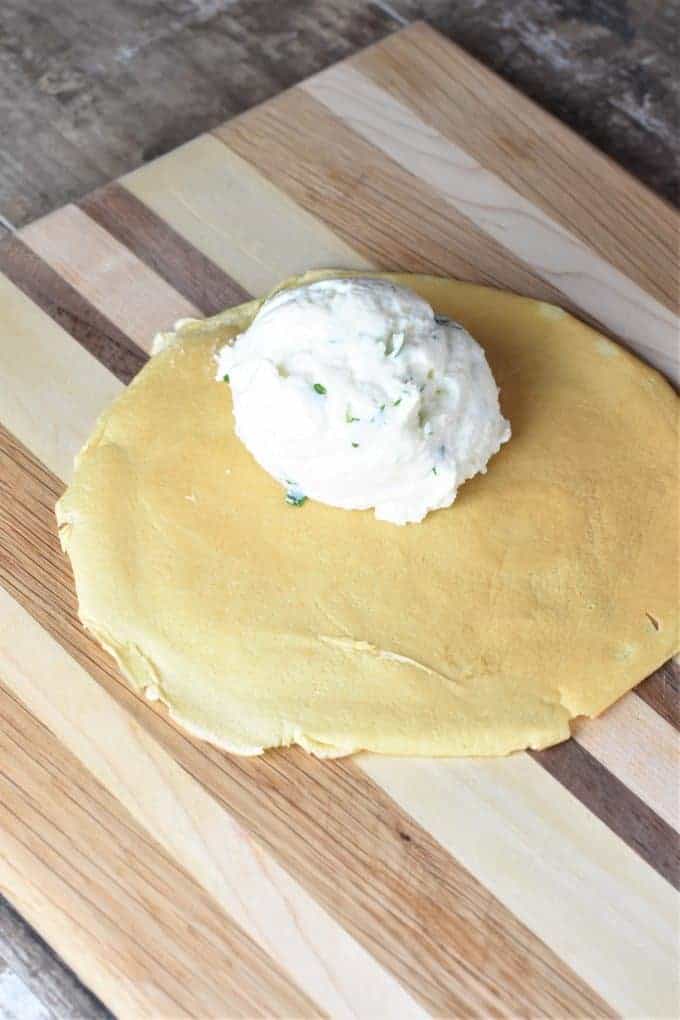
Add approximately ⅓ cup of the ricotta cheese filling toward the bottom of one of the crepe shells.
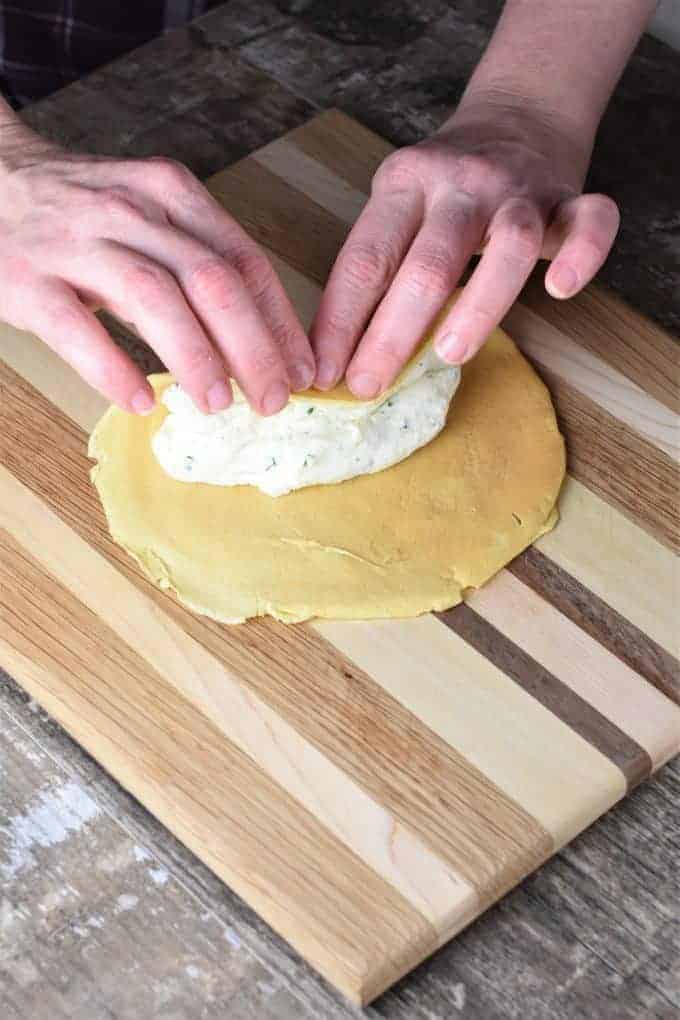
Press down slightly but don’t let cheese go past the edges.
Roll up tightly and place the filled crepe seam side down into the casserole dish on top of the layer of sauce.

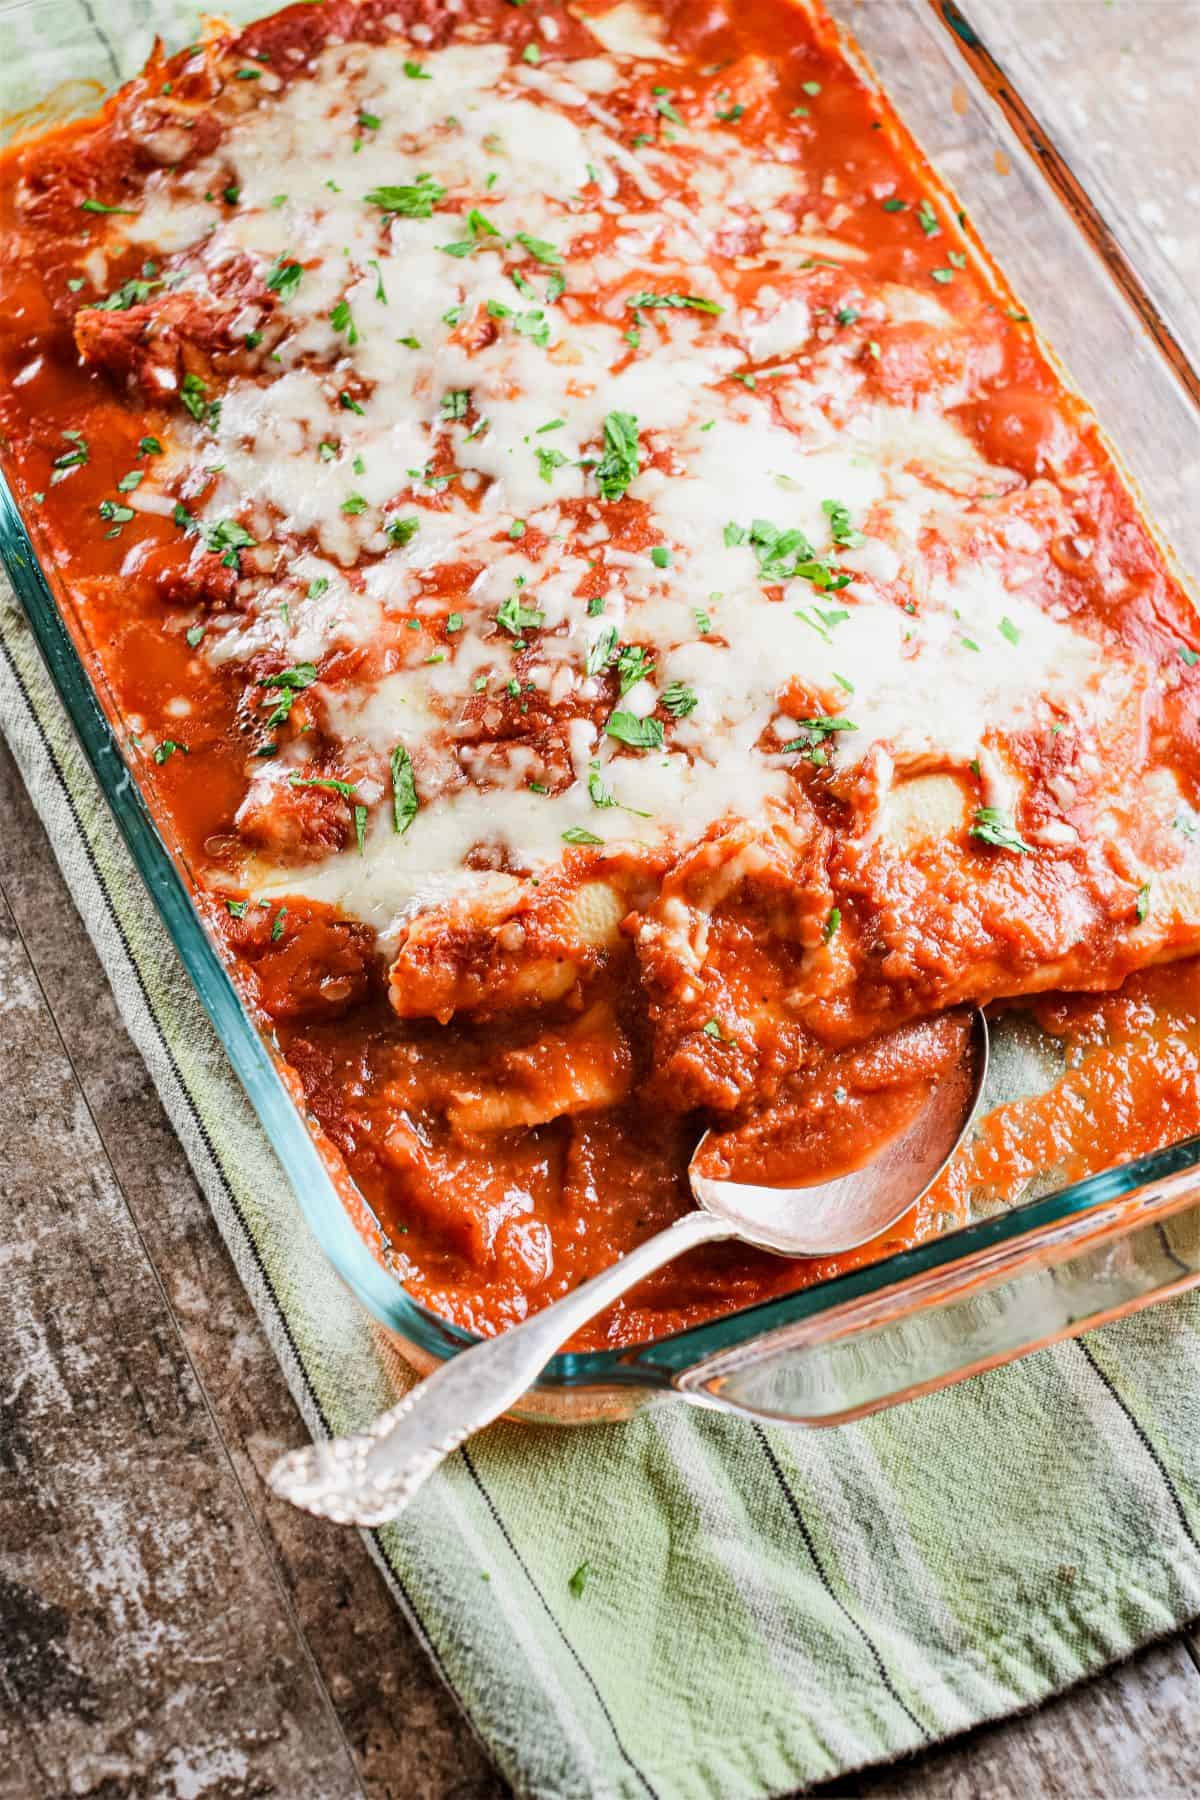
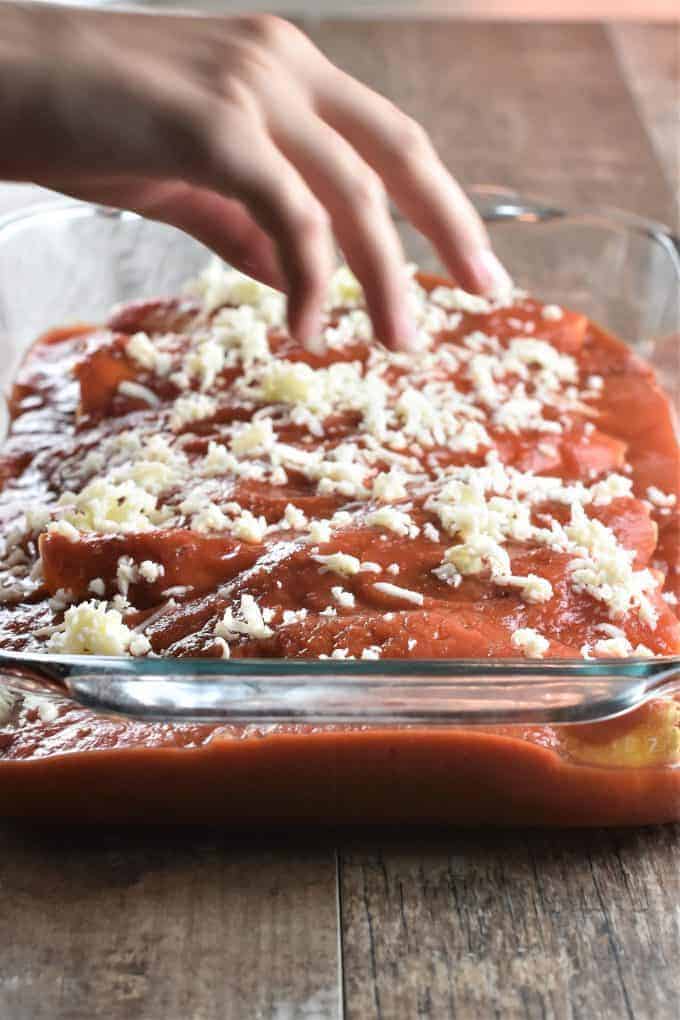
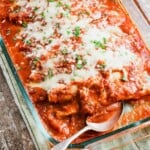
Top and bake
Once all the manicotti are in the baking dishes, top with remaining sauce and mozzarella cheese.
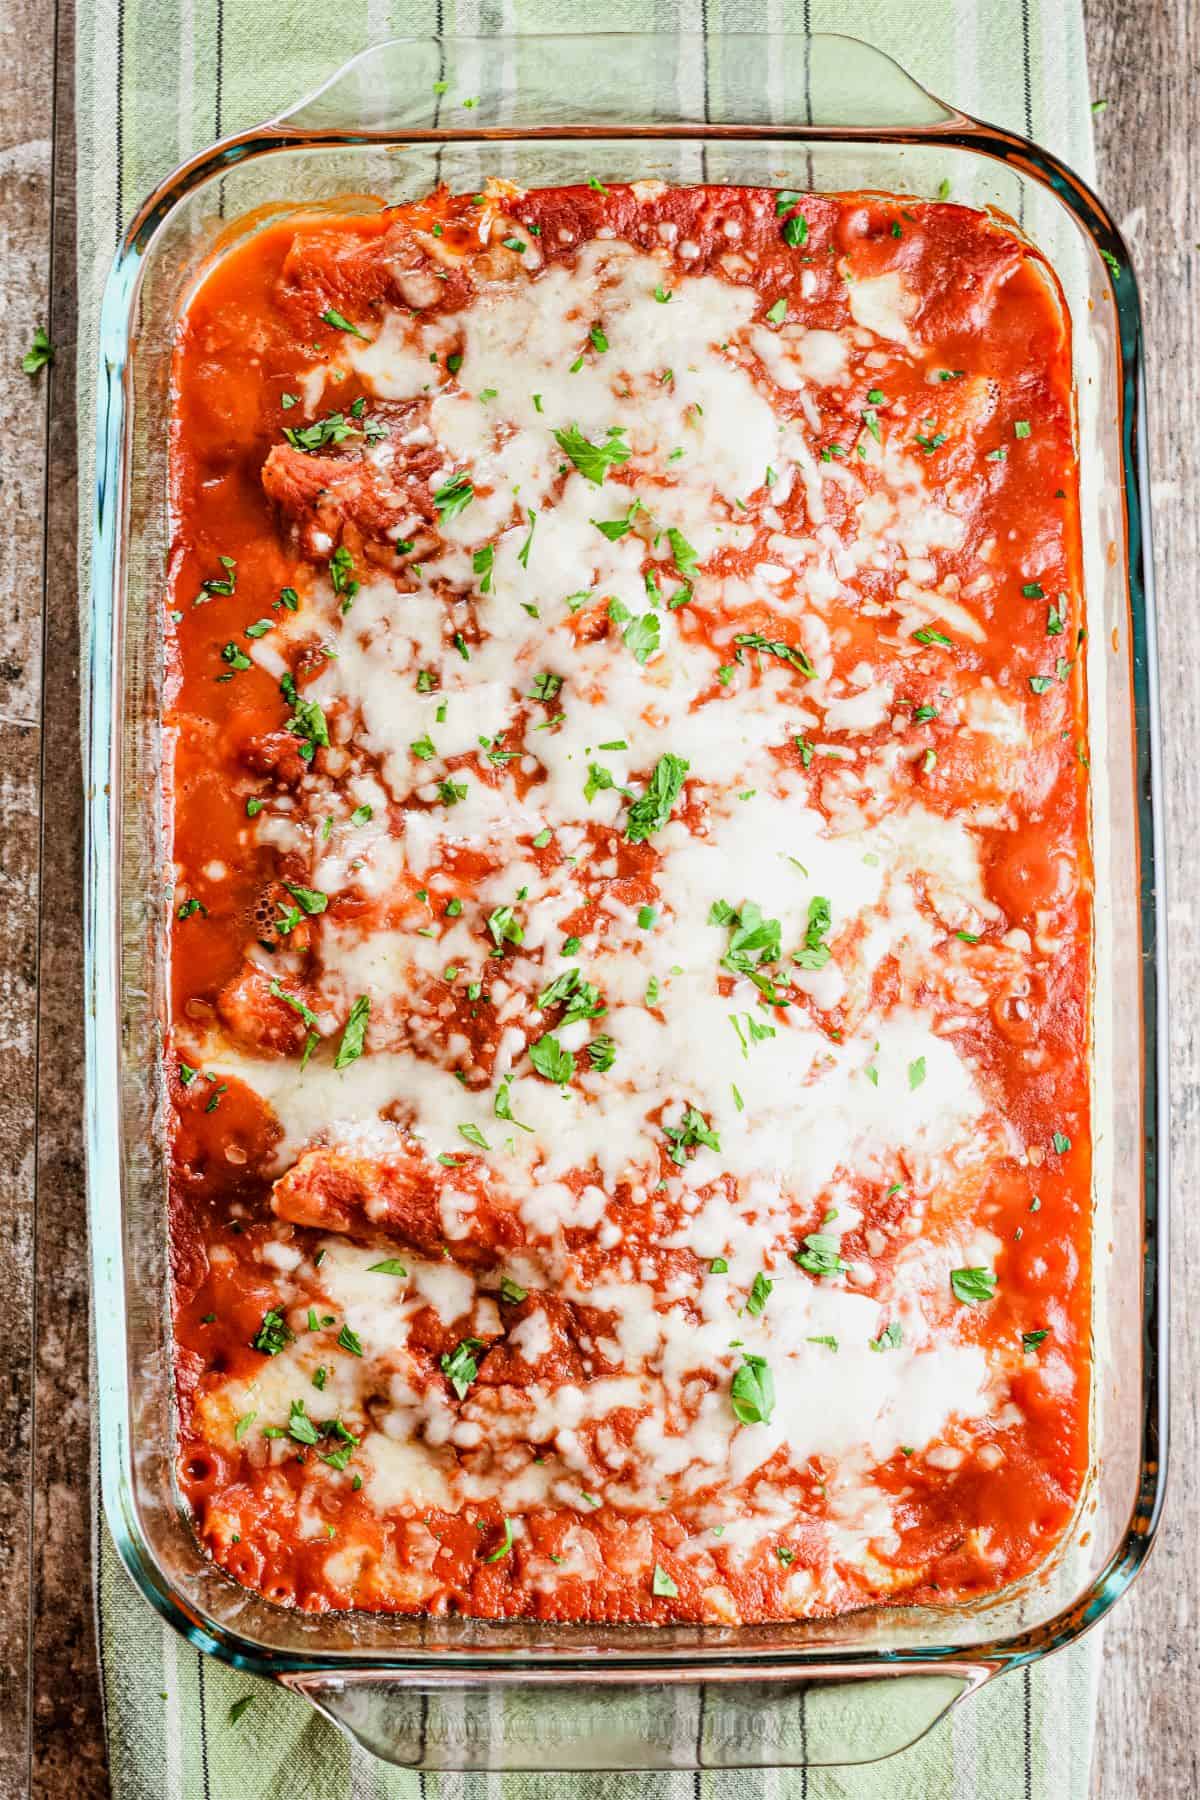
Cover and bake for 30 minutes.
Uncover and bake for 15-20 more minutes.
How to make gluten-free manicotti
After my husband adopted a gluten-free diet, I found myself in a pickle.
How was I going to make gluten-free crepes for the manicotti and stay true to my dad's original recipe?
Enter chickpea flour.
Once I discovered this gem of an ingredient, my whole world changed.
Seriously, for once I'm actually not being sarcastic. 😉
After trying out chickpea flour in other recipes, I knew this was the right flour for the job.
It's also a good source of fiber and protein as well as other nutrients, which to me, makes it even more awesome.
Whether you're making the traditional or gluten free crepe batter, you'll love this homemade manicotti pasta!
Ideas for serving
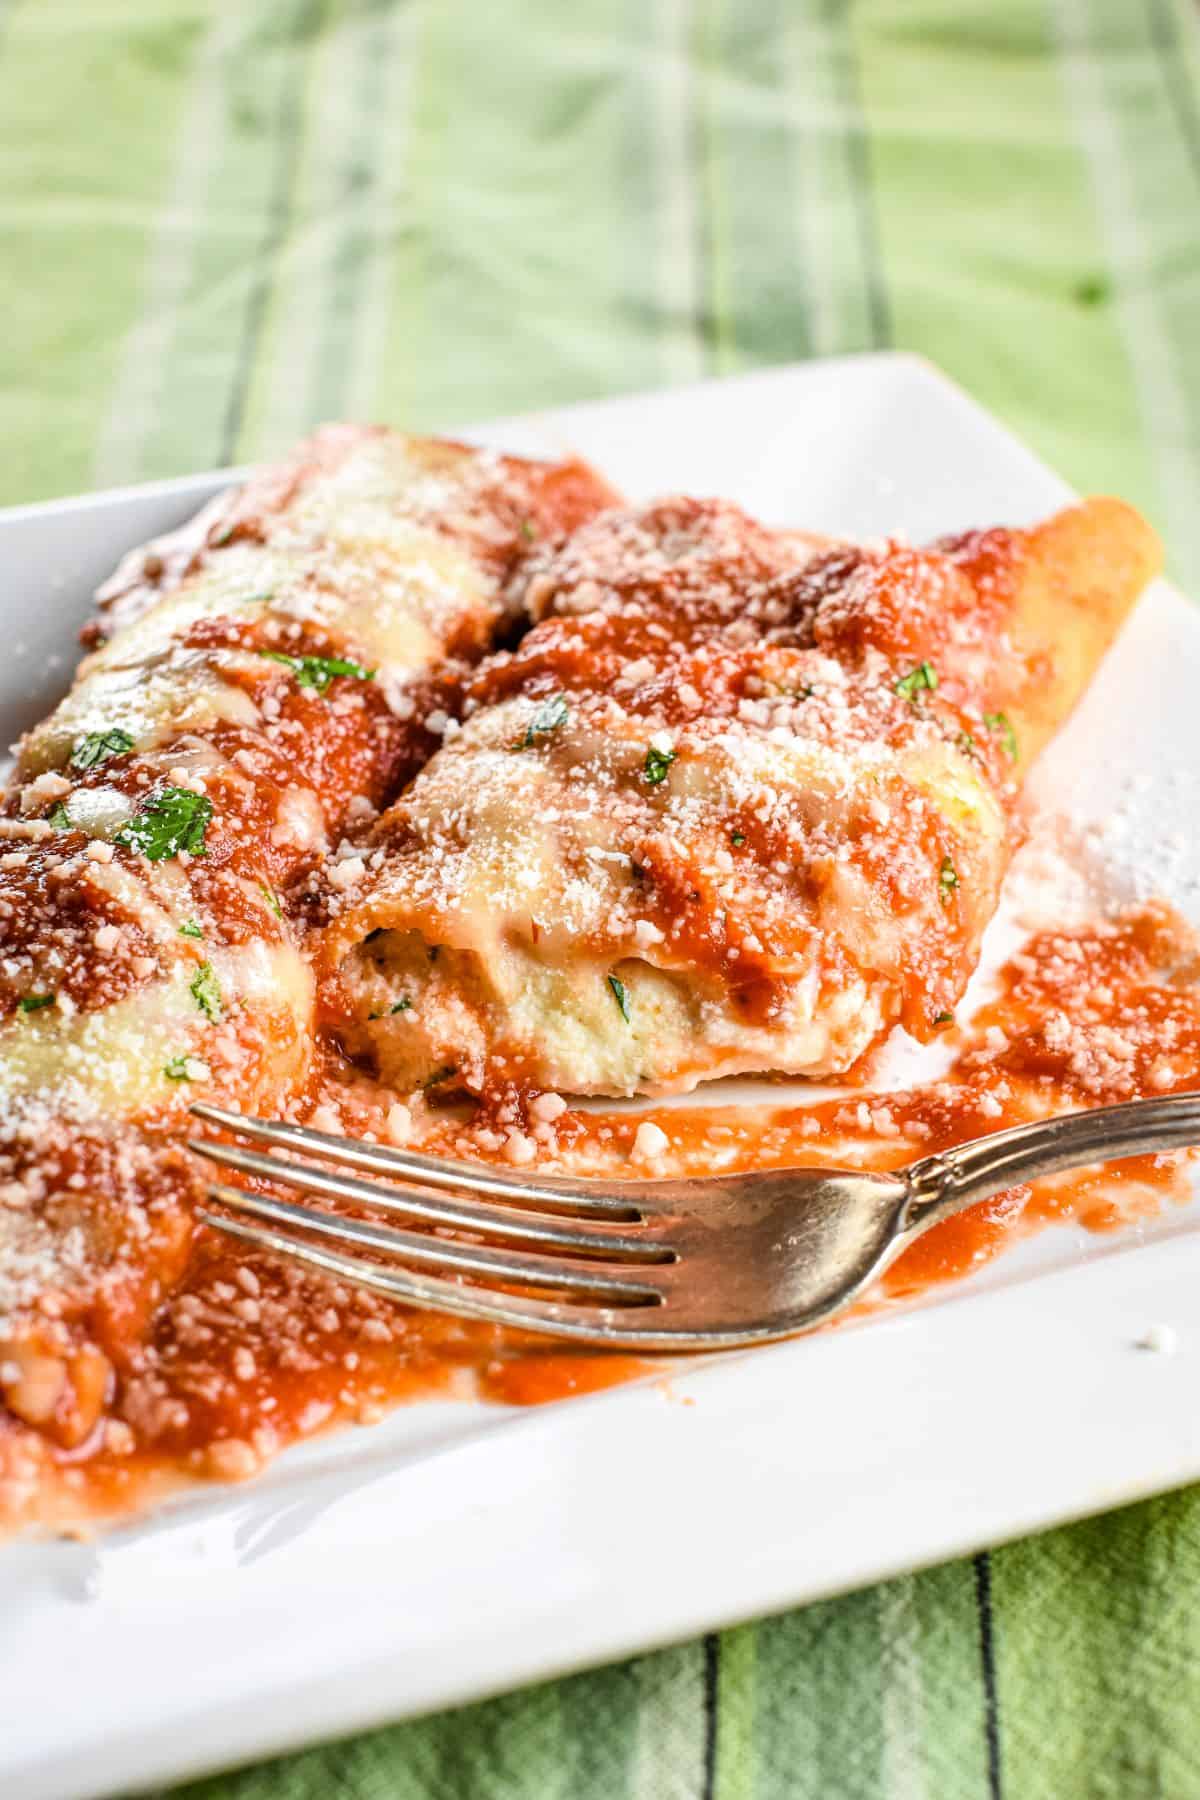
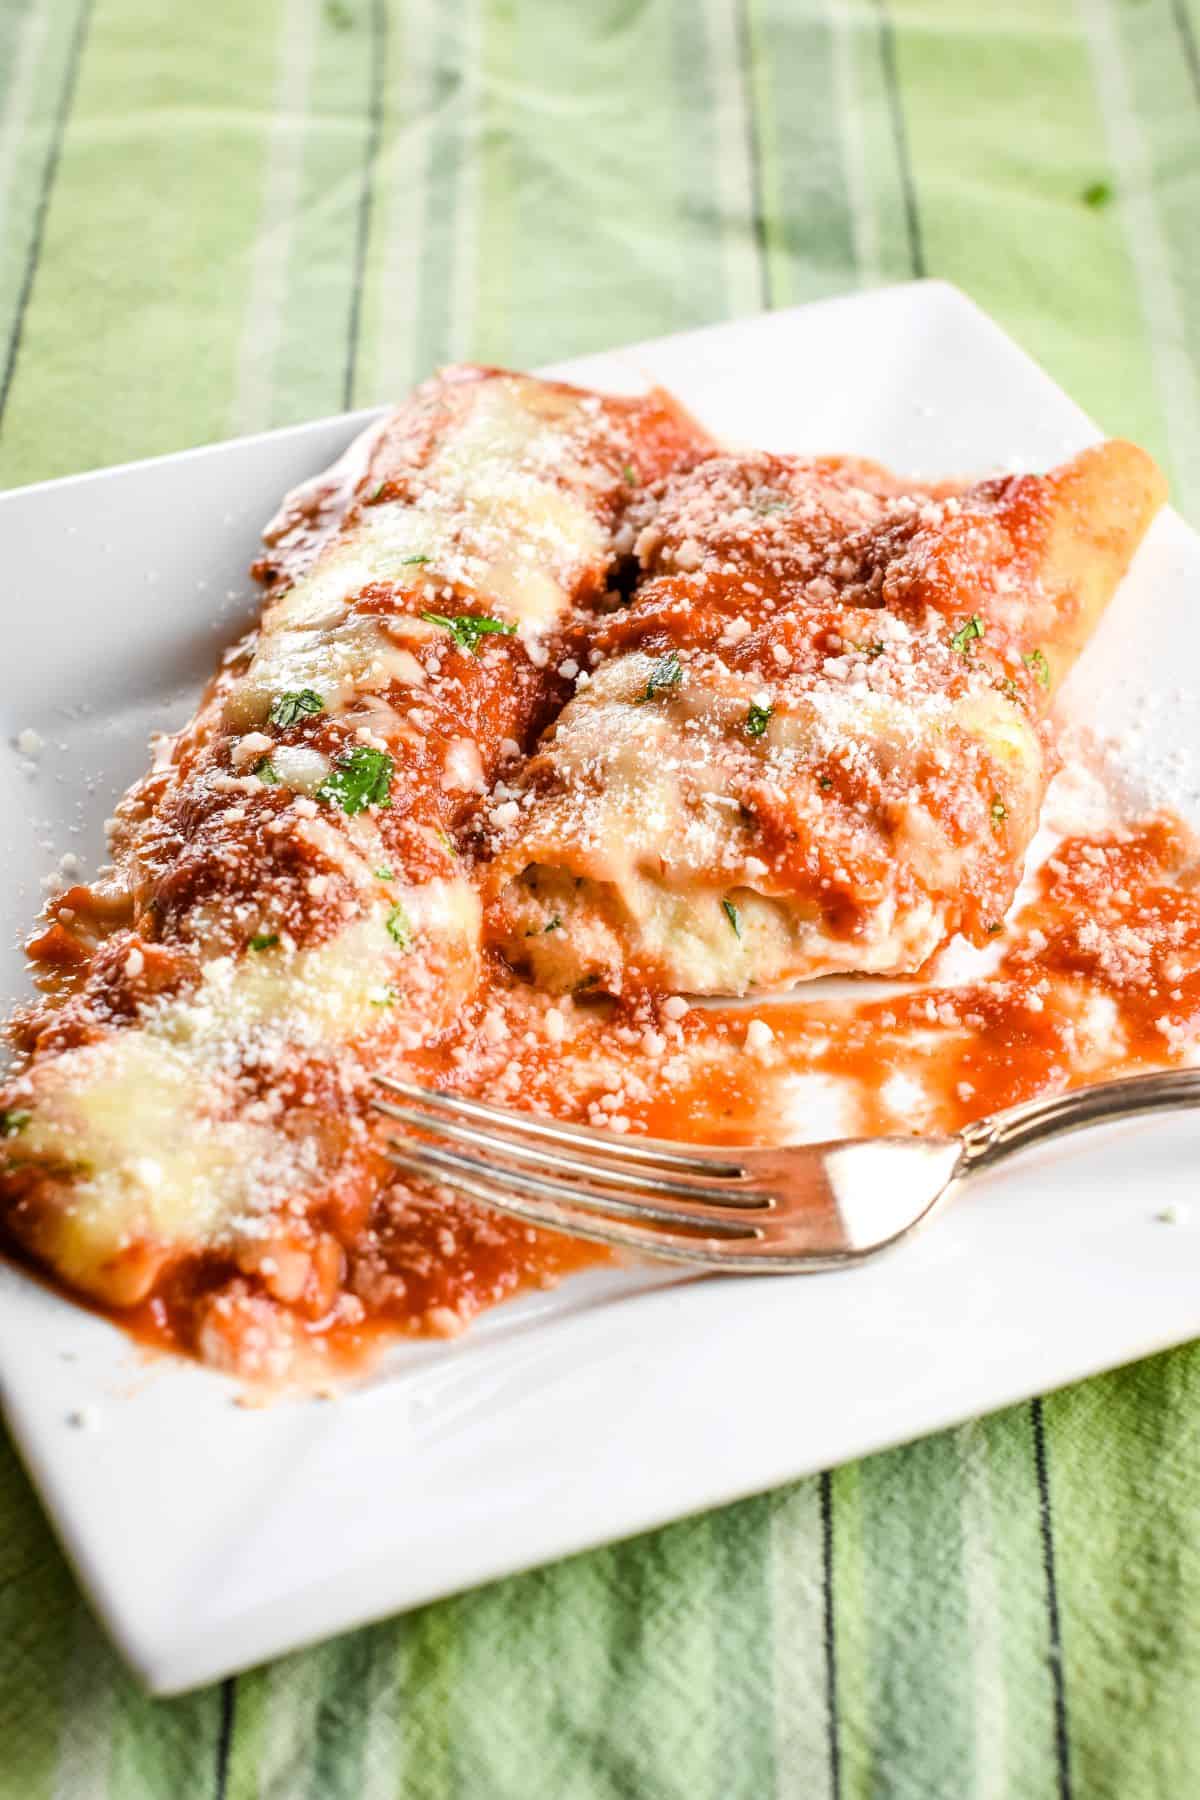
Enjoy the manicotti as is or top with Parmesan cheese and some herbs such as fresh basil or parsley.
You can also top with a dollop of our cashew pesto or add some of our garlic white sauce.
This manicotti pairs well with salads and veggies. For 20 awesome ideas, check out this collection of side dishes to serve with manicotti.
Frequently asked questions
Yes, you can definitely make this dish a day ahead of time. Prepare as directed up until baking. Store tightly covered in the refrigerator. Remove from the refrigerator and keep on the counter at room temperature for 30 minutes before baking.
Store leftover baked manicotti in an airtight container in the refrigerator for 3-5 days. Reheat covered in a 350° F oven or in the microwave until warmed throughout.
Yes, you can either freeze before baking or after. If freezing the whole batch, be sure to wrap tightly with a layer of plastic wrap followed by aluminum foil. If freezing individually, freeze in an airtight freezer-safe container for up to 3 months. Thaw in the refrigerator before baking/reheating.
More Italian-inspired meatless recipes
- Meatless Lasagna
- Lentil Pasta Baked Ziti
- Gluten-Free Cacio e Pepe
- Impossible Burger Meatballs
- Lentil Pasta with Roasted Garlic, Broccoli and a Creamy Red Pepper Sauce
Homemade Manicotti [with Gluten-Free Option]
Ingredients
FOR THE FILLING
FOR THE MANICOTTI SHELLS (CREPES/CRESPELLE)
- 6 large eggs
- 1 cup milk, whole or 2%
- 1 cup all purpose flour (use 1 ¼ cups chickpea flour for the gluten-free option)
- olive oil spray for greasing
ADDITIONAL INGREDIENTS
- 56 oz. tomato or marinara sauce
- 1 ½ cups shredded mozzarella cheese, whole milk or part skim
Instructions
- Prepare ricotta cheese mixture according to recipe and refrigerate until ready to use.
- Preheat oven to 350°F.
- Lay out two sheets of parchment or wax paper on the counter.
- In a large mixing bowl, beat eggs and milk together with an electric hand mixer.
- Add flour and beat with an electric hand mixer until there are no lumps.
- Lightly grease an 8-inch nonstick pan by spraying some oil on a paper towel and wiping your pan with it.
- Heat pan over medium heat.
- When pan is hot, add approximately ¼ cup batter (about ¾ of a ladleful) to the center of the pan and swirl to cover bottom of pan.
- Cook until edges are set and start to separate from pan, middle should be almost set but not quite (approximately 15-20 seconds).
- Carefully lift edge with a spatula and quickly flip crepe over.
- Cook for 15-20 seconds more (crepe should be a light golden brown).
- Use the spatula to remove crepe from skillet and place onto parchment or wax paper.
- Repeat with remaining batter, continuing to grease pan as needed until you’ve used up your batter.
- Once all the crepes are done, lightly line the bottoms of two 13” x 9” baking dishes with tomato sauce and set aside.
- Add approximately ⅓ cup ricotta cheese mixture toward the bottom of one of the crepe shells. Press down slightly but don’t let cheese go past the edges.
- Roll up tightly and place seam side down into baking dish.
- Once all the manicotti are in the baking dishes, top with remaining sauce and mozzarella cheese.
- Cover and cook for 30 minutes.
- Uncover and cook for 15-20 more minutes.
(Please refer to the post above for instructional photographs and other helpful information for this recipe)
Suggested Equipment/Tools

Notes
©Watch Learn Eat. All content and images are copyright protected. Recipes and images are not to be used or republished without prior permission. If you adapt this recipe, please re-write the recipe in your own words, and link back to this post for the original recipe.


Pure comfort food! Perfect for pasta night.
Thank you Ellen! 🙂
These look great, so incredibly comforting. I agree chickpea flour is great for so many things.
Thank you Caroline! Yay for chickpea flour! 🙂
So very cool that you made homemade manicotti. I bet that recipe tastes fantastic too. Much better than you can buy. Thanks for the recipe.
Thank you Ginny! I think it's better than store-bought shells, but of course, I'm partial to it being a family recipe. 🙂
Wow! These look great. You gave perfect step-by-step instructions. I won't have any problem making these. Thanks for the lovely recipe!
Thank you Katie! I hope you will give them a try! 🙂
I'm so impressed! Never even thought to make my own chickpea pasta. Looks so tasty!
Thank you so much, Marisa!
Comfort food at it's best!
Thank you Stacy! It definitely is! 🙂
Your story of Big Grandma reminds me of when I met Laura. We personally grew up eating a traditional Thanksgiving meal, but Laura's family always goes with the Italian flare. Truthfully, I've started going to the ravioli over the turkey whenever we visit her place for Thanksgiving. Crazy! I'm super intrigued by the chickpea flour here. It looks like you found a pretty solid way to go gluten free with this family favorite. I love manicotti, and this one needs to be on my short list of recipes to make! 🙂
Thanks David! I am totally digging chickpea flour! I hope you enjoy this recipe! 🙂
That sounds delicious, so hearty and comforting, definitely my kinda food.
Thanks Brian! 🙂
It is so nice that you got to do some cooking with your father! The process shots are great. It sets me up well to be able to cook them step by step. Looking forward to trying. Cheers!
Thanks Adrianne! We had fun revamping the recipe together! I hope you enjoy them! Cheers to you too! 🙂
Oh my!! These look fantastic!!!
Thank you Tisha!
I never had manicotti before! Looks so delicious and perfect for a comforting dinner!
Thank you so much, Natalie! It is definitely a comfort meal for sure. 🙂
My daughter loves manicotti and loves making pasta. She'll love trying to make this version.
Thank you so much, Jori! I hope she enjoys it! 🙂