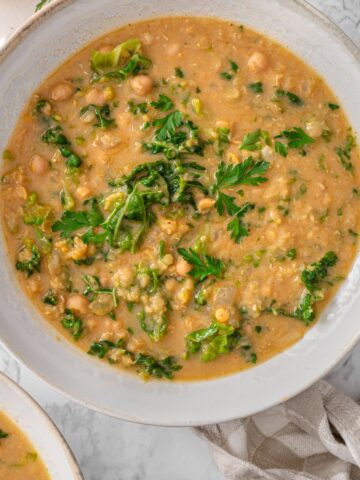
Creamy Butternut Squash Soup with Roasted Chickpeas
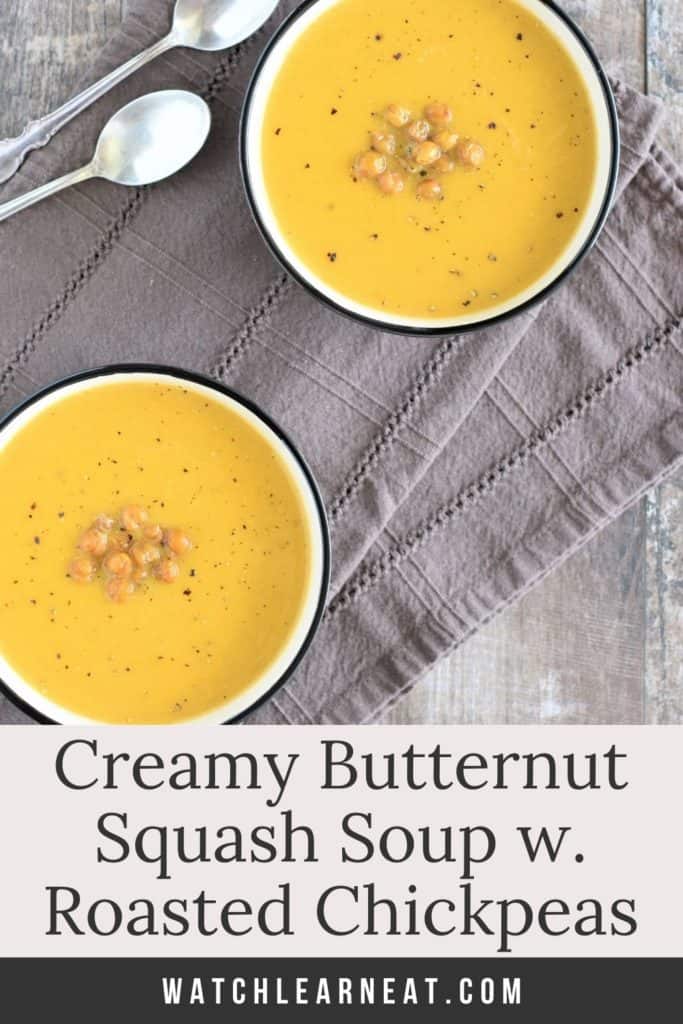
Roasting the butternut squash brings out its best flavor in this creamy, gluten-free and vegan soup. With hints of sage and thyme, this mouthwatering butternut squash soup is perfect for cozying up with all fall and winter. Add some roasted chickpeas on top for crunch!
Jump to Recipe
Hey, pumpkin! Sorry to “squash” your role of king of fall, but you’re being upstaged by the new “gourd” in town...goes by the name, Butternut Squash.
I’m not gonna lie. I think I like butternut squash more than pumpkin.
Yup, I said it! What’cha gonna do about it, huh?
I’ll tell you what you’re gonna do. You’re gonna love you some butternut squash too when you try yourself some ‘o this tasty soup, that’s what!
I don't know about you, but for me there's something heavenly about the aroma of butternut squash as it's roasting emanating from the oven.
It just makes me feel all warm and cozy inside and ready for chilly weather.
OK, enough sappy stuff. Time to get down to the nitty gritty!
Ingredients you'll need
For the chickpeas
- Canned Chickpeas
- Olive Oil
- Sea Salt
For the soup
- Butternut Squash Chunks or Cubes (I use the pre-cut kind for convenience, which is sold in most supermarkets)
- Olive Oil
- Sea Salt
- Freshly Ground Black Pepper
- Sweet Onion
- Vegan Pinot Grigio (for some suggestions, check out Barnivore.com)
- Sage
- Thyme
- Vegetable Broth
- Plant-Based Half & Half (can use canned light coconut milk instead, if preferred)
Step-by-step recipe instructions
First, you will need to line two baking sheets that fit side by side on the center rack of your oven with parchment paper.
Then, preheat the oven to 400°F.
For the roasted chickpeas
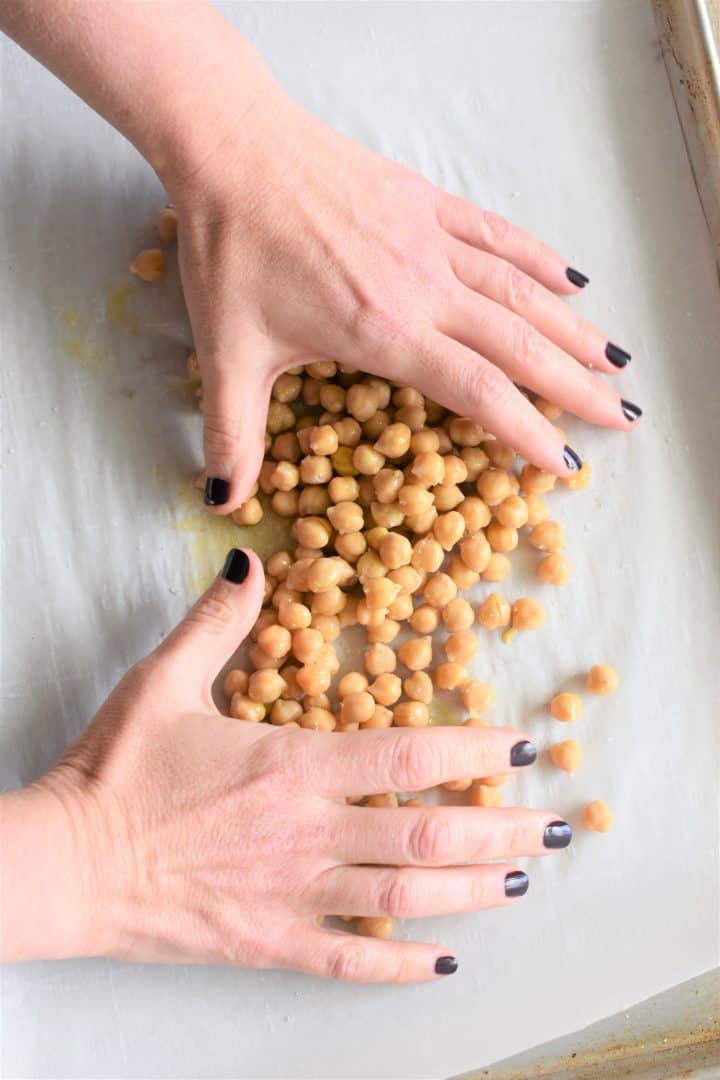
Drain and rinse the can of chickpeas. Place the chickpeas on a clean kitchen towel to dry them.

Spread them out and then cover with another clean kitchen towel.


Gently rub the chickpeas back and forth with your hands.
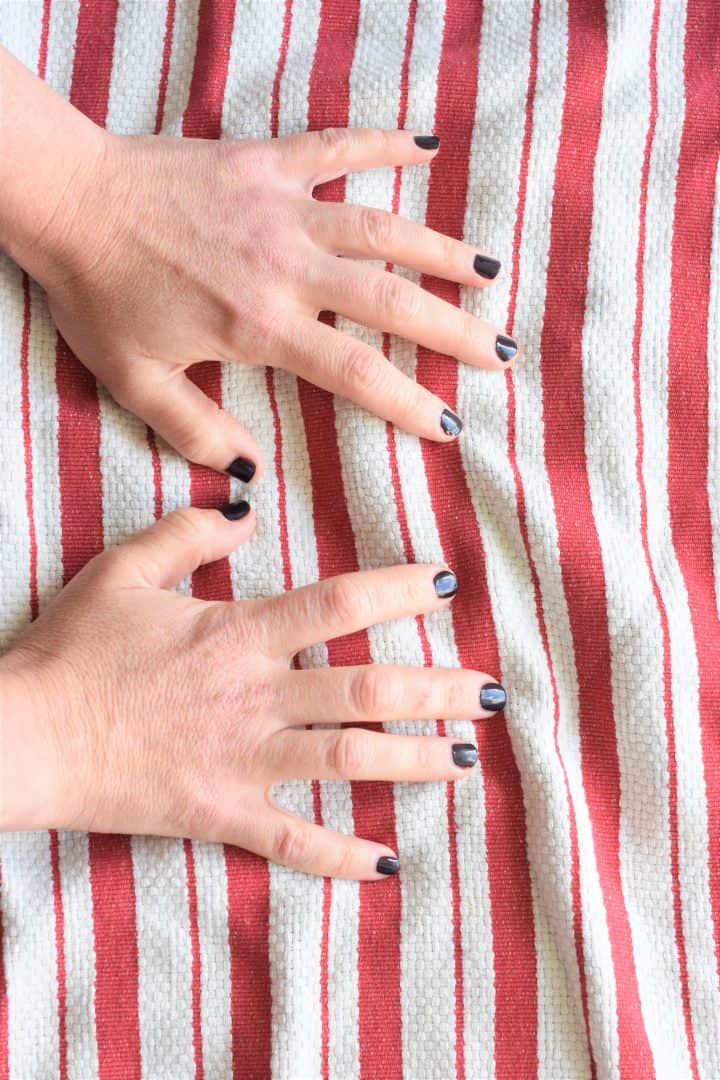
Uncover the chickpeas and discard any loose skins.

Place the chickpeas onto one of the parchment-lined baking sheets in a pile.
Drizzle on the olive oil followed by the salt.
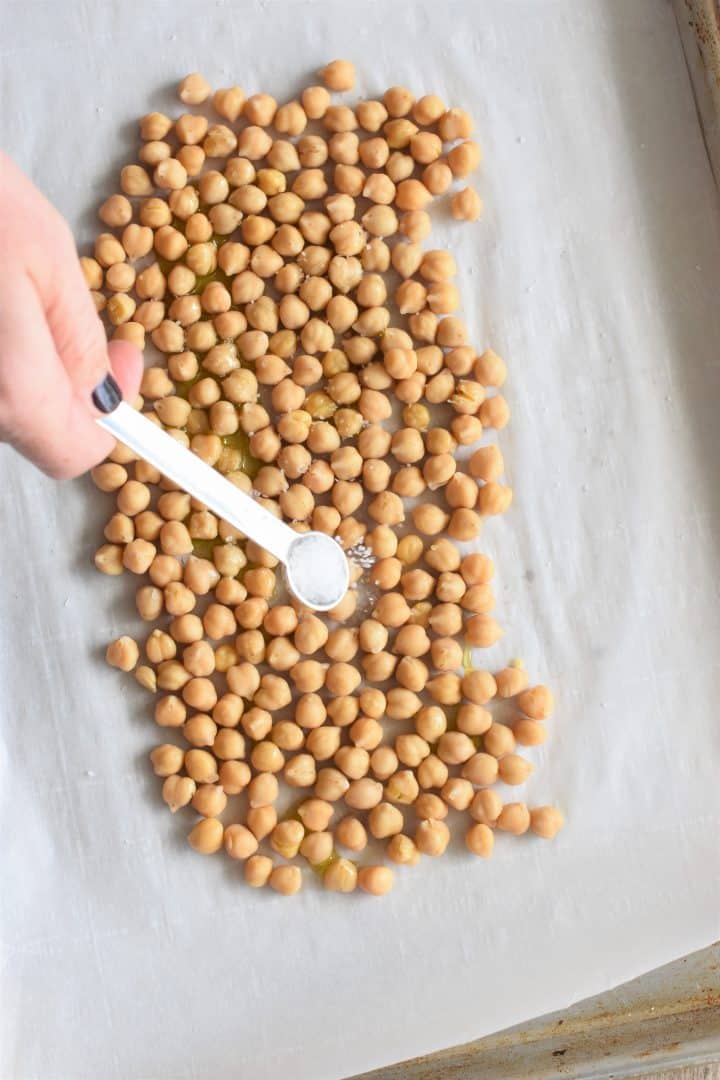
Use your hands to coat the chickpeas with the oil and salt.
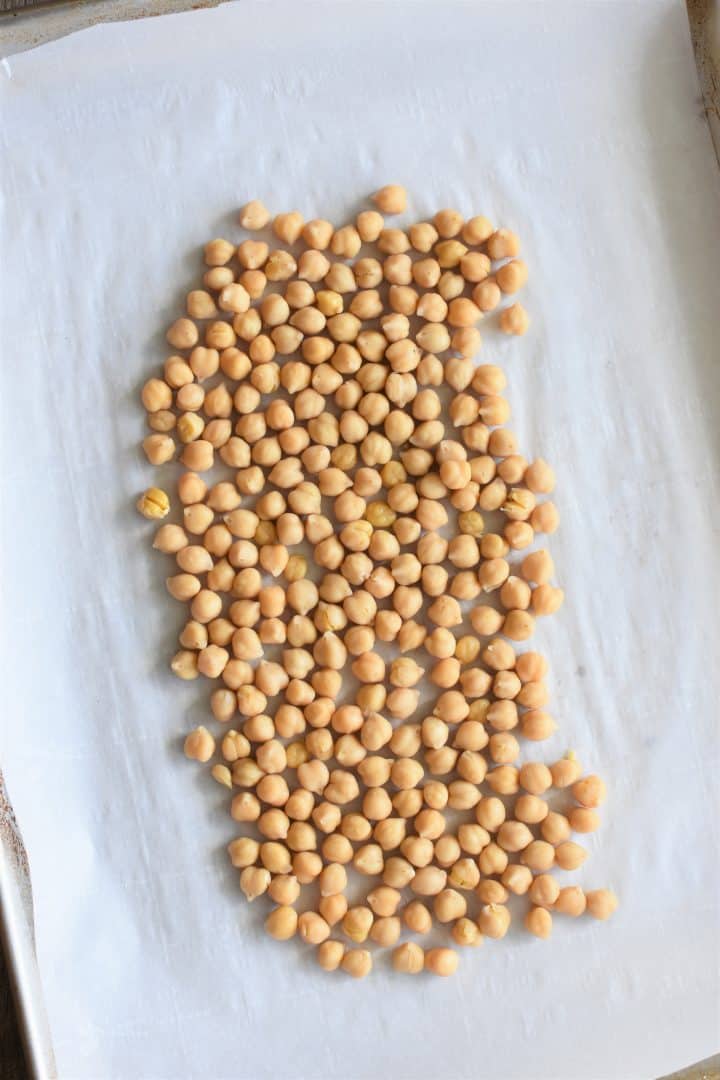
Spread the coated chickpeas evenly on the baking sheet.
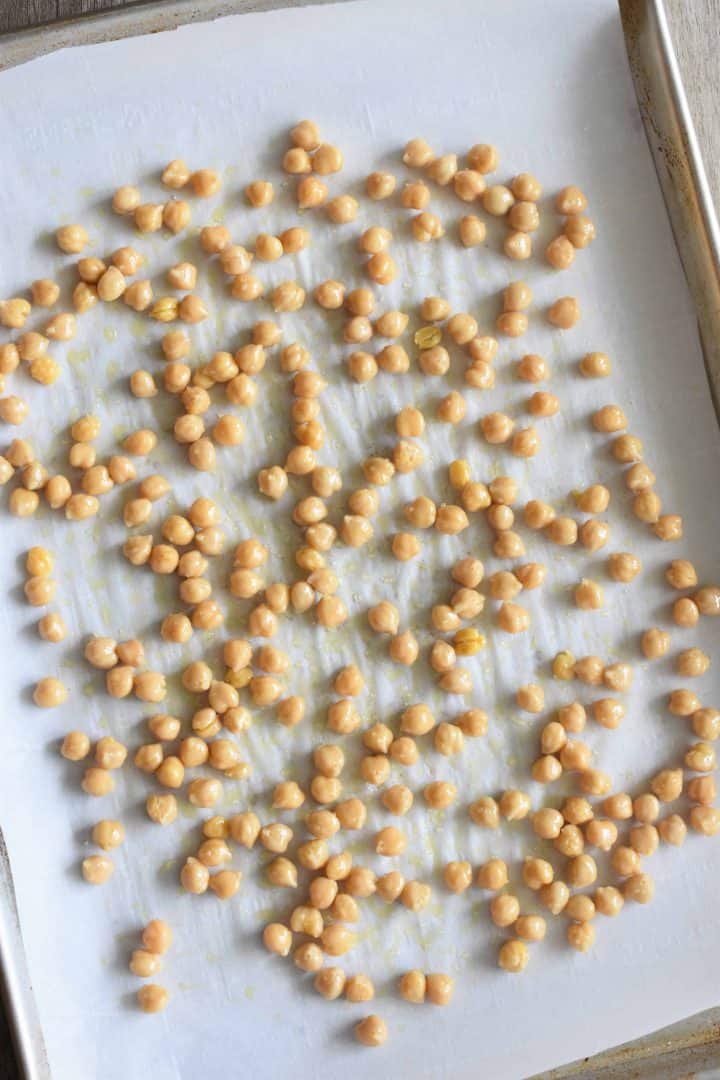
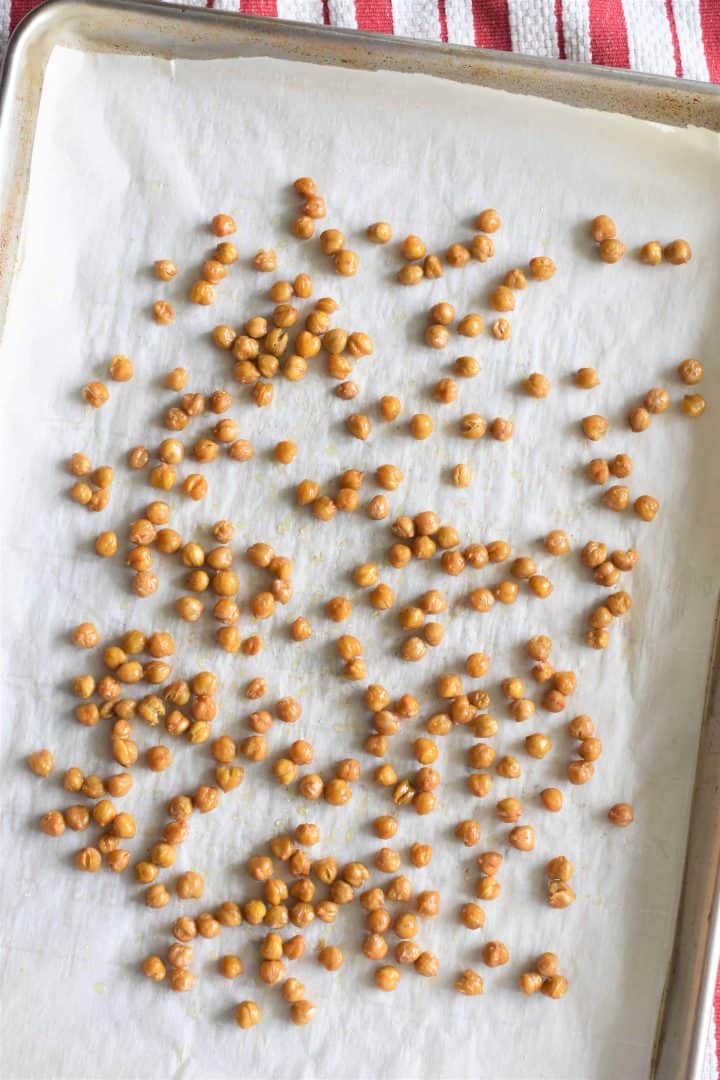
Bake for 30-40 minutes, carefully shaking the pan to move the chickpeas around every 10 minutes.
For the roasted butternut squash
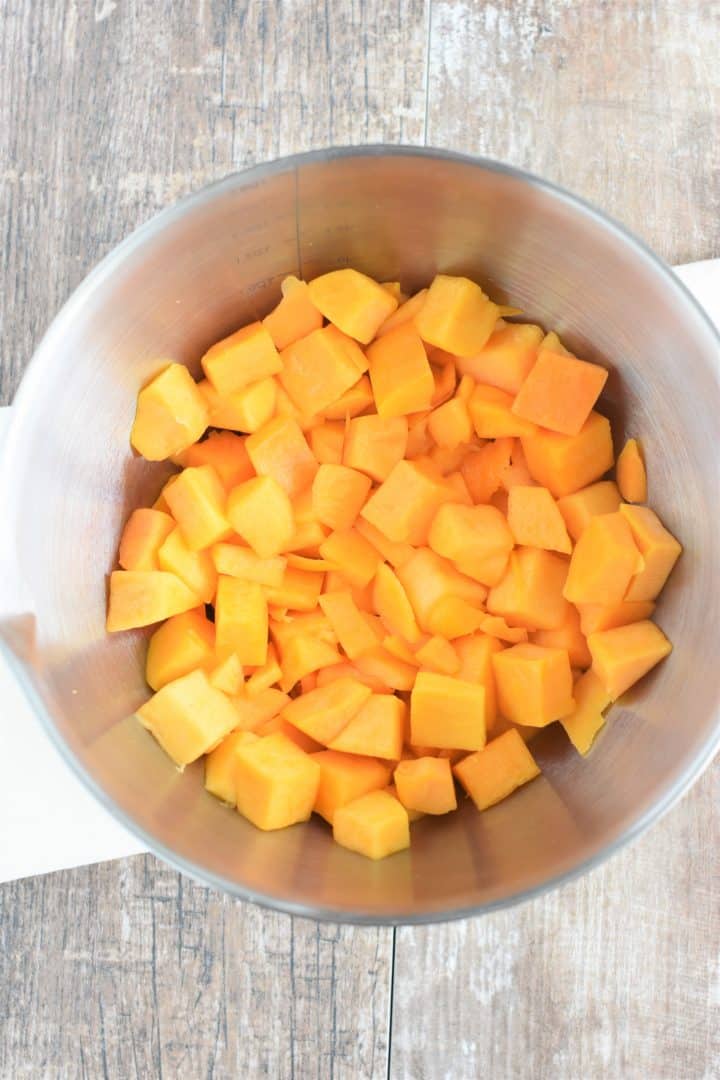
Add butternut squash chunks to a mixing bowl.
If you are using a whole butternut squash rather than the pre-cut kind, you will first have to peel and cut the squash.
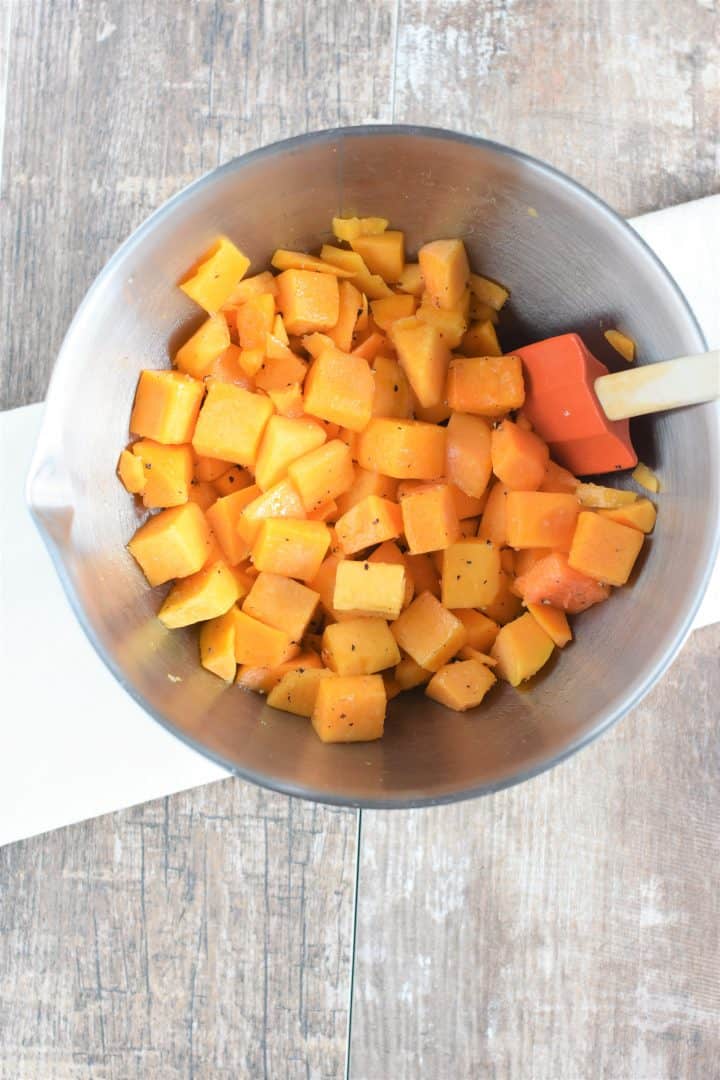
Add olive oil, salt and pepper.

Stir to combine.
Transfer the butternut squash to the other parchment-lined baking sheet.
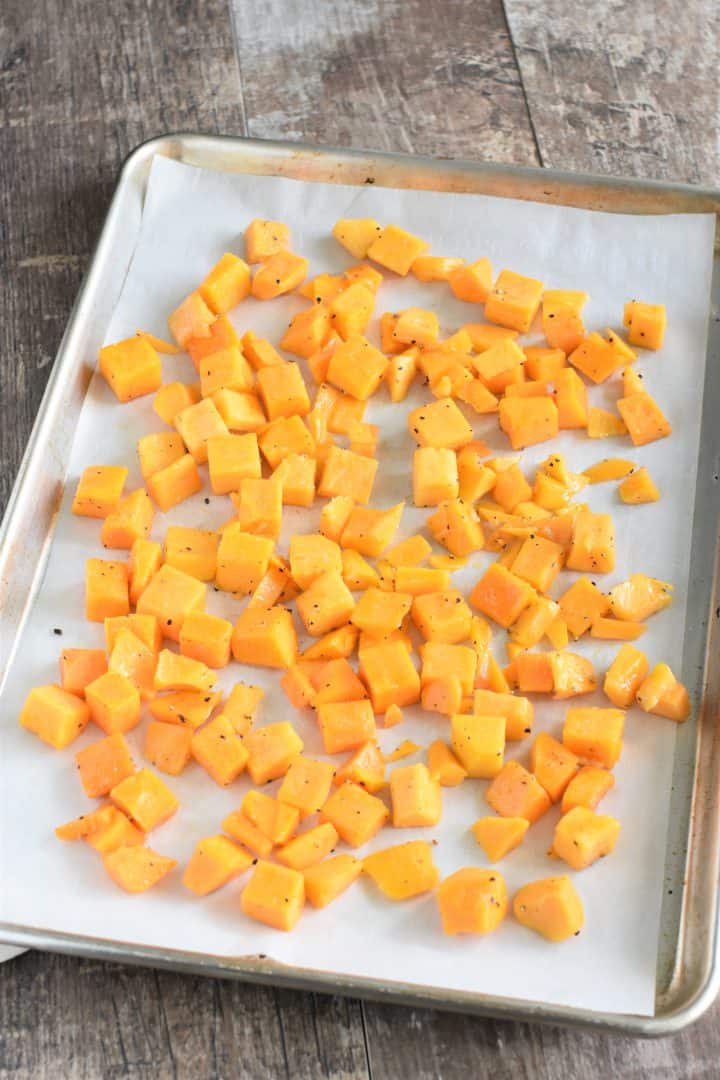
Roast the squash for 20 minutes.
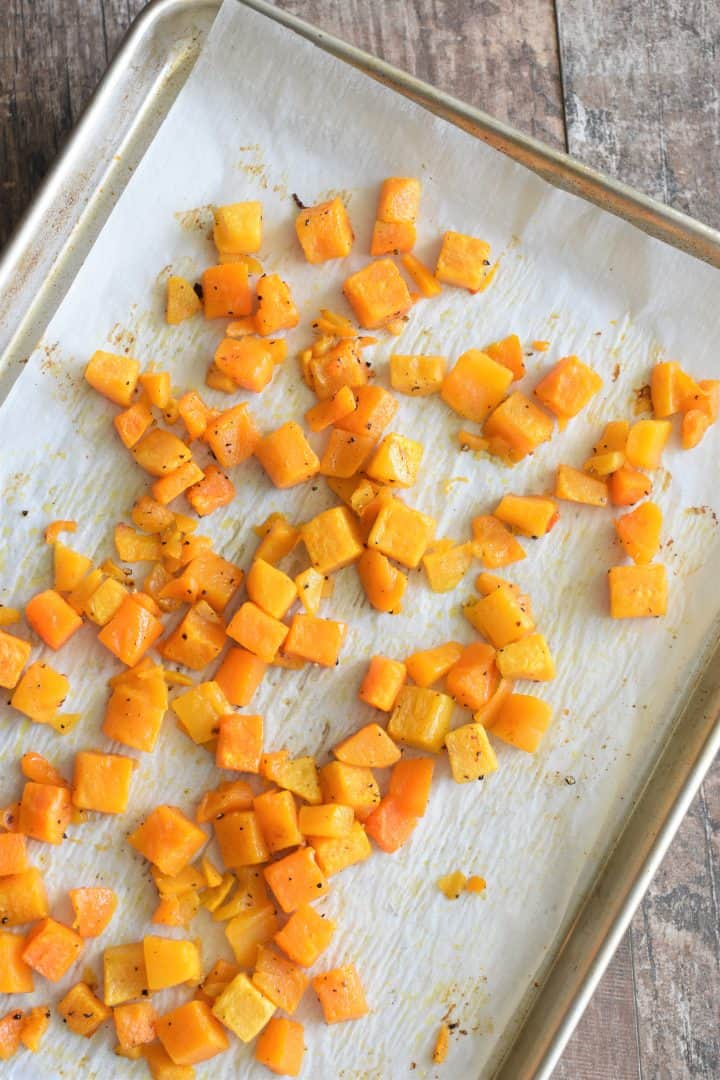
Then, carefully stir the butternut squash pieces around and return to the oven.
Continue roasting for another 20 minutes.
When the squash is nearly done, add chopped onion and wine to a 3- or 4-quart soup pot.
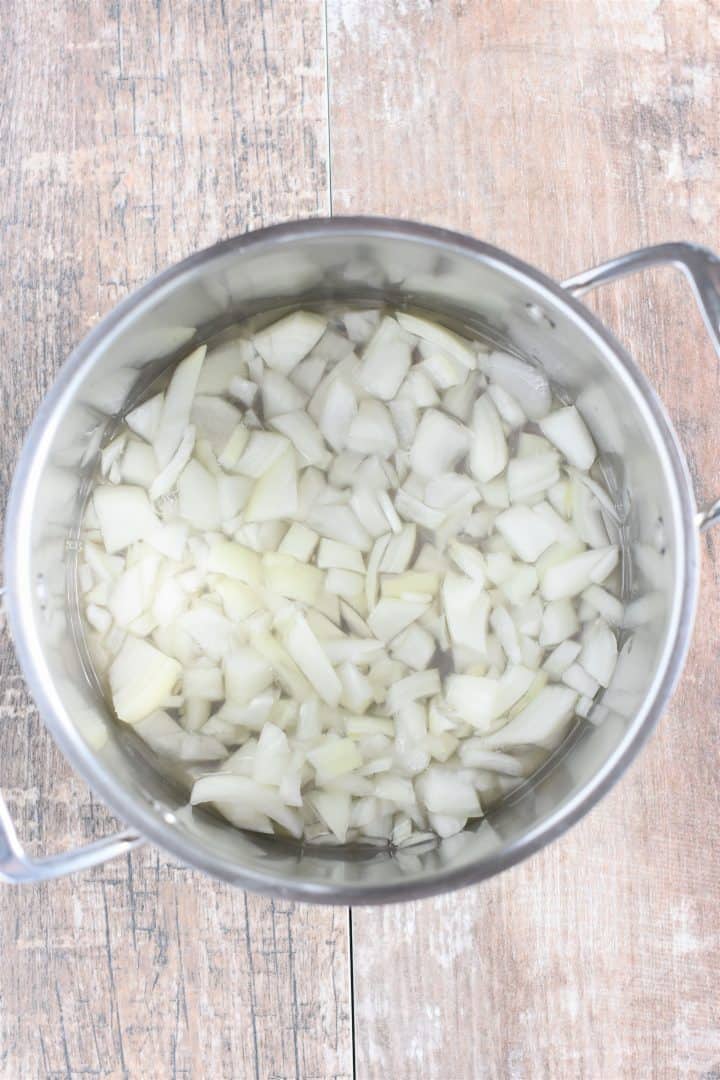
Cook over medium heat until onion is translucent, for 5-7 minutes, stirring frequently.
Stir in sage, thyme and butternut squash.
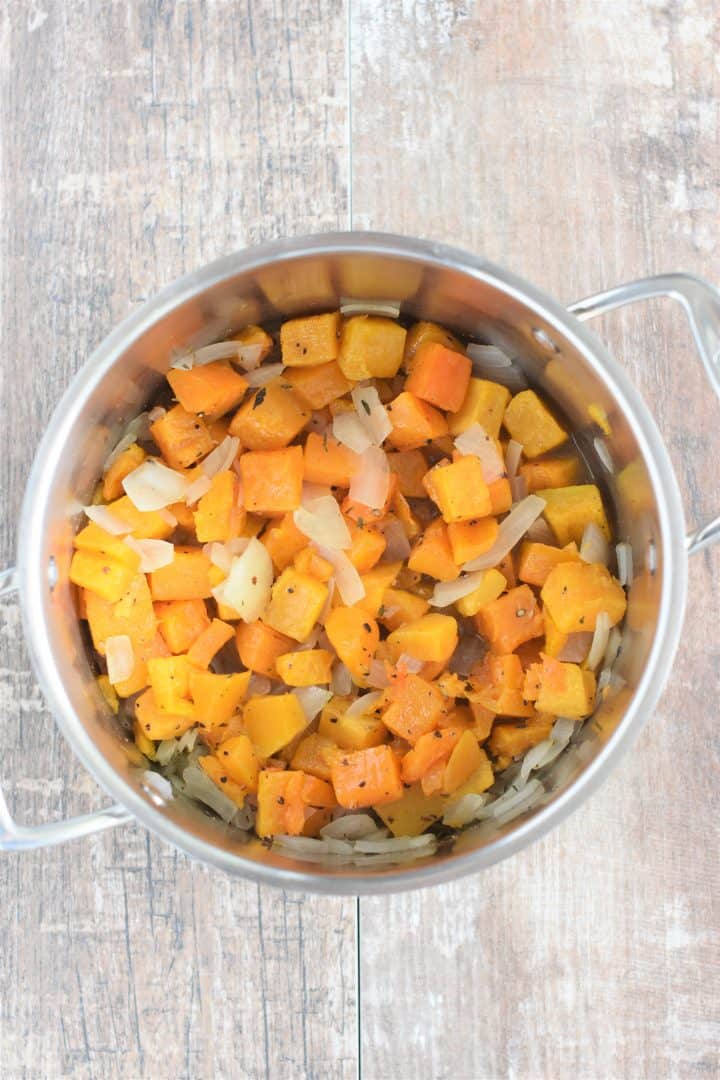
Cook for 5 more minutes, stirring frequently.
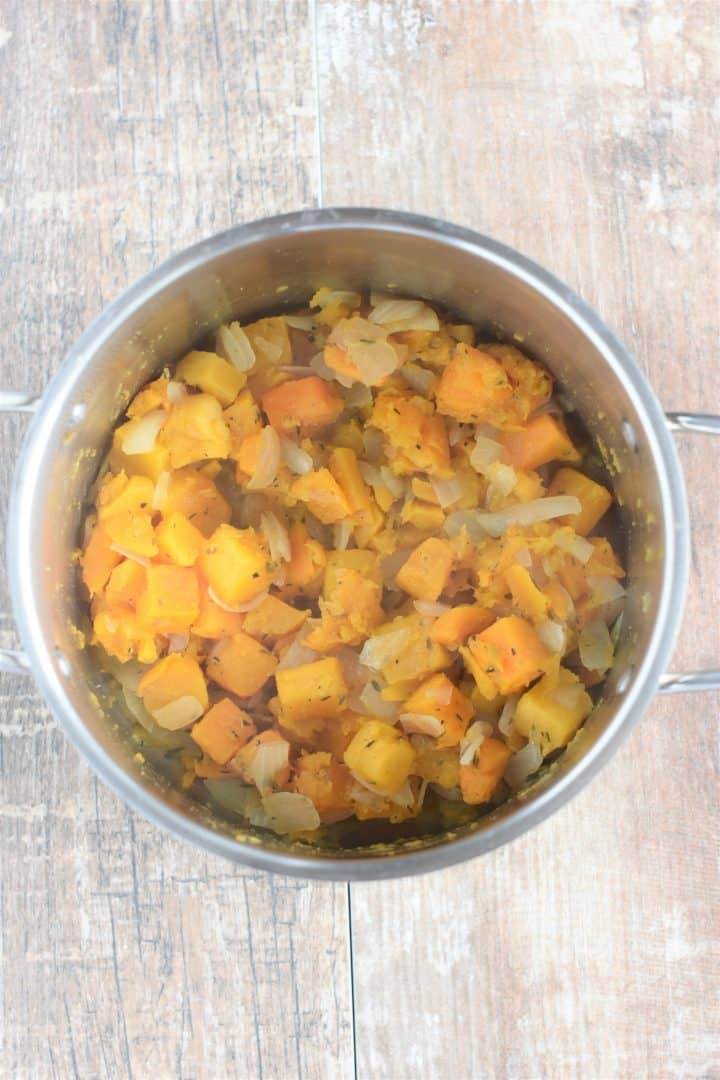
Add vegetable broth.

Bring to a boil.
Then, cover and reduce to a simmer, cooking for 20 minutes.
Remove from the heat, uncover and let stand 5 minutes.
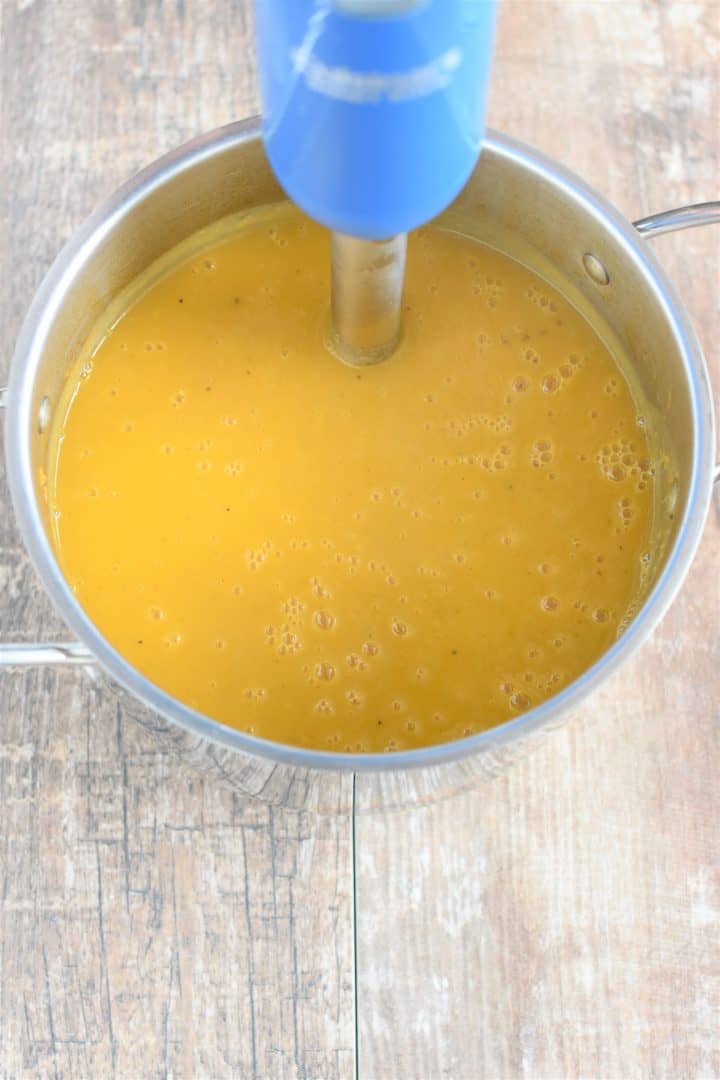
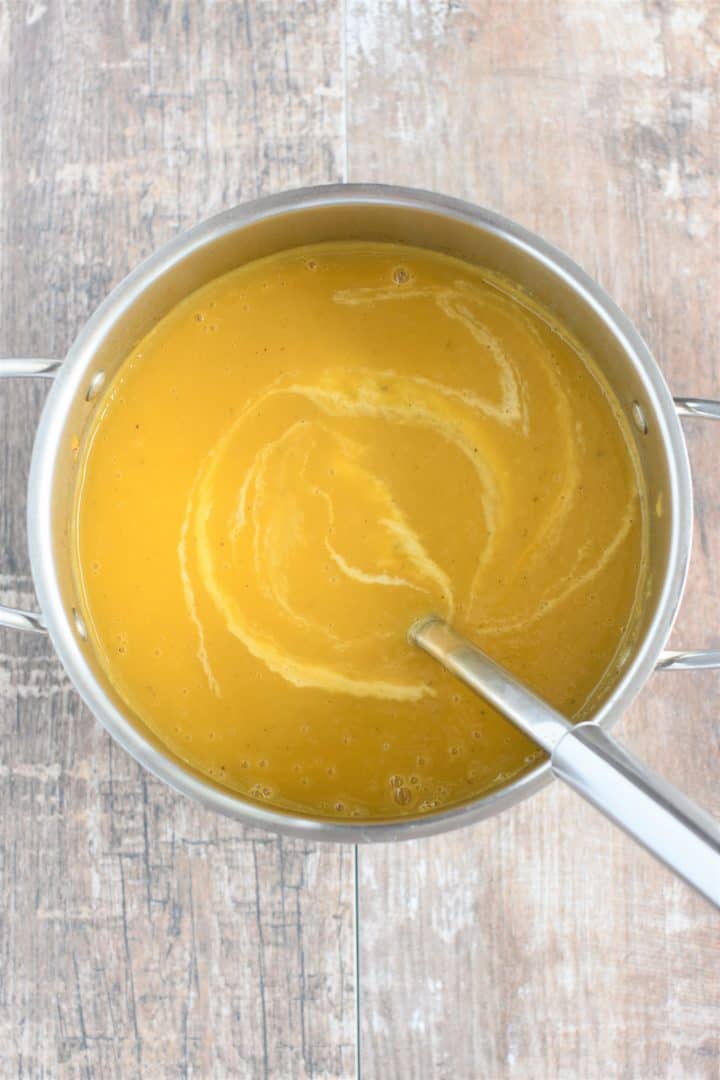
Using an immersion blender, puree the mixture until no chunks remain, being careful not to splash hot liquid.
Stir in plant-based half & half or light coconut milk.
Cook for 5 minutes over medium heat, stirring occasionally.
Season with additional salt and pepper to taste.
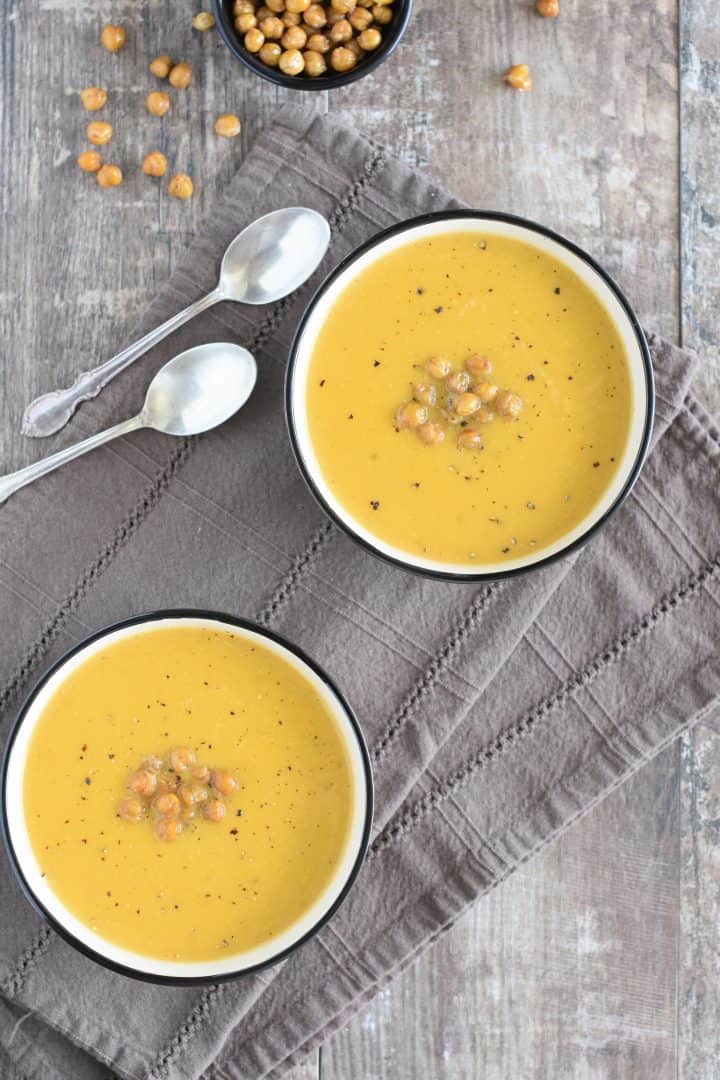
Top with the roasted chickpeas.

Now that you're ready to make this tasty soup, sing it with me...♪ "Everybody's talking 'bout the new gourd in town..." ♫
Variations
- For smoky roasted chickpeas, add 1 teaspoon of smoked paprika to the chickpeas before roasting.
- If you prefer, you can purchase bagged roasted chickpeas to save time. I recommend the Biena brand.
Leftovers
For the chickpeas
The roasted chickpeas can be stored at room temperature in a covered container for up to 5 days. I use a small glass bowl with a lid to store mine.
Once stored, the chickpeas will soften up significantly, so if you want to crisp them up again, simply pop them in a 400° F oven on a parchment-lined baking sheet for about 5 minutes.
Use leftover chickpeas for any leftover soup, enjoy them as a snack, or add them to your favorite salad.
For the soup
Leftover soup can be stored in an airtight container in the refrigerator for up to 3 days.
To reheat on the stovetop, add soup to a saucepan and bring to a boil. Then, lower the heat to medium and continue to cook until warmed throughout, stirring frequently.
It can also be reheated the microwave in a covered microwave-safe dish until warmed throughout in 1-minute intervals, stirring in between.
More creamy vegan soup recipes

Creamy Butternut Squash Soup with Roasted Chickpeas
Ingredients
FOR THE CHICKPEAS
- 1 (15 oz.) can chickpeas, drained and rinsed
- 2 teaspoon olive oil
- ½ tsp fine sea salt
FOR THE SOUP
- 20 oz. butternut squash cubes or chunks (I use the pre-cut kind which can be found at most supermarkets)
- 1 tbsp. olive oil
- fine sea salt to taste
- freshly ground black pepper to taste
- 1 cup chopped sweet onion
- ½ cup vegan Pinot Grigio
- ½ tsp. ground or rubbed sage
- ¼ tsp. dried thyme
- 32 oz. gluten-free, low sodium vegetable broth
- ¾ cup plant-based half & half, unflavored, unsweetened (can use canned light coconut milk instead)
Instructions
- Preheat oven to 400°. Line two baking sheets that fit side by side on the center rack of the oven with parchment paper and set aside.
- Place the drained and rinsed chickpeas on a clean kitchen towel to dry them. Spread them out and then cover with another clean kitchen towel. Gently rub the chickpeas back and forth with your hands. Uncover the chickpeas and discard any loose skins.
- Place the chickpeas onto one of the parchment-lined baking sheets in a pile. Add 2 teaspoon of olive oil and ½ teaspoon salt and use your hands to coat. Set aside.
- Add butternut squash to a mixing bowl along with olive oil plus salt and pepper to taste. Stir to combine.
- Transfer the butternut squash to the other parchment-lined baking sheet. Add both baking sheets to the center rack of the oven. Roast the chickpeas for 30-40 minutes, carefully shaking the baking sheet to move the chickpeas around every 10 minutes. Roast the butternut squash for 40 minutes, stirring once halfway.
- When the squash has about 5 minutes remaining, add chopped onion and wine to a 3- or 4-quart soup pot. Cook the onion over medium heat until translucent, approximately 5-7 minutes, stirring frequently.
- Stir in sage, thyme and butternut squash. Cook for 5 more minutes, stirring frequently.
- Add vegetable broth and bring to a boil. Once boiling, cover and reduce heat to a simmer. Cook for 20 minutes.
- Remove from heat, uncover and let stand 5 minutes.
- Using an immersion blender, puree mixture until no chunks remain, being careful not to splash hot liquid.
- Stir in plant-based half & half. Cook for 5 minutes over medium heat, stirring occasionally.
- Season with additional salt and pepper to taste.
(Please refer to the post above for instructional photographs and other helpful information for this recipe)
Suggested Equipment/Tools


Notes
- For smoky roasted chickpeas, add 1 teaspoon of smoked paprika to the chickpeas before roasting.
- If you prefer, you can purchase bagged roasted chickpeas to save time. I recommend the Biena brand.
Nutrition
This post originally appeared on Watch Learn Eat on November 9, 2015. It has been republished to reflect both recipe and photo revisions. Changes to the story were also made.
©Watch Learn Eat. All content and images are copyright protected. Recipes and images are not to be used or republished without prior permission. If you adapt this recipe, please re-write the recipe in your own words, and link back to this post for the original recipe.


What a lovely presentation! Thanks for sharing!!!
Thank you Helyn! 🙂
This soups looks so beautiful and I'm sure it taste a good as it looks, love the addition of sage.
BTW thanks Sherri for including my Spinach Cannellini Hummus in your Buzzfeed article.
Thank you Celeste and no problem - it looks delicious! 🙂
I absolutely love sage with butternut squash, Sherri. Can't wait to try this creamy soup, I know it's gotta be so flavorful with the roasted squash. Perfect for the season, I would love a bowl for lunch right now!!!
Thanks Allie! Glad you like the recipe! 🙂