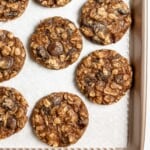
Satisfy your chocolate cravings with these soft and chewy sea-salted Vegan Chocolate Cookies. These vegan cookies are also gluten-free, grain-free and soy-free as well as free from added oil, refined sugar and refined flour.
Jump to Recipe
A soft and chewy cookie with no added oil?
Is that even possible?
The answer is YES!
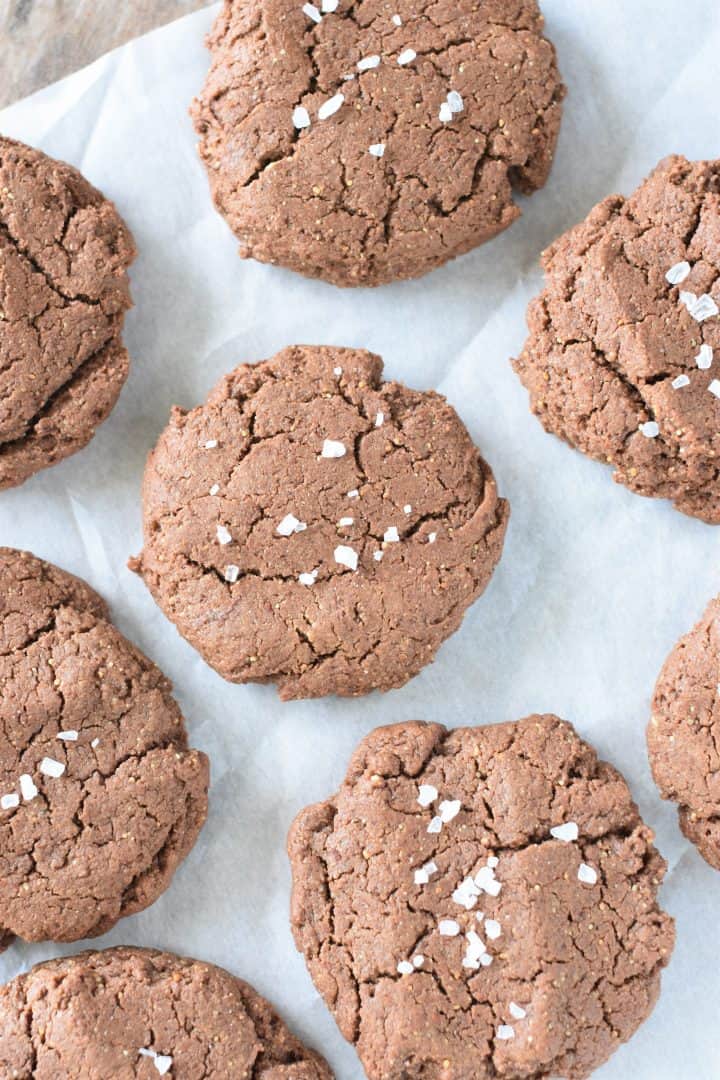
Recipe Highlights
I am definitely one to indulge in delicious desserts filled with vegan butter, but sometimes it's nice to have a treat that's not loaded with unhealthy oils.
However, making an oil-free cookie that's still moist and delicious isn't always an easy task, especially when you're also leaving out gluten, dairy and eggs.
So, I had to find a substitute for the vegan butter that would elicit a similar result.
Enter almond butter.
It's creamy and has enough fat to do the job. 🙂
For the flour, I went with chickpea flour since it worked so well in my vegan chocolate chip cookies. It's also what makes these cookies grain-free.

For sugar, I used a combination of coconut sugar and maple syrup as the addition of a liquid sweetener helped to keep these cookies moist.
As an egg replacement, I went with aquafaba because it worked perfectly in not only my chocolate chip cookies, but also my oat flour cookies, vegan brownie bites and chickpea flour brownies.
The rest of the ingredients in the cookies themselves are cocoa powder, vanilla extract, baking soda and salt.
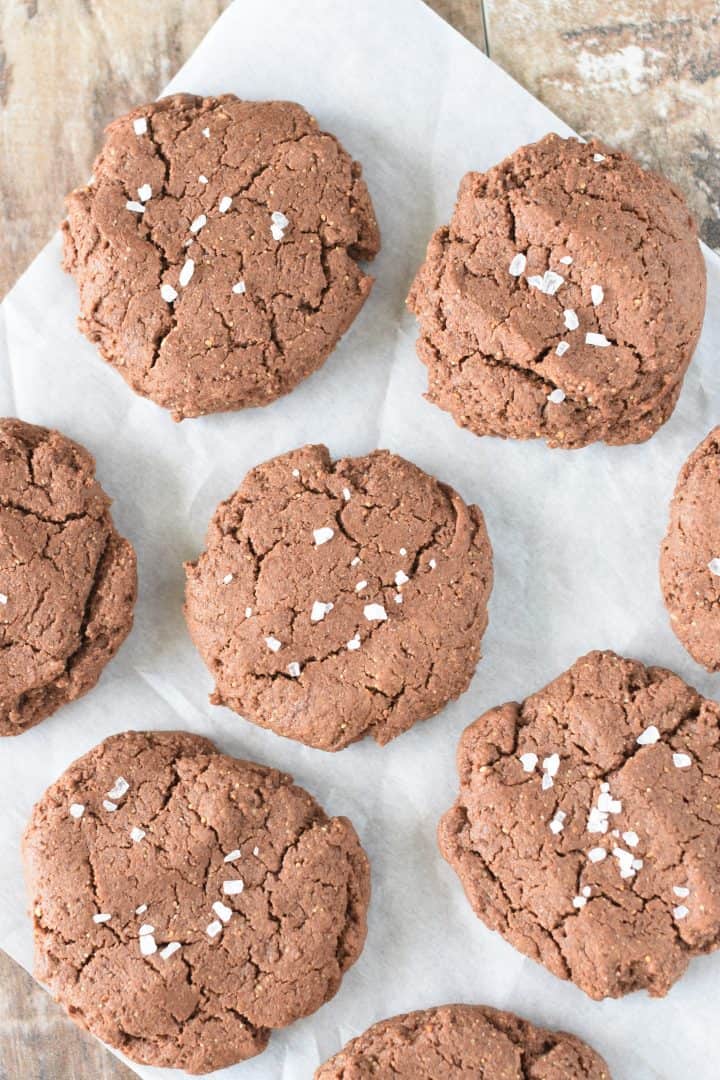
I also topped them off with coarse, flaky sea salt, but you can leave it off if you prefer.
How to Make These Vegan Chocolate Cookies
First, preheat your oven to 350° F and line a baking sheet with parchment paper.
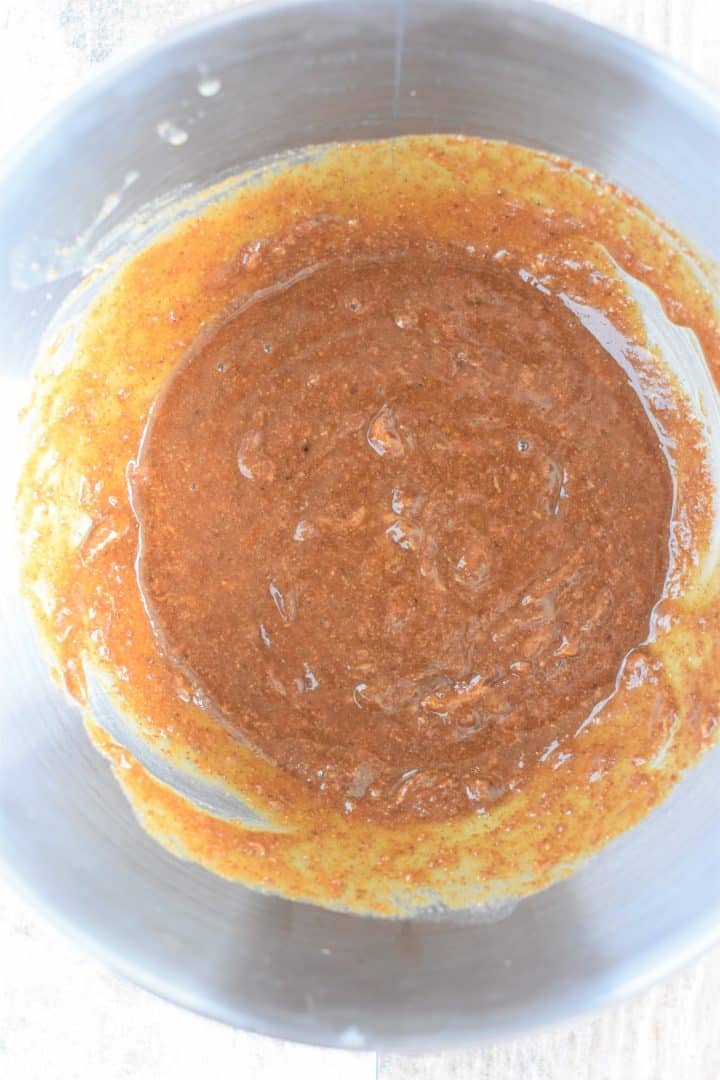
Add almond butter, coconut sugar, maple syrup, aquafaba and vanilla extract to a mixing bowl.

Stir to combine.
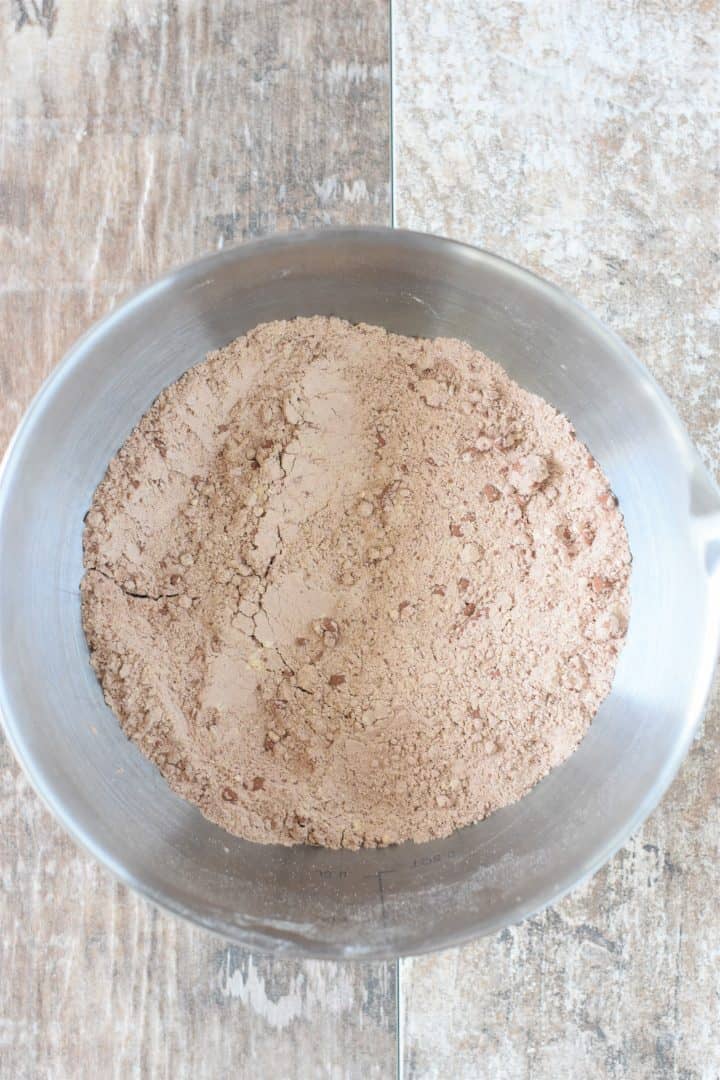
Add chickpea flour, cocoa powder, salt and baking soda to a separate mixing bowl.

Stir to combine.
Add the flour mixture to the almond butter mixture and stir to combine.

Use a cookie scoop to create dough balls and place them on the parchment-lined baking sheet.
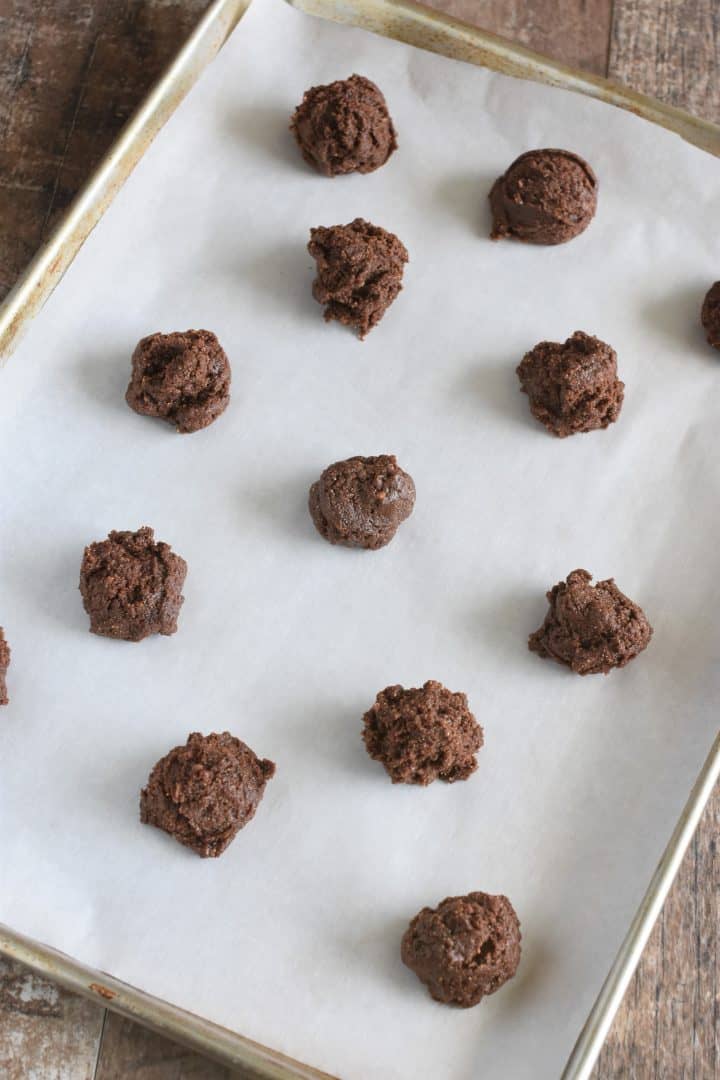
Press down on each dough ball with your fingers.
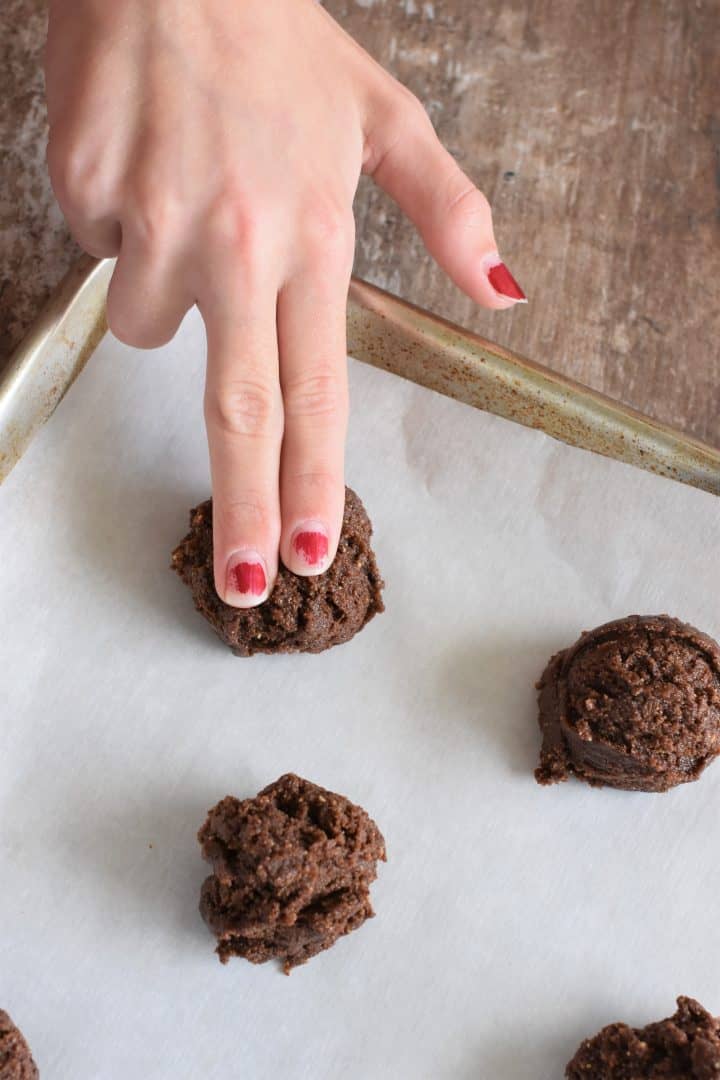
Reshape the edges of each unbaked cookie so that they are circular in shape.

Bake for 9-11 minutes until cookies are set. You will see cracking across the top.
If using the sea salt, sprinkle on top of each cookie immediately after removing them from the oven.

Allow cookies to cool on the baking sheet for 5 minutes before transferring them to cooling rack or plate.
Storing the Cookies
Cookies are best when stored in a single layer in an airtight container at room temperature for up to 3 days. They will soften more during storage. You can also refrigerate them to last a couple more days.
Want more cookies? Try our 3-ingredient vegan peanut butter cookies next.
Vegan Chocolate Cookies
Ingredients
- ½ cup unsweetened, unsalted creamy almond butter with no added oil (room temperature)
- 6 tablespoon coconut sugar
- 3 tablespoon pure maple syrup
- 3 tablespoon aquafaba (liquid from a can of no salt added, canned chickpeas)
- 1 teaspoon pure vanilla extract
- 1 cup chickpea flour (aka garbanzo bean flour)
- ¼ cup unsweetened cocoa powder
- ½ teaspoon kosher salt
- ½ teaspoon baking soda
- Coarse sea salt, for sprinkling (optional)
Instructions
- Preheat oven to 350° F and line a baking sheet with parchment paper.
- Add almond butter, coconut sugar, maple syrup, aquafaba and vanilla extract to a mixing bowl. Using a spoon, stir to combine.
- Add chickpea flour, cocoa powder, salt and baking soda to a separate mixing bowl. Using a spoon, stir to combine.
- Add the flour mixture to the almond butter mixture and stir to combine with a spoon.
- Use a cookie scoop to create dough balls and place them on the parchment-lined baking sheet. Press down on each dough ball with your fingers. Reshape the edges of each unbaked cookie so that they are circular in shape.
- Bake for 9-11 minutes until cookies are set. You will see cracking across the top. If using the sea salt, sprinkle on top of each cookie immediately after removing them from the oven. Allow cookies to cool on the baking sheet for 5 minutes before transferring them to cooling rack or plate.
(Please refer to the post above for instructional photographs and other helpful information for this recipe)
Suggested Equipment/Tools
Notes
Nutrition
©Watch Learn Eat. All content and images are copyright protected. Recipes and images are not to be used or republished without prior permission. If you adapt this recipe, please re-write the recipe in your own words, and link back to this post for the original recipe.



Leave a Reply