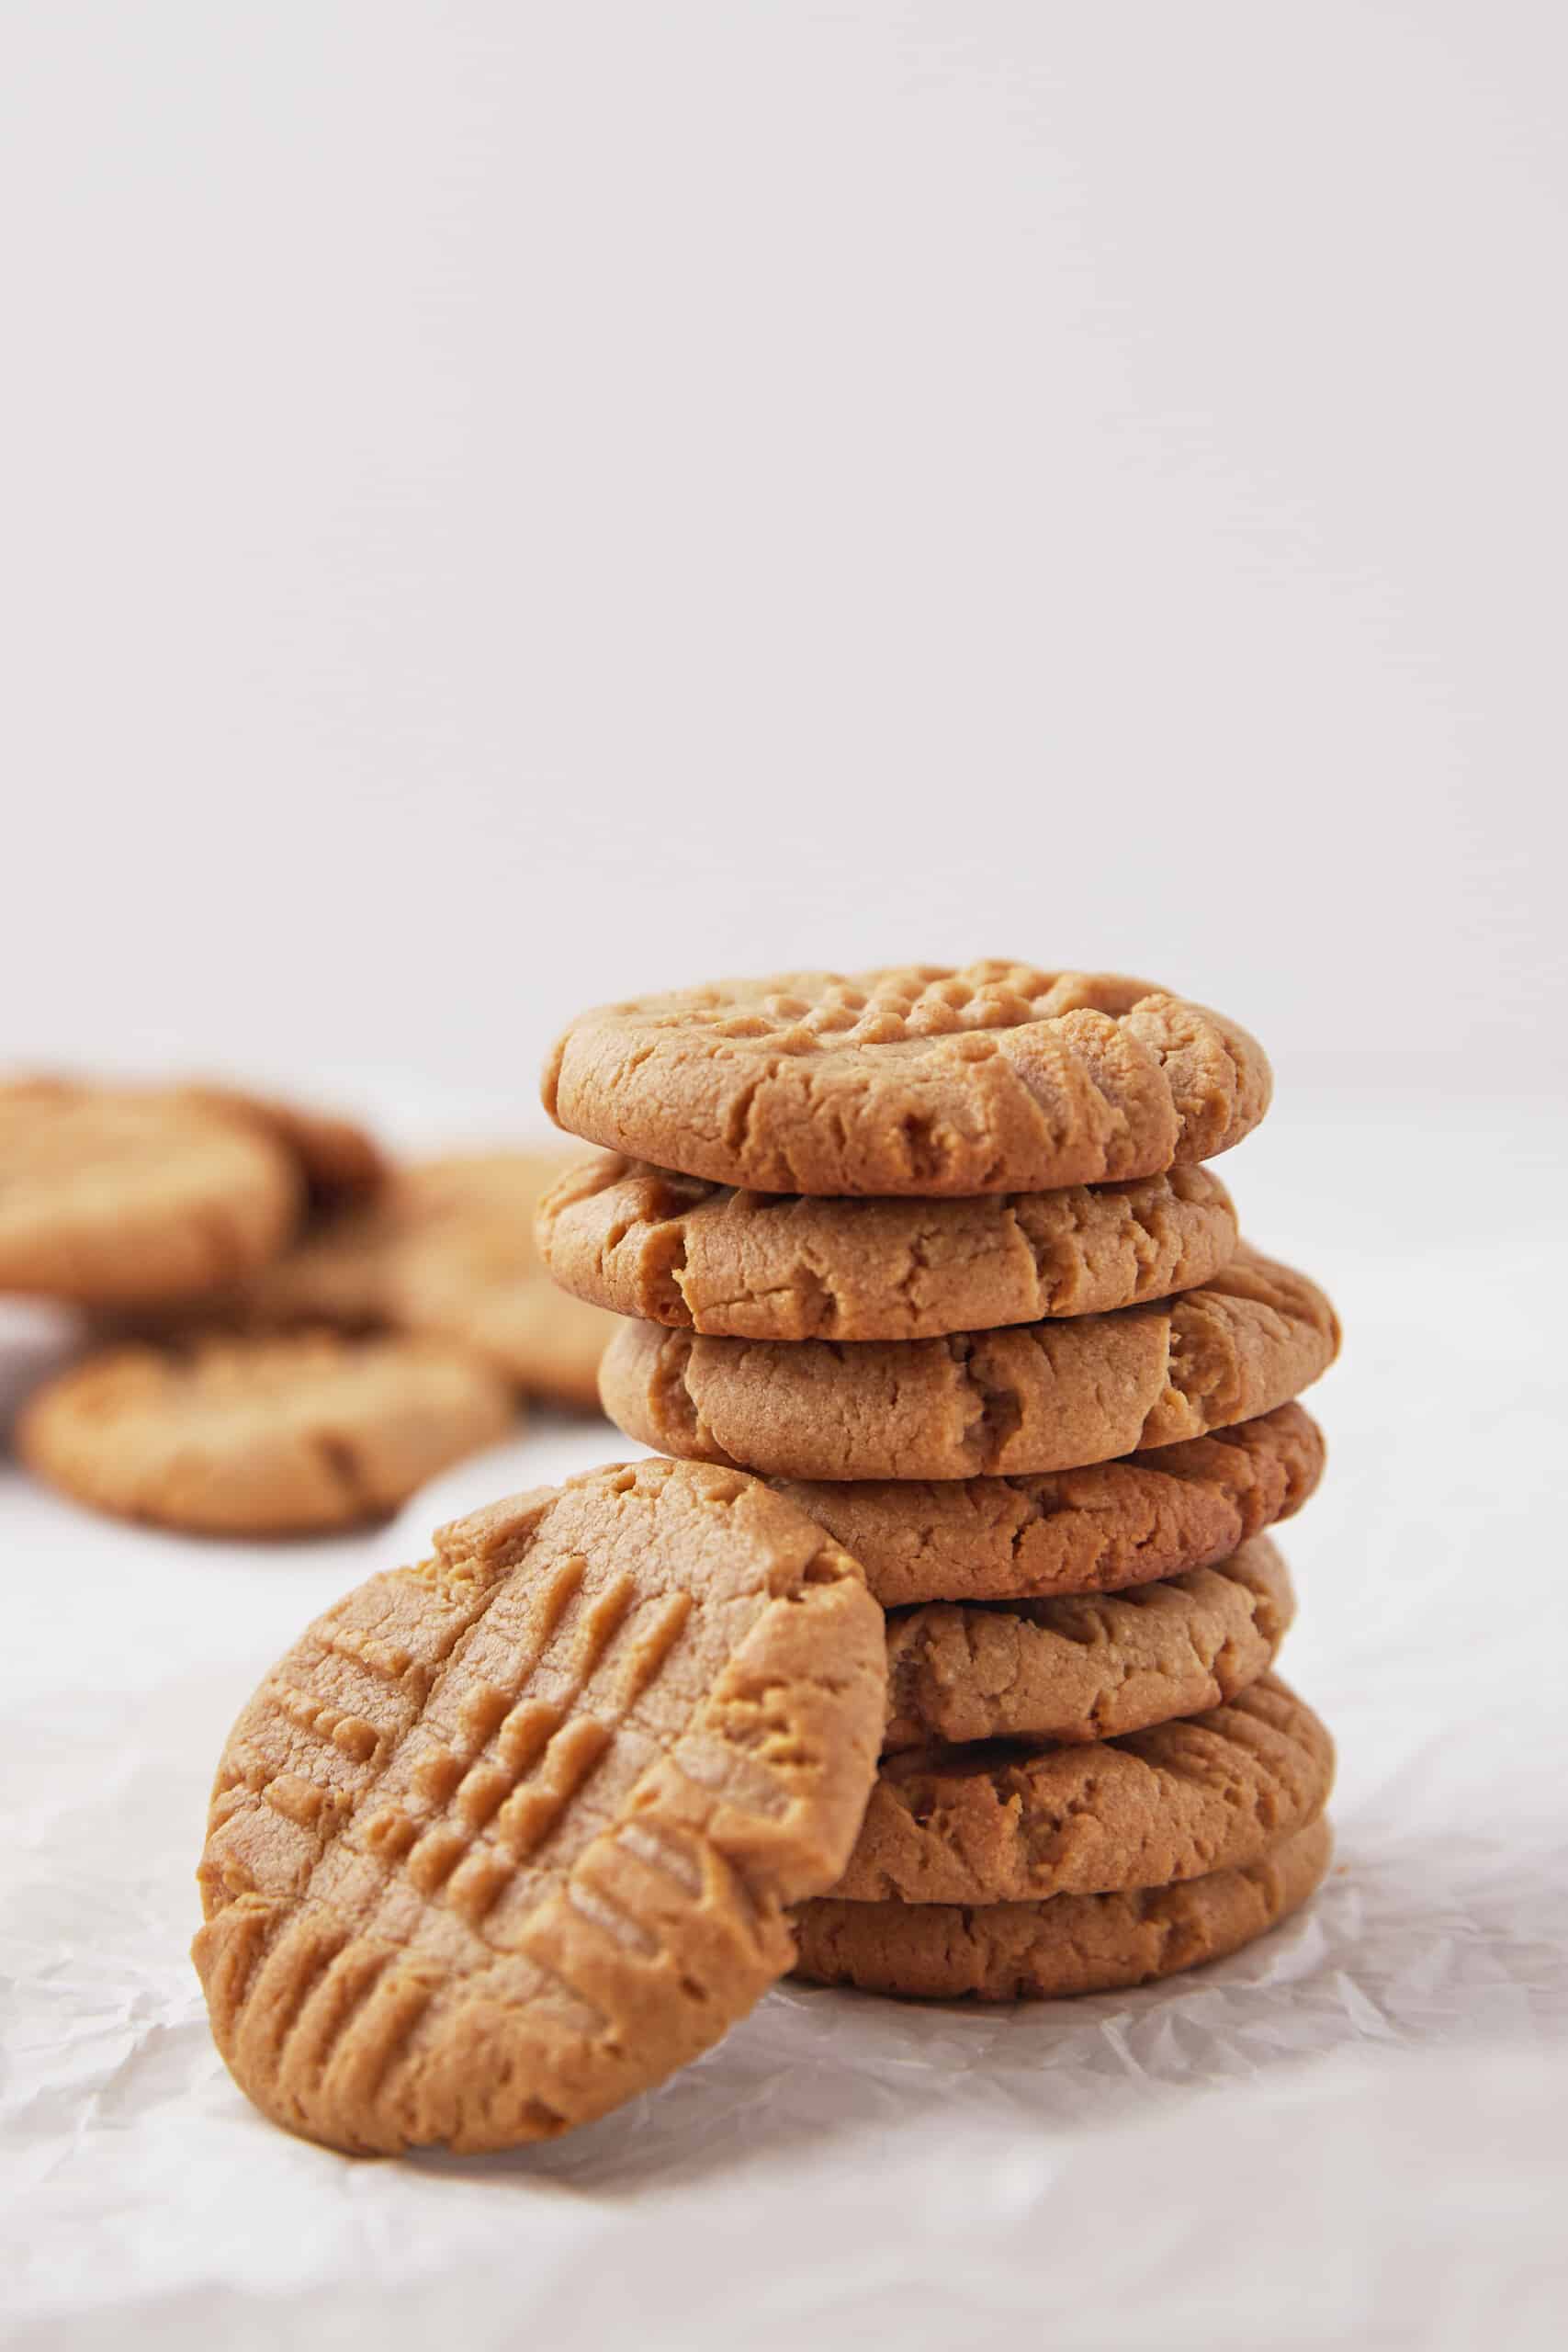
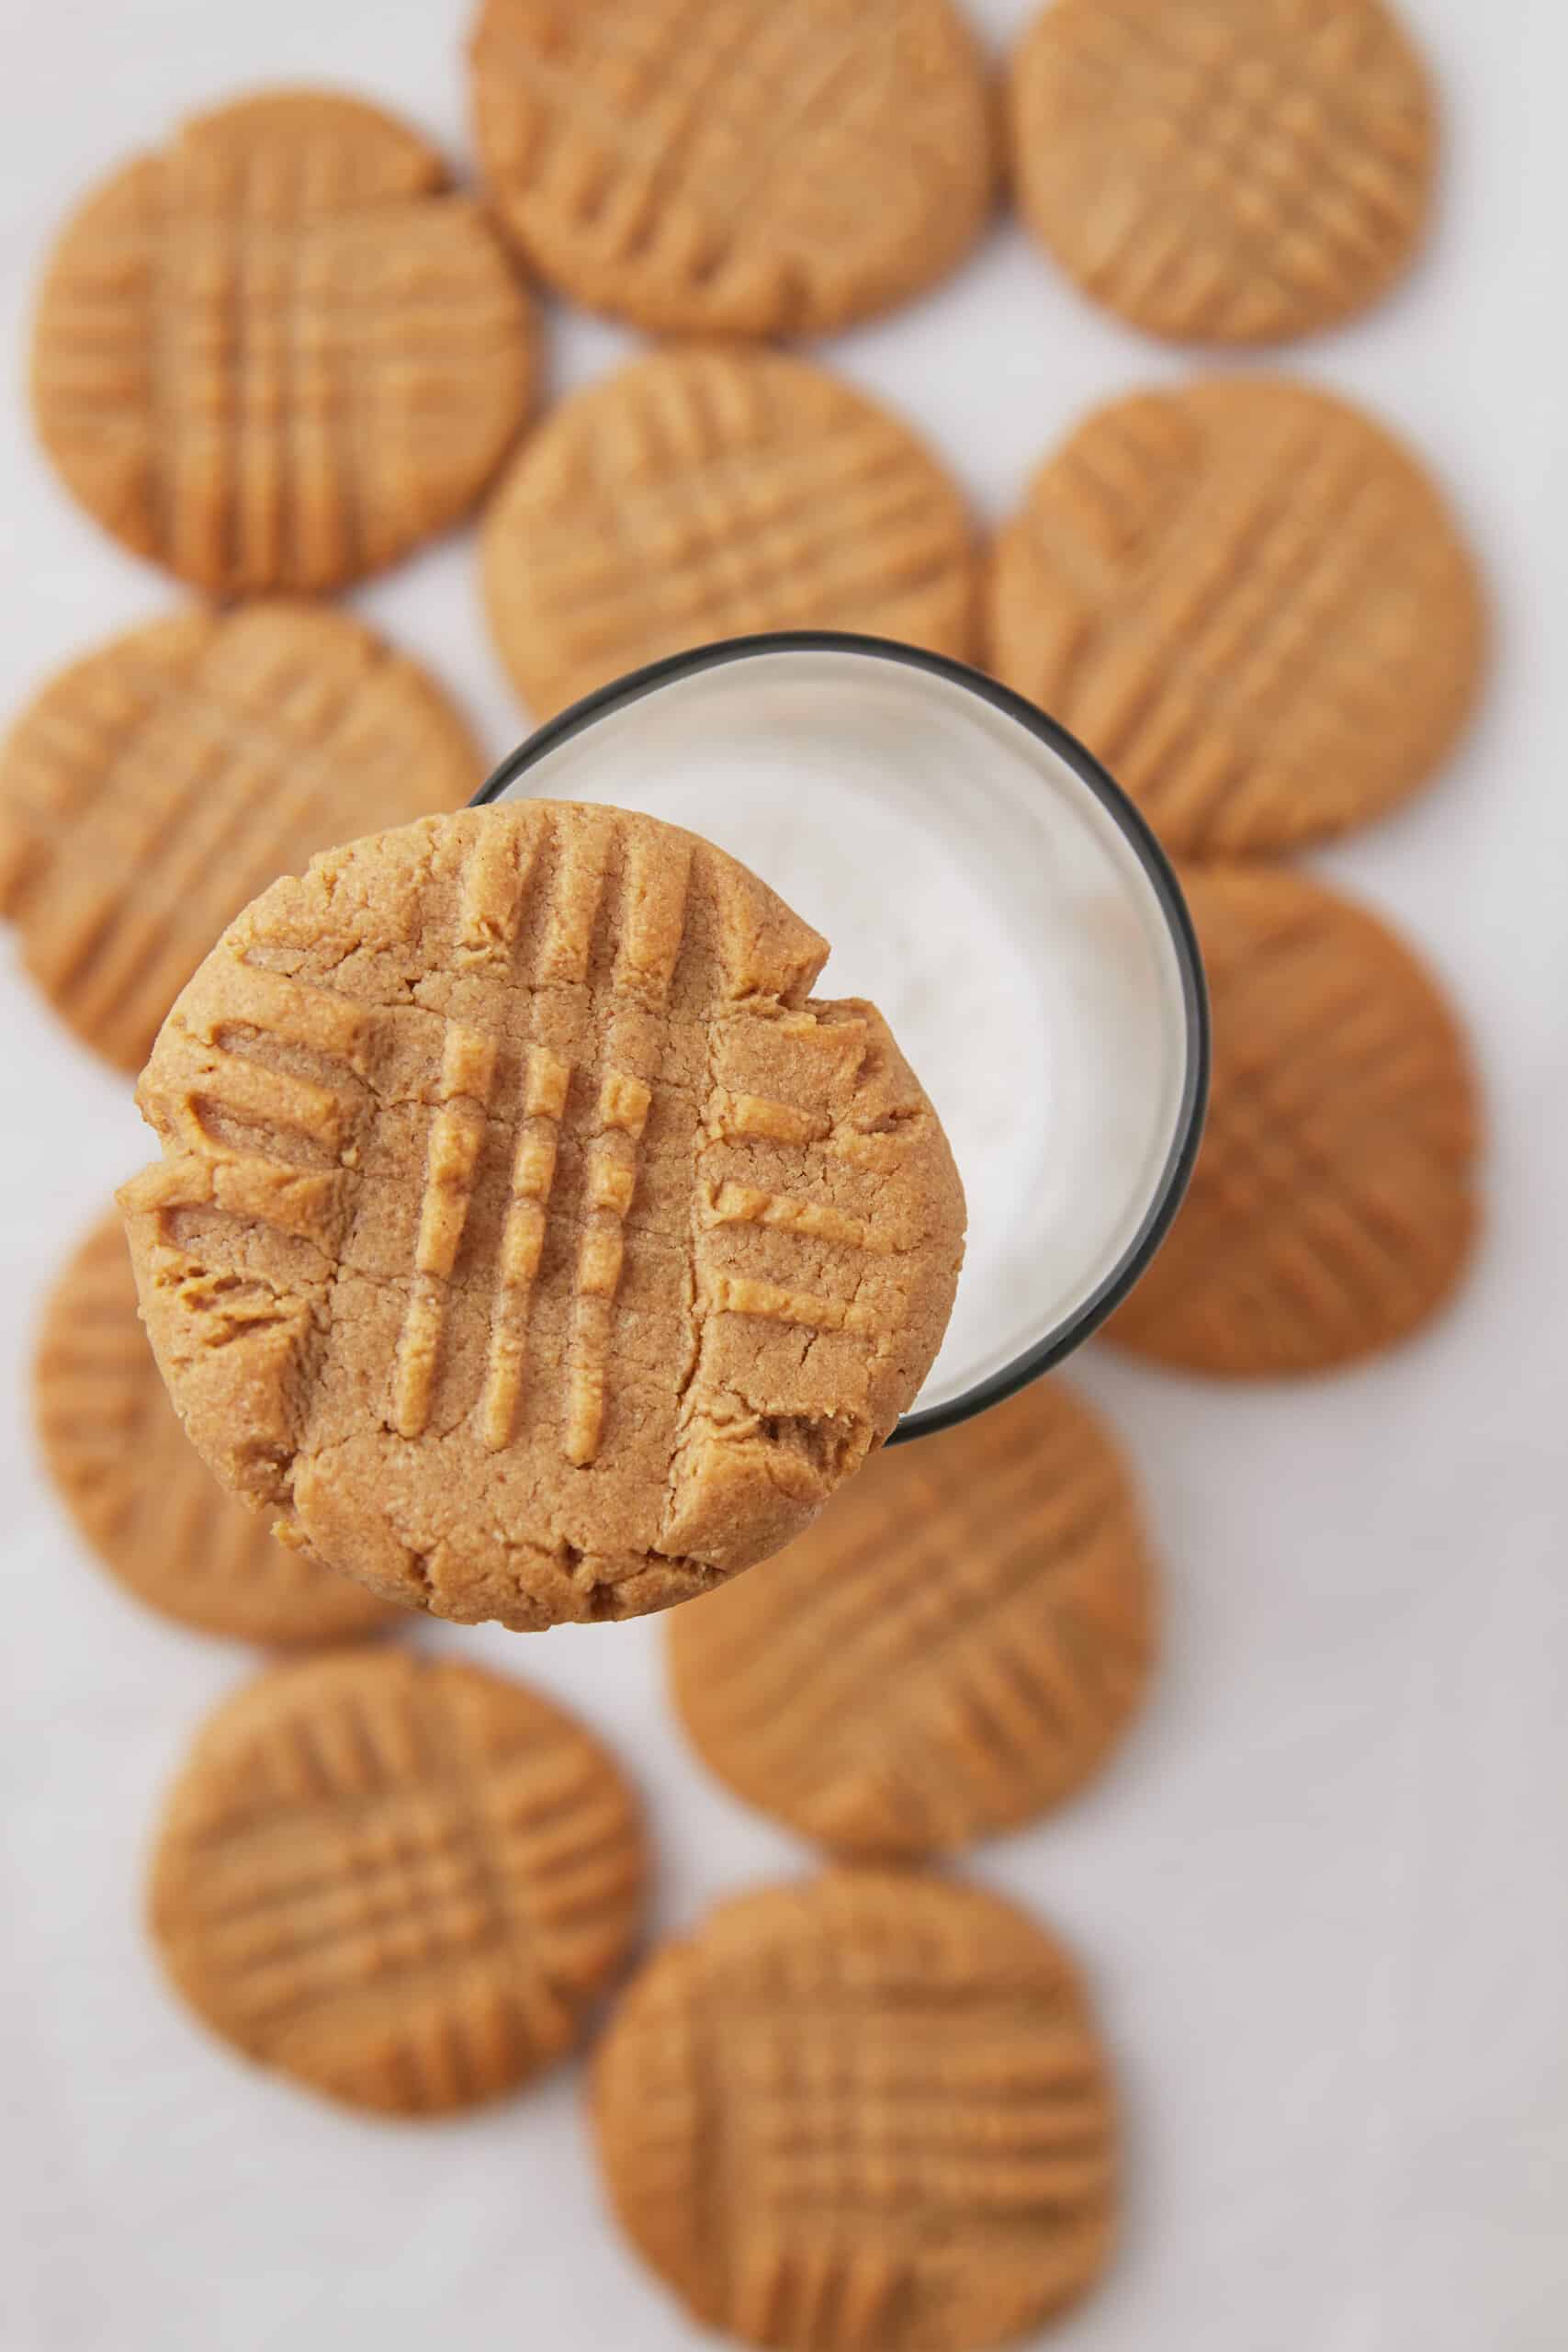
These dairy free peanut butter cookies are soft, chewy, classic, and flavorful! This recipe takes only 20 minutes from start to finish. These dairy free peanut butter cookies recipe delivers all the mouthwatering taste and delightful texture you crave, without any dairy products. Whether you are lactose intolerant, following a vegan lifestyle, or simply looking for a healthier alternative, these cookies are bound to become your new favorite indulgence!
Why You'll Love This Recipe
- Dairy free peanut butter cookies offer a more nutritious alternative, as they don't contain butter or milk.
- They are lower in saturated fat and cholesterol, making them a guilt-free choice.
- They are allergy friendly.
- These cookies are an excellent option for individuals with dairy allergies or sensitivities, as well as those with lactose intolerance.
- They provide a safe and enjoyable treat for everyone to enjoy!
- These cookies can be easily made gluten free. They are naturally dairy free, vegan, and egg free.
- This means they do not include any animal-derived products, making them suitable for those following a plant-based diet.
- This quick and easy recipe is straightforward and requires minimal ingredients.
- In just a few simple steps, you'll have a batch of delectable dairy free peanut butter cookies ready to devour.
- No dough chilling is required!
Ingredients You'll Need
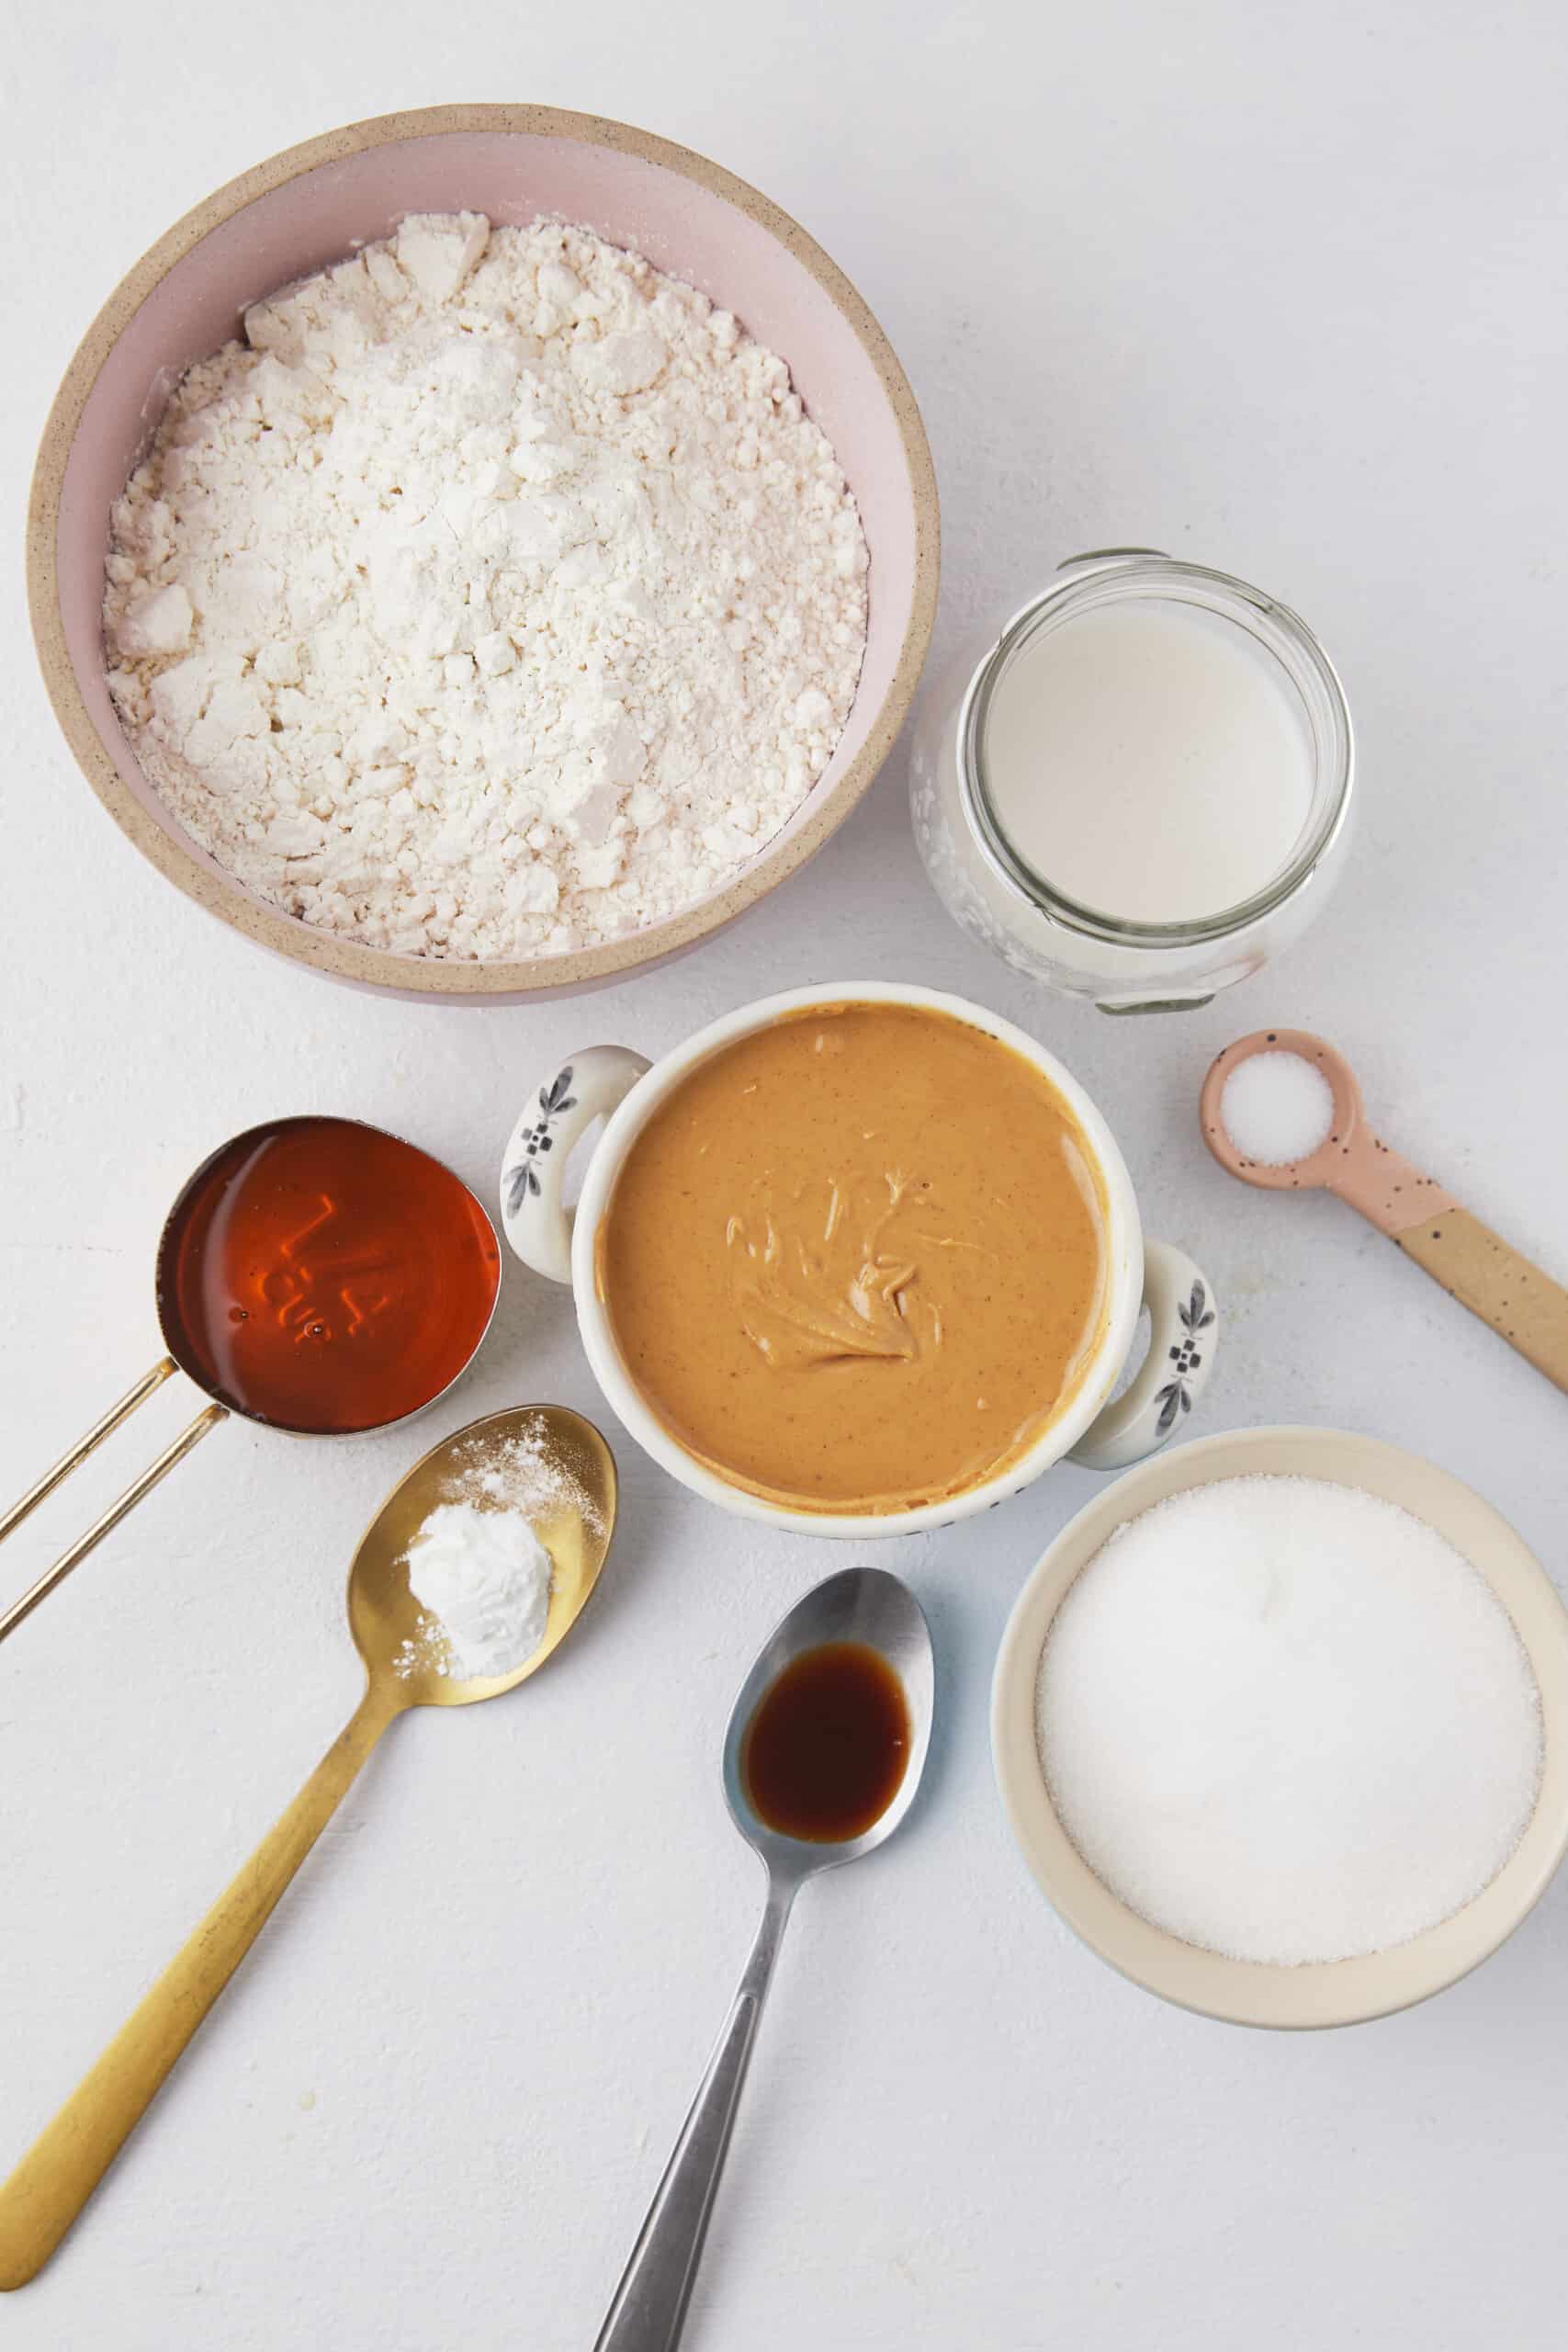
Get all the details on these simple ingredients in the recipe card at the post's bottom.
Use creamy peanut butter. Do not use crunchy peanut butter. For chewy cookies, use a brand like Skippy or Jif. All-natural creamy peanut butter may yield more thin, runny cookies.
Granulated sugar adds sweetness. I have not tried this recipe using an alternative or keto sweetener, but it may work. Coconut sugar would be a good one to try!
Vanilla extract adds a classic cozy flavor.
Pure maple syrup adds a depth of flavor and natural sweetness.
Use unsweetened dairy-free milk. Almond milk, cashew milk, oat milk, and macadamia milk are great options.
Both all-purpose flour and gluten-free 1 to 1 flour work well. I recommend Bob's Red Mill or King Arthur Flour for gluten-free flours. Those are the two I always use to bake cookies! Thus, they will be gluten free dairy free peanut butter cookies.
Add in a pinch of sea salt for added flavor.
Lastly, baking powder helps these dairy free peanut butter cookies rise slightly.
Taste & Texture
Do not be fooled by the absence of dairy in these cookies! They still boast a rich, nutty flavor and a heavenly buttery texture that will leave you craving more.
The peanut butter provides a creamy, savory taste, while the combination of sugar and vanilla adds a touch of sweetness.
As they bake, the dairy free peanut butter cookies develop a slightly crisp exterior while remaining wonderfully soft and chewy on the inside.
Prepare to be amazed by the perfect balance of flavors and textures in every bite!
What is Dairy Free?
"Dairy free" refers to the absence of any milk-based products in a recipe.
This means no milk, butter, cheese, or any other ingredient derived from milk.
In these dairy free peanut butter cookies, traditional dairy ingredients are replaced with alternative options that offer similar taste and texture without compromising on flavor.
How to Make
Step 1
To start, preheat the oven to 350 degrees Fahrenheit (175 degrees Celsius). Line a cooking pan with parchment paper.
Step 2
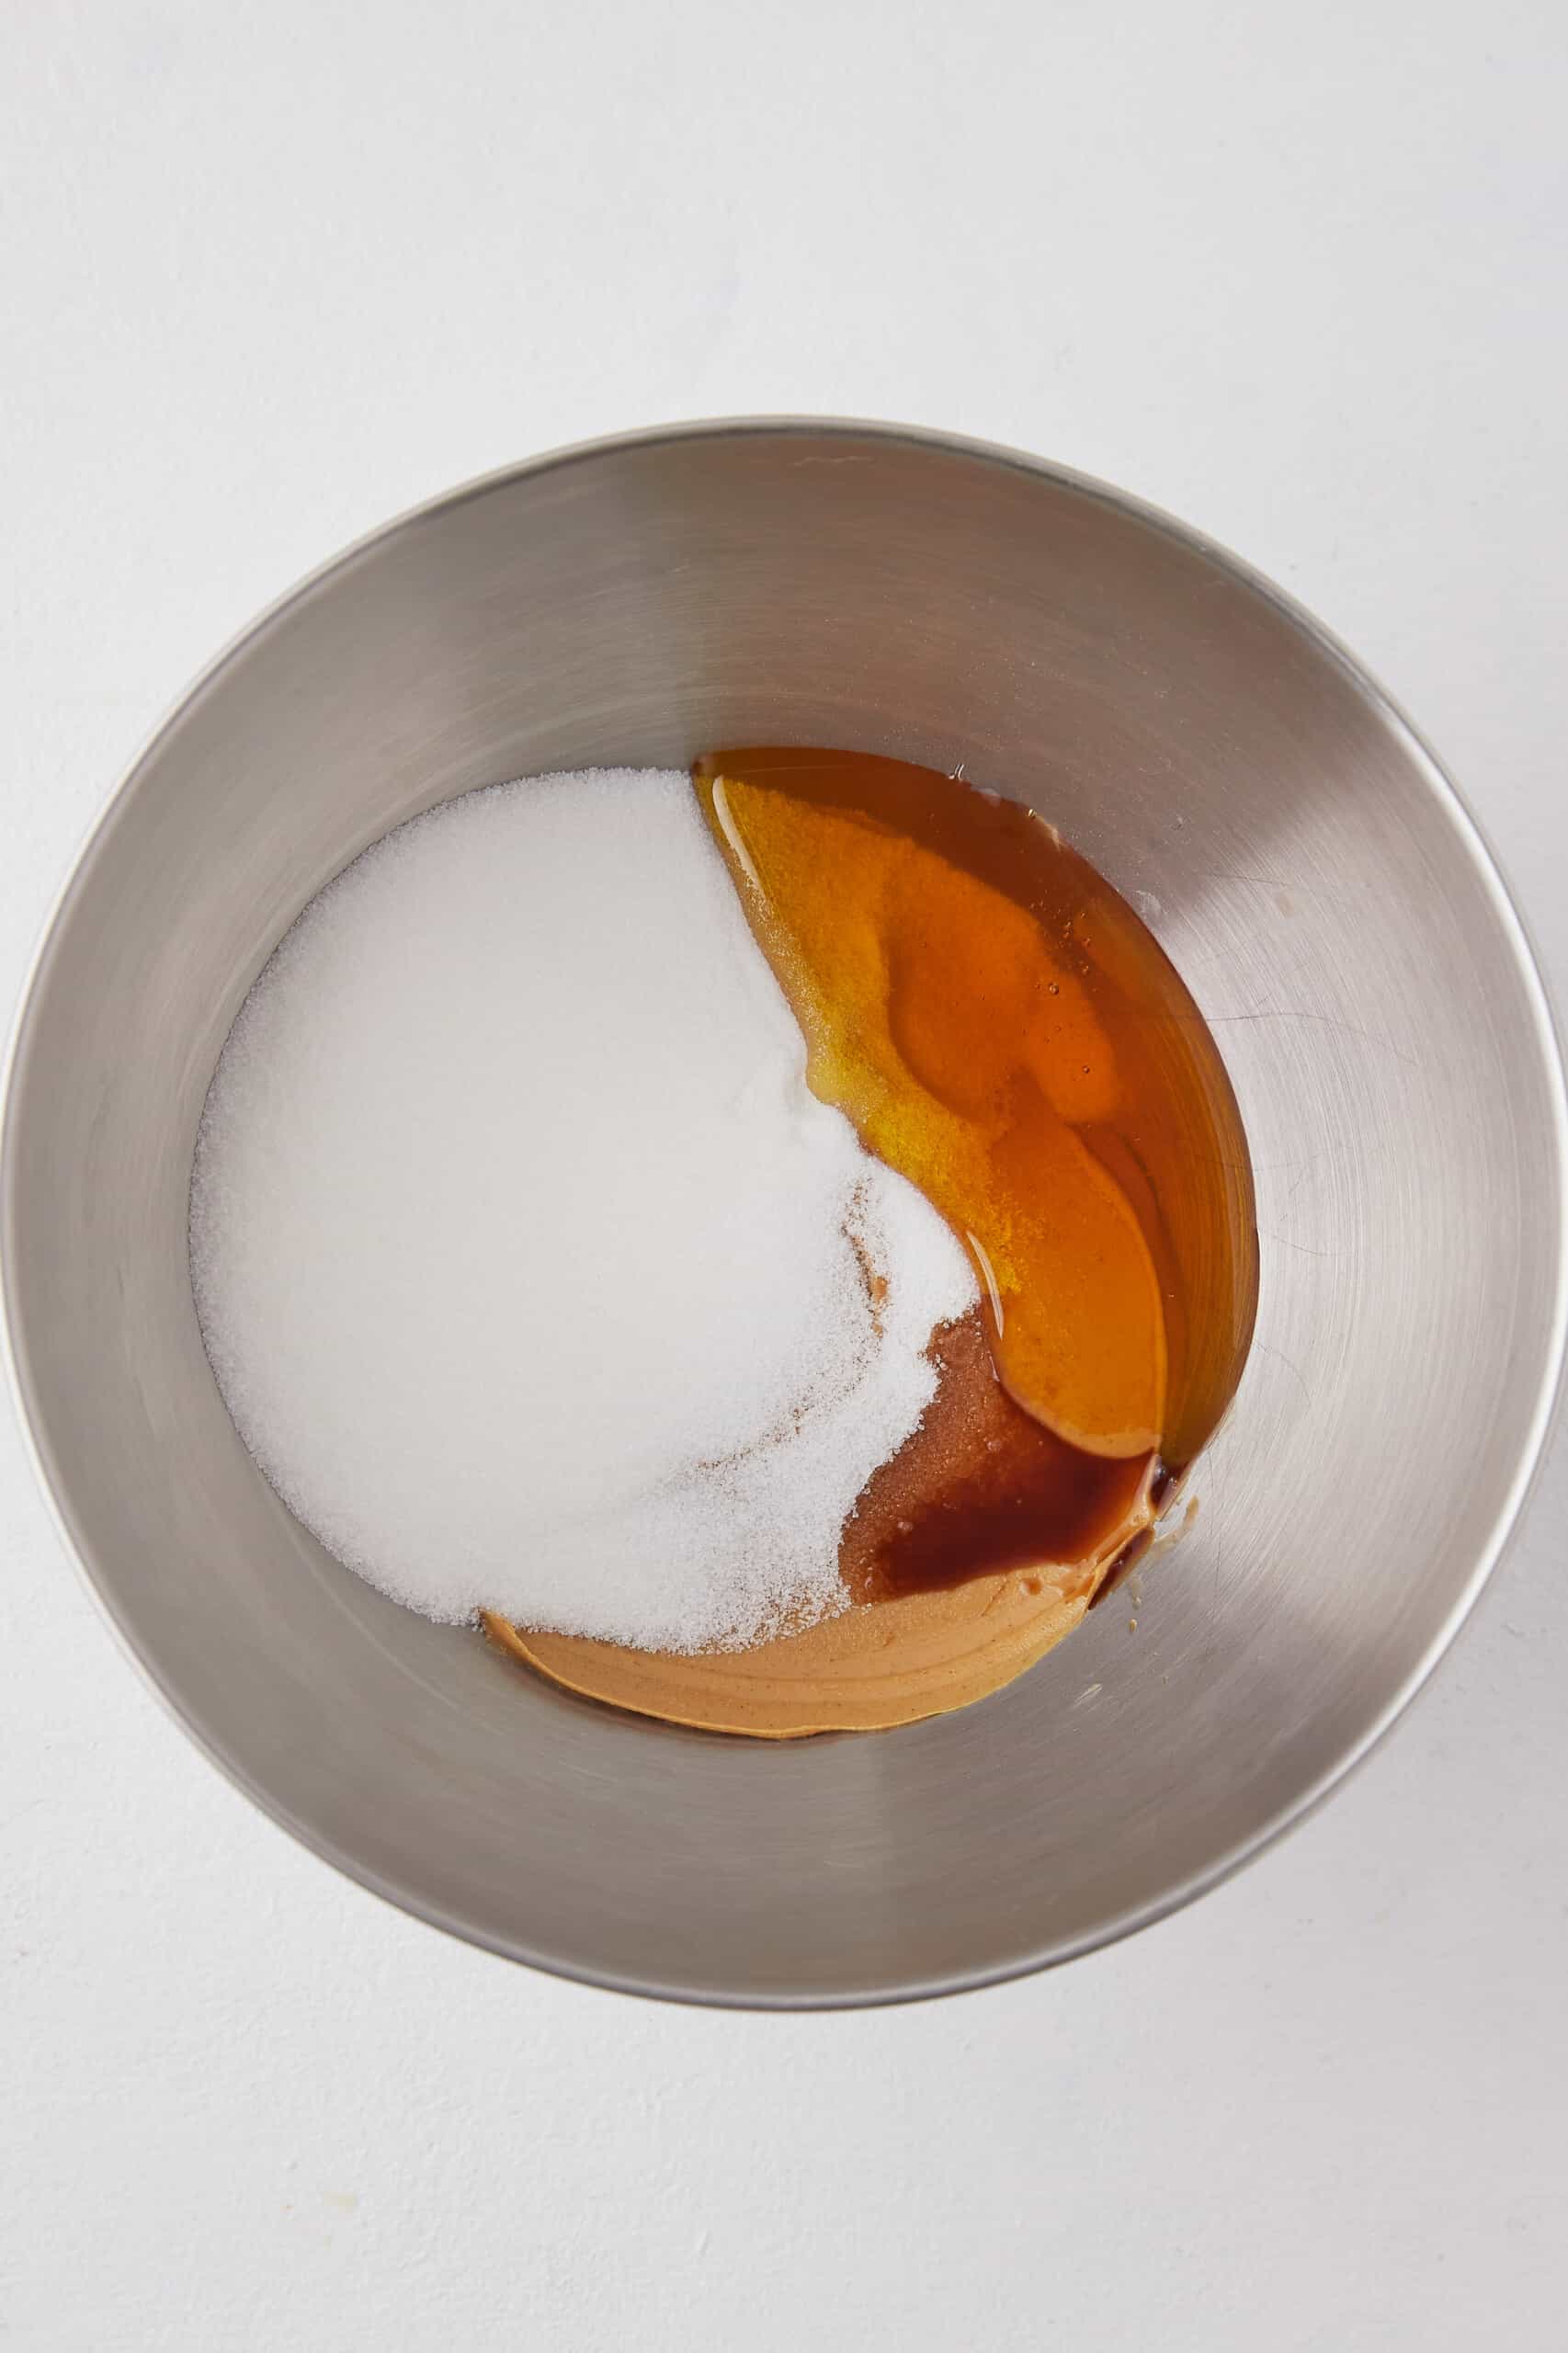
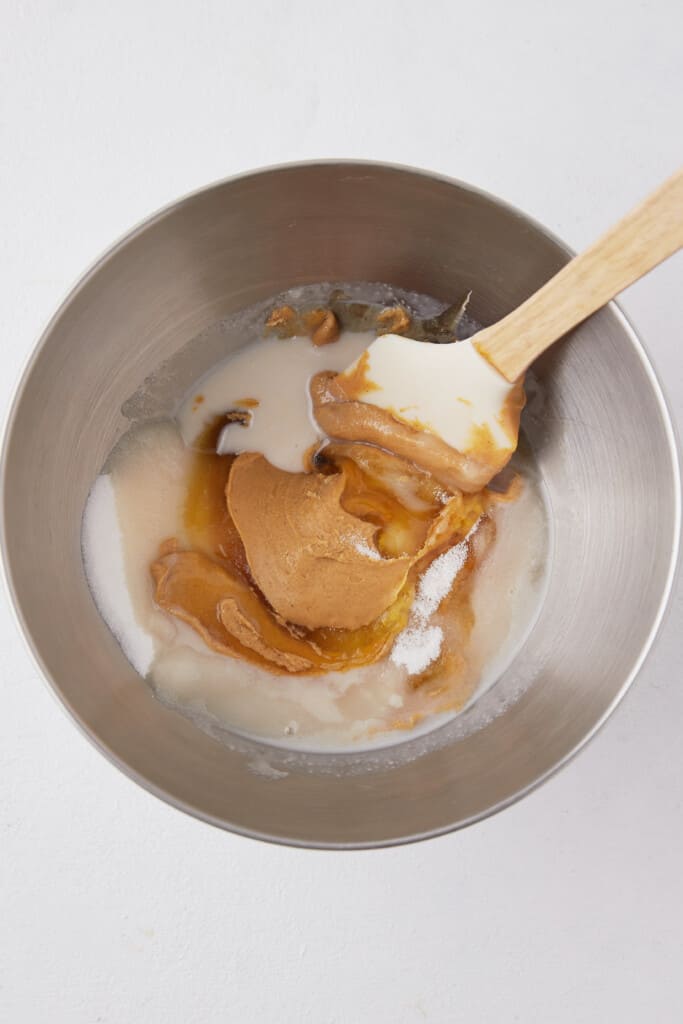
In a mixing bowl, stir together the peanut butter, sugar, vanilla, maple syrup, and milk.
Step 3
In another bowl, whisk together the flour, baking powder, and sea salt.
Step 4
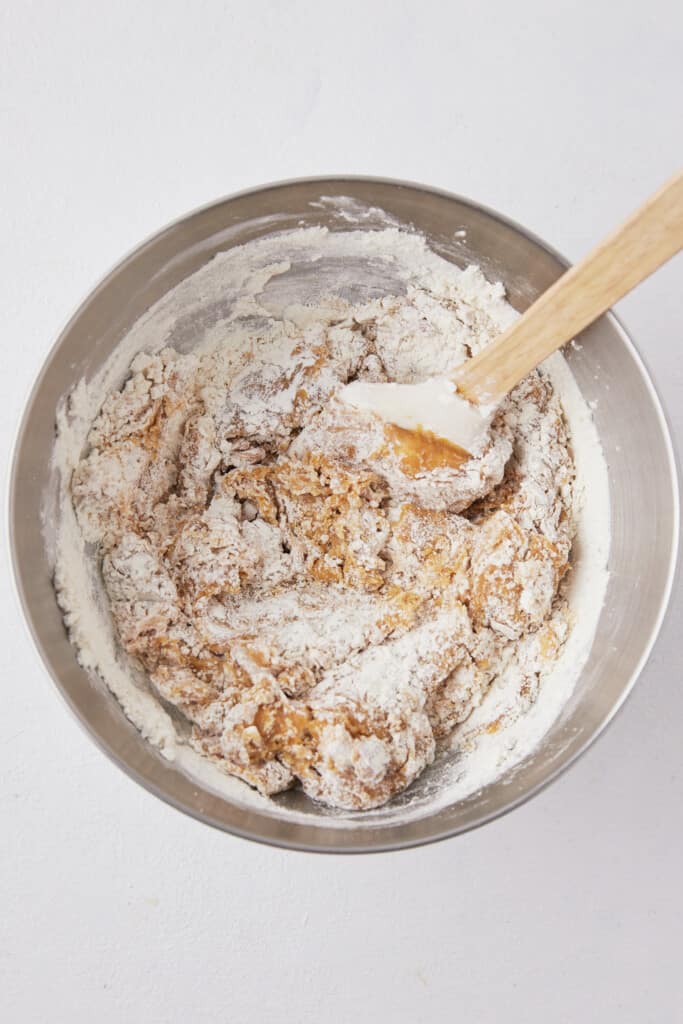
Pour the dry ingredients into the wet ingredients. Stir until a thick dough is formed.
Step 5
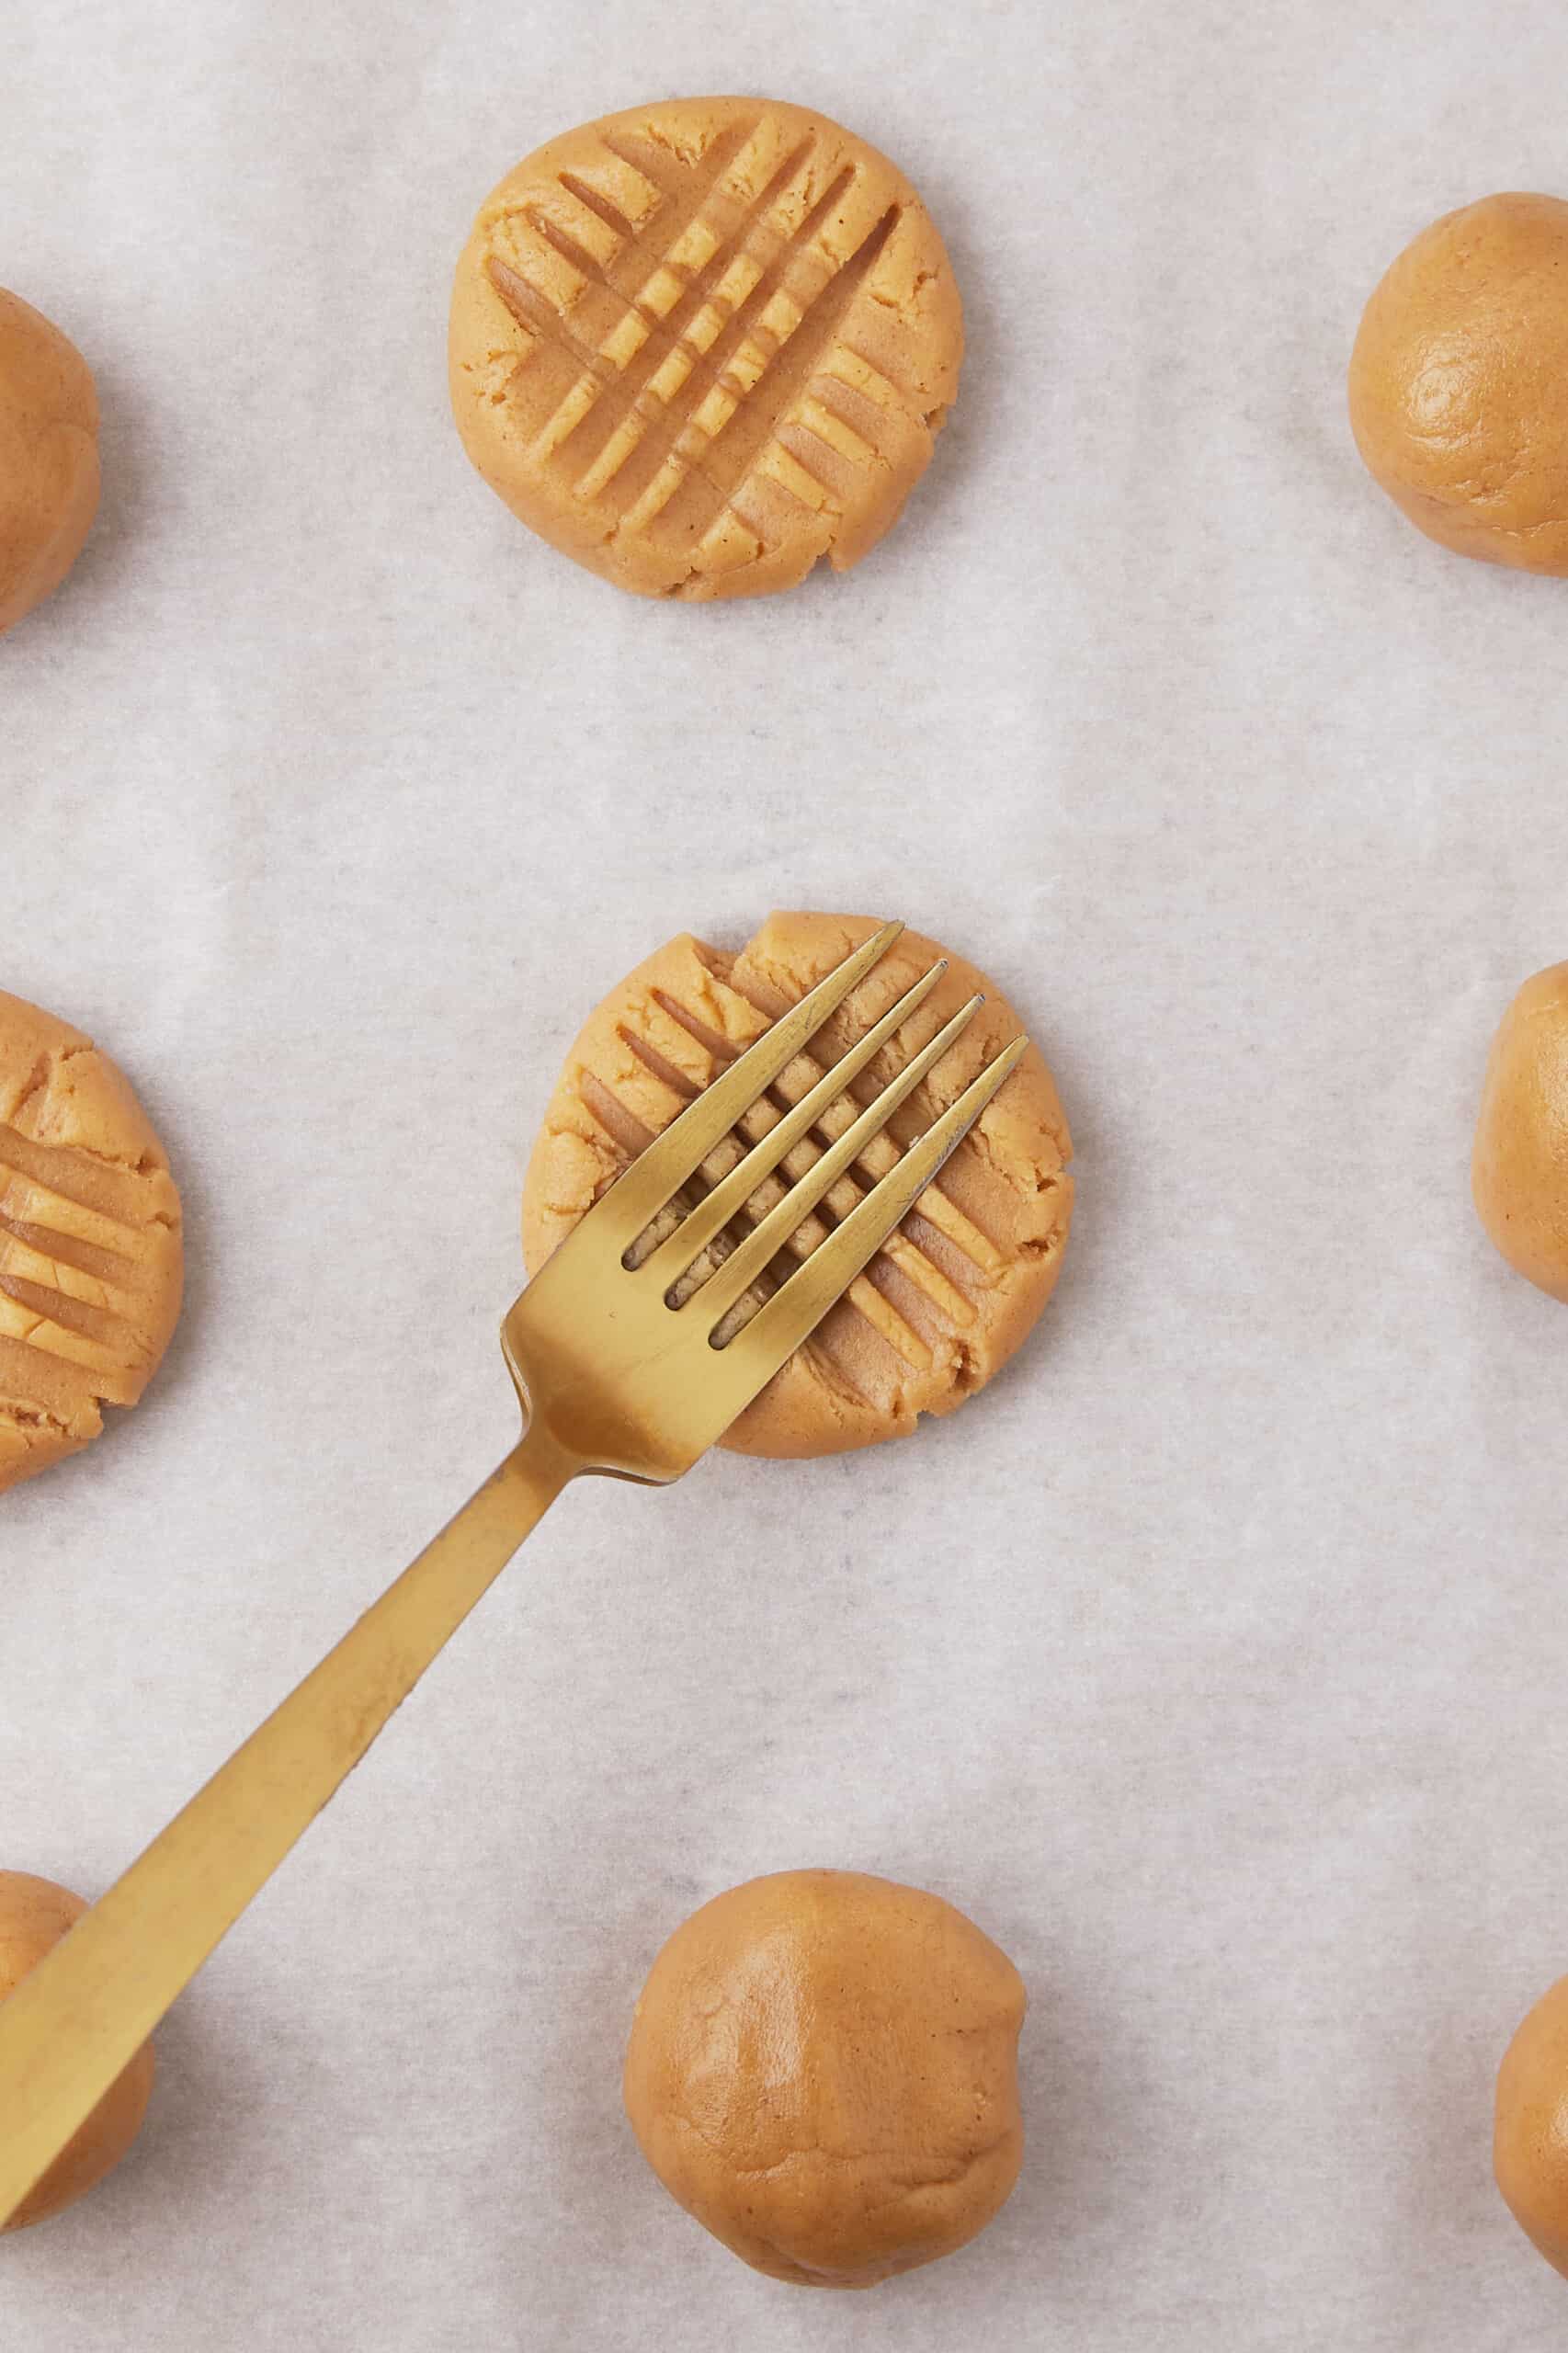
Roll the cookie dough into 1-inch-sized balls. Place on the parchment-lined baking pan.
Step 6
Use a fork to slightly flatten each cookie, creating a crisscross pattern.
Step 7
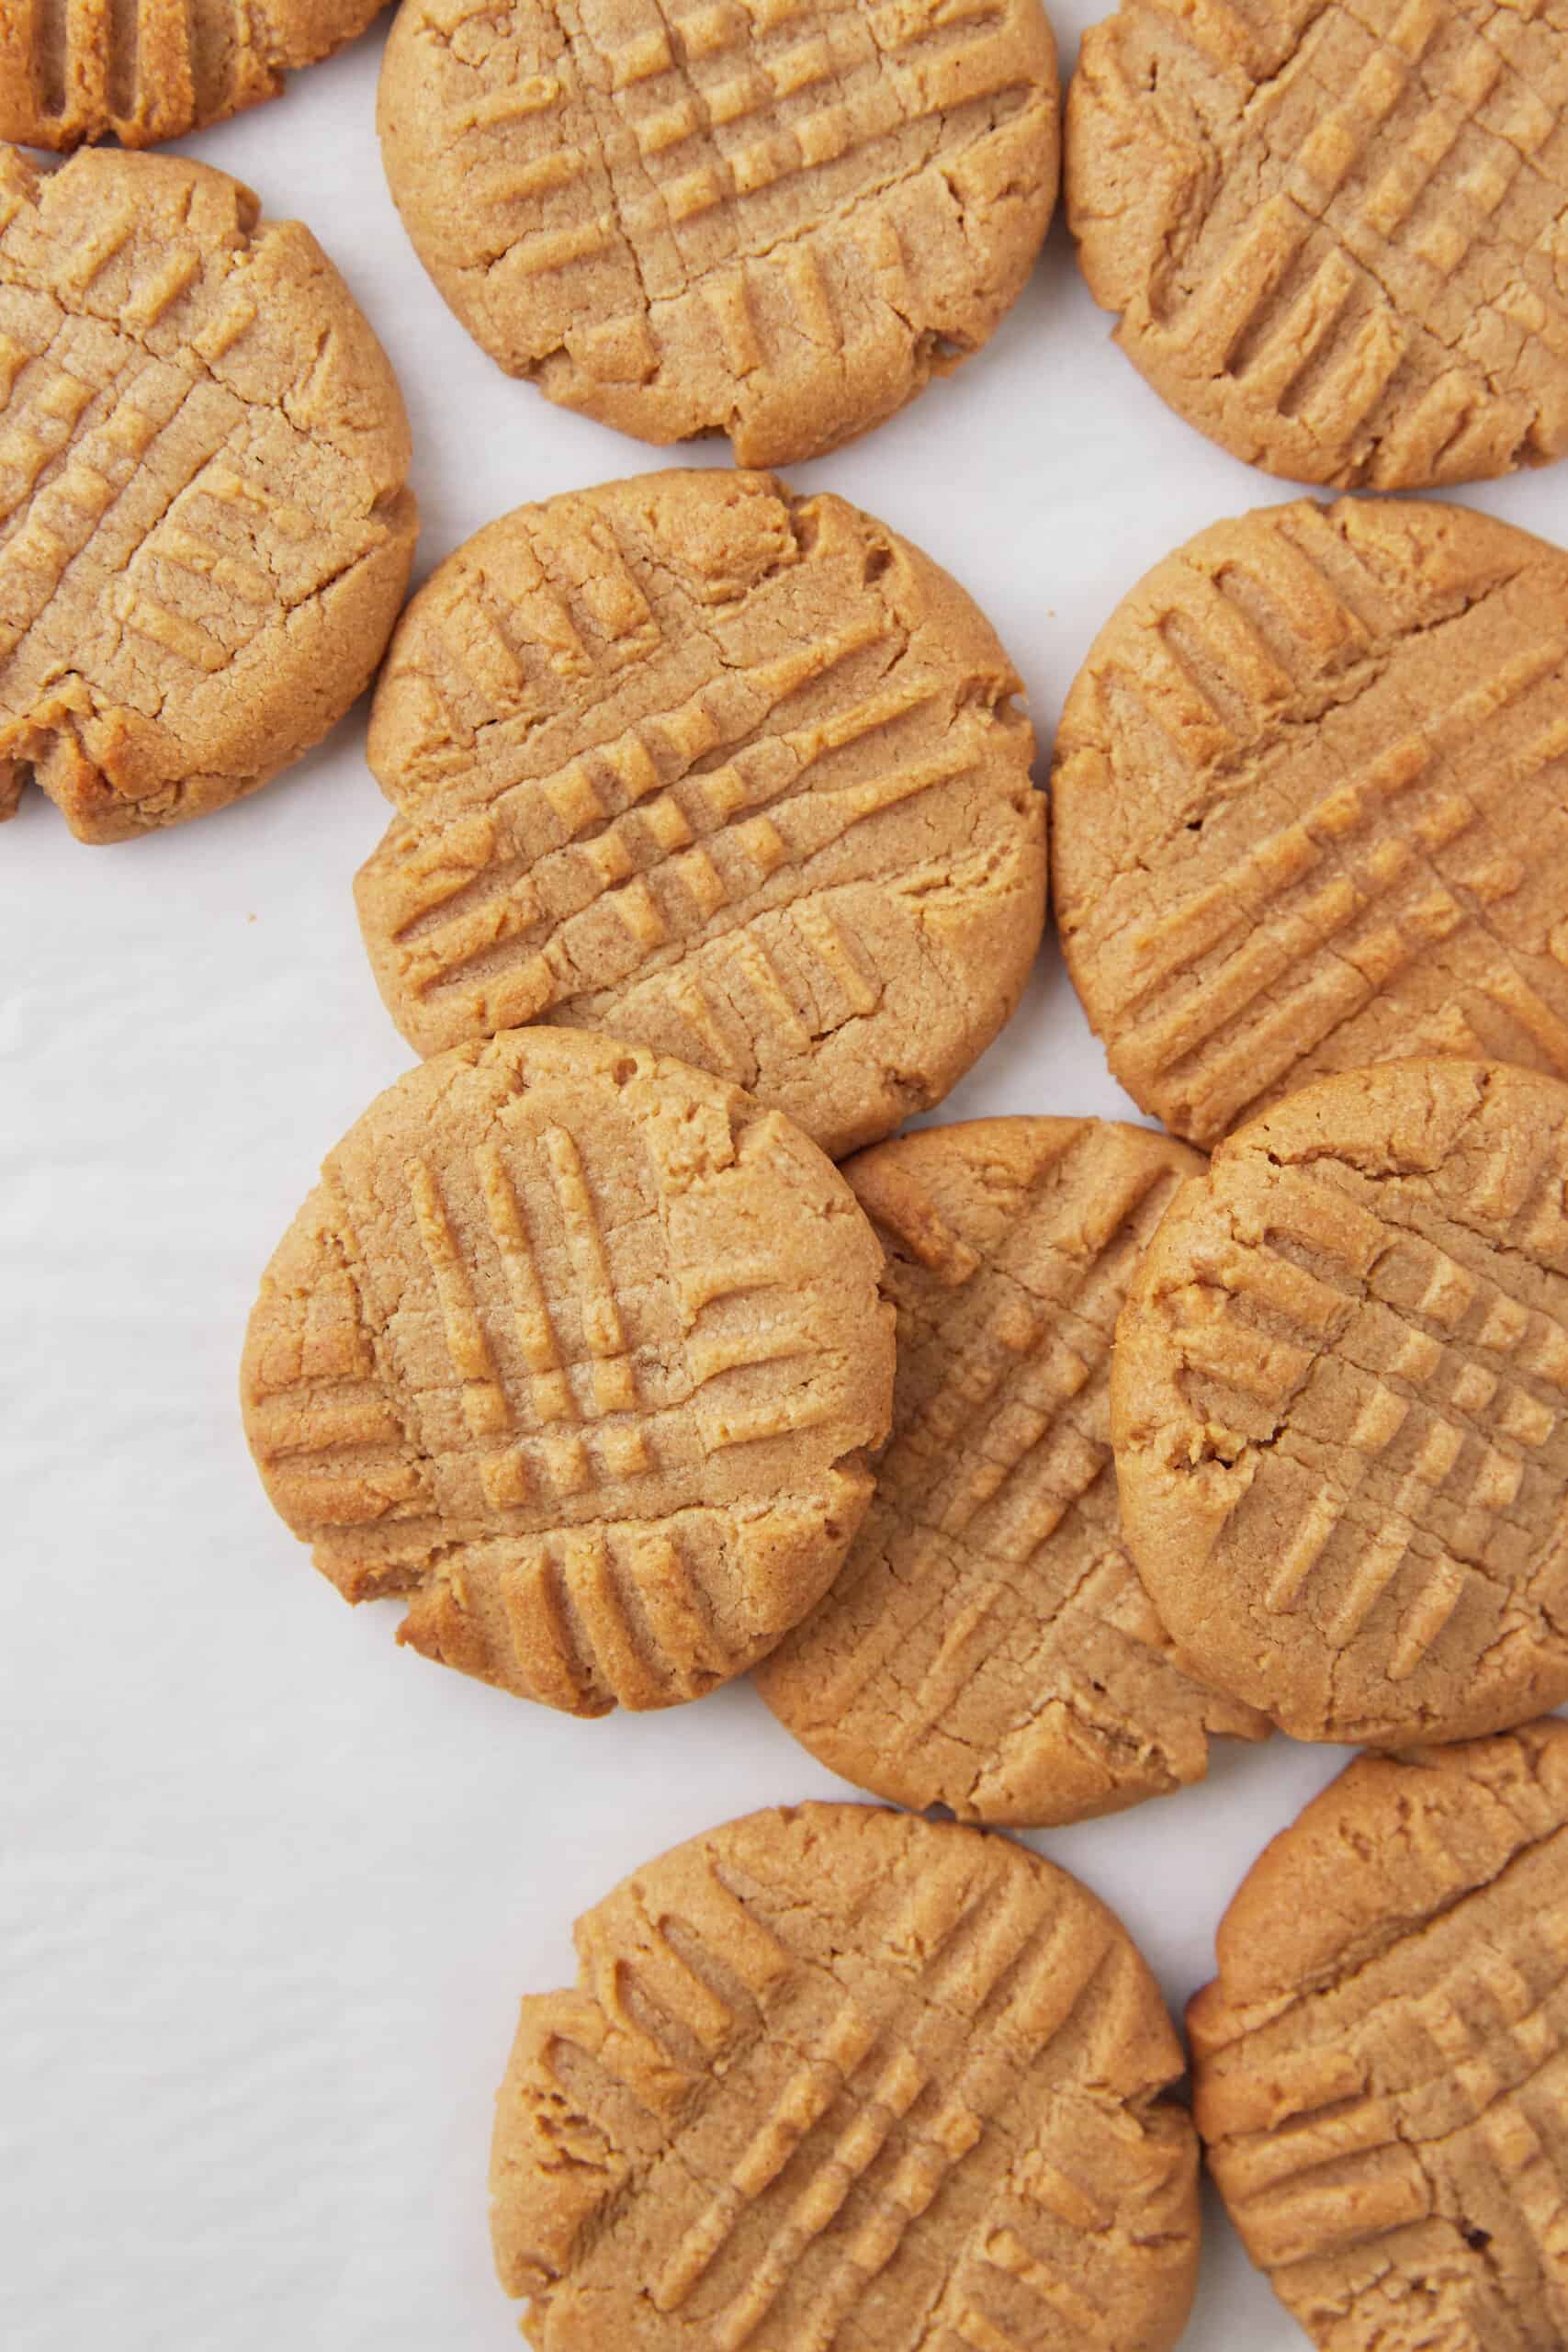
Bake the cookies in the preheated oven for 10 to 11 minutes, or until the edges are barely golden.
Step 8
Remove the pan from the oven. Cool the cookies for 5 minutes before removing to a wire rack.
Step 9
Finally, once cooled, serve dairy free peanut butter cookies!
Top Tips
Choose the right peanut butter. Creamy has a much better texture than crunchy.
Measure the ingredients accurately. Baking is a science, and precise measurements are crucial for consistent results.
Use measuring cups and spoons to ensure the proper balance of ingredients.
Do not bake these dairy free peanut butter cookies too long. Keep a close eye on your cookies while they bake, as overbaking can result in dry and crumbly treats.
Remove them from the oven when they are lightly golden around the edges but still slightly soft in the center. They will firm up as they cool.
Frequently Asked Questions
Use creamy peanut butter from a jar. Classic brands like Jif and Skippy work well. All-natural peanut butter may make the cookies too thin.
Yes! Feel free to add in some chocolate chips, dried cranberries, or chopped nuts. Coconut flakes are another great option!
Yes, peanut butter is naturally gluten free.
No, there is no need to chill the cookie dough.
The indents on the cookies help press the cookies down into their shape. In addition, it creates that classic crisscross pattern on the cookies.
Serving
These dairy free peanut butter cookies are perfect for any occasion! Enjoy them as an afternoon snack with a cup of tea or coffee.
Or, serve them as a crowd-pleasing dessert for the holidays, birthdays, Christmas, and more. These Dairy Free Oatmeal Cookies are great for holidays too!
They pair wonderfully with a glass of dairy free milk, dairy free whipped cream, or a scoop of vegan ice cream for an extra special treat.
Storage
To store the dairy free peanut butter cookies, place them in an airtight container at room temperature for up to 4 days.
For longer shelf life, freeze them for up to 3 months.
Thaw them at room temperature before serving.
Equipment Needed
Hand Mixer: This hand mixer works well for making these dairy free peanut butter cookies.
KitchenAid Stand Mixer: I have used this stand mixer for over 20 years! It works well every single time.
USA Pan 3 Piece Cookie Sheet Set: These are the best pans for baking cookies.
Pre-Cut Parchment Paper Sheets: Use parchment paper for easy clean up.
Pyrex 3 Glass Mixing Bowls: These mixing bowls are great for this recipe.
Pyrex Glass Measuring Cups: Measure out all of the ingredients with these glass measuring cups.
You Will Also Love
- Vegan Peanut Butter Cups
- 3 Ingredient Peanut Butter Cookies
- Chocolate Peanut Butter Overnight Oats
- Peanut Butter Energy Balls
- Vegan Peanut Butter Oatmeal Cookies
Dairy Free Peanut Butter Cookies
Ingredients
- 1 cup creamy peanut butter
- ¾ cup granulated sugar
- 1 teaspoon vanilla extract
- 4 tablespoon pure maple syrup
- ¼ cup unsweetened dairy free milk
- 1 ½ cups flour all-purpose or gluten free
- ½ teaspoon sea salt
- ½ teaspoon baking powder
Instructions
- To start, preheat the oven to 350 degrees Fahrenheit (175 degrees Celsius). Line a cooking pan with parchment paper.
- In a mixing bowl, stir together the peanut butter, sugar, vanilla, maple syrup, and milk.
- In another bowl, whisk together the flour, baking powder, and sea salt.
- Pour the dry ingredients into the wet ingredients. Stir until a thick dough is formed.
- Roll the cookie dough into 1 inch sized balls. Place on the parchment lined baking pan.
- Use a fork to slightly flatten each cookie, creating a crisscross pattern.
- Bake for 10 to 11 minutes, or until the edges are barely golden.
- Remove the pan from the oven. Cool the cookies for 5 minutes before removing to a wire rack.
- Finally, once cooled, serve!
(Please refer to the post above for instructional photographs and other helpful information for this recipe)
Notes
- Use creamy peanut butter for the best texture results. Brands like Jif and Skippy work well.
- Both all-purpose flour and gluten-free 1 to 1 flour work well.
- The cookie dough will be pretty thick.
- Bake until the cookies have golden edges.
- They will be slightly soft when they first come out of the oven.
- These cookies will become chewy as they cool down.
- Store in an airtight container for up to 4 days at room temperature.
Nutrition
©Watch Learn Eat. All content and images are copyright protected. Recipes and photos are not to be used or republished without prior permission. If you adapt this recipe, please re-write the recipe in your own words, and link back to this post for the original recipe.



Leave a Reply