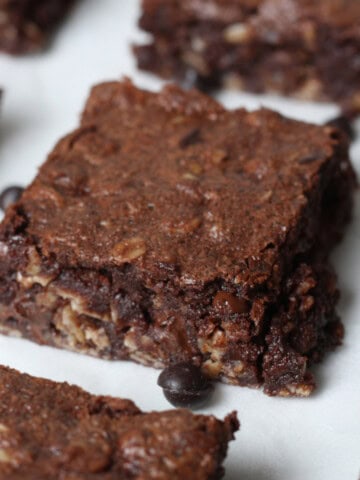
Three easy ways to make dairy free whipped cream at home, including one that doesn't taste like coconut. Whether you need a light topping for dessert, a pipeable frosting, or a vegan Cool Whip substitute, I've tested them all so you can pick the method that works for you.
My classic coconut cream version is ready in 5 minutes with just 3 ingredients. But that's only one way to do it. After testing multiple methods side by side, I've found that different situations call for different approaches.
The cashew cream method gives you a completely neutral flavor that's perfect for frosting. And the aquafaba method is nut-free, soy-free, and whips up into the lightest, airiest peaks you've ever seen.
If you love my dairy-free cream cheese frosting and my homemade vegan buttercream frosting, you'll love having all three of these in your back pocket. They cover every situation, from topping vegan chocolate cake to dolloping on dairy free pancakes to folding into mousse.
Table of contents
- 3 Ways to Make Dairy-Free Whipped Cream
- How to Make Dairy Free Whipped Cream using Coconut Cream
- How to Make Dairy Free Whipped Cream using Cashew Cream (No Coconut Flavor)
- How to Make Dairy Free Whipped Cream using Aquafaba (Nut-Free, Soy-Free Version)
- How to Stabilize Dairy-Free Whipped Cream
- Best Coconut Milk Brands for Whipped Cream
- Top Tips
- Storage
- Frequently Asked Questions
- Serving Suggestions
- Recipe Card
3 Ways to Make Dairy-Free Whipped Cream
I've been making coconut whipped cream for years, and it's great, but it's not the only option and it doesn't work for everyone. Some people don't like the coconut flavor. Others have nut allergies that rule out cashews. And some just want something that holds up better on a cake.
So I tested three methods head to head. Each one has a different texture, taste, and best use case. Here's how they compare:
| Coconut Cream | Cashew Cream | Aquafaba | |
|---|---|---|---|
| Taste | Mild coconut flavor | Neutral, creamy | Very neutral |
| Texture | Rich, thick, like Cool Whip | Smooth, dense | Light, airy, like meringue |
| Hold time | 3-4 hours at room temp | 2-3 hours | 1-2 hours (deflates faster) |
| Best for | Topping desserts, pies, hot cocoa | Frosting cakes, piping | Light topping, folding into mousse |
| Allergen notes | Tree nut free, soy free | Contains tree nuts | Nut free, soy free |
| Prep time | 10 min (+ overnight chill) | 15 min (+ 4 hr soak) | 10 min |
How to Make Dairy Free Whipped Cream using Coconut Cream
Full measurements and all versions (classic and stabilized) are in the recipe card below.
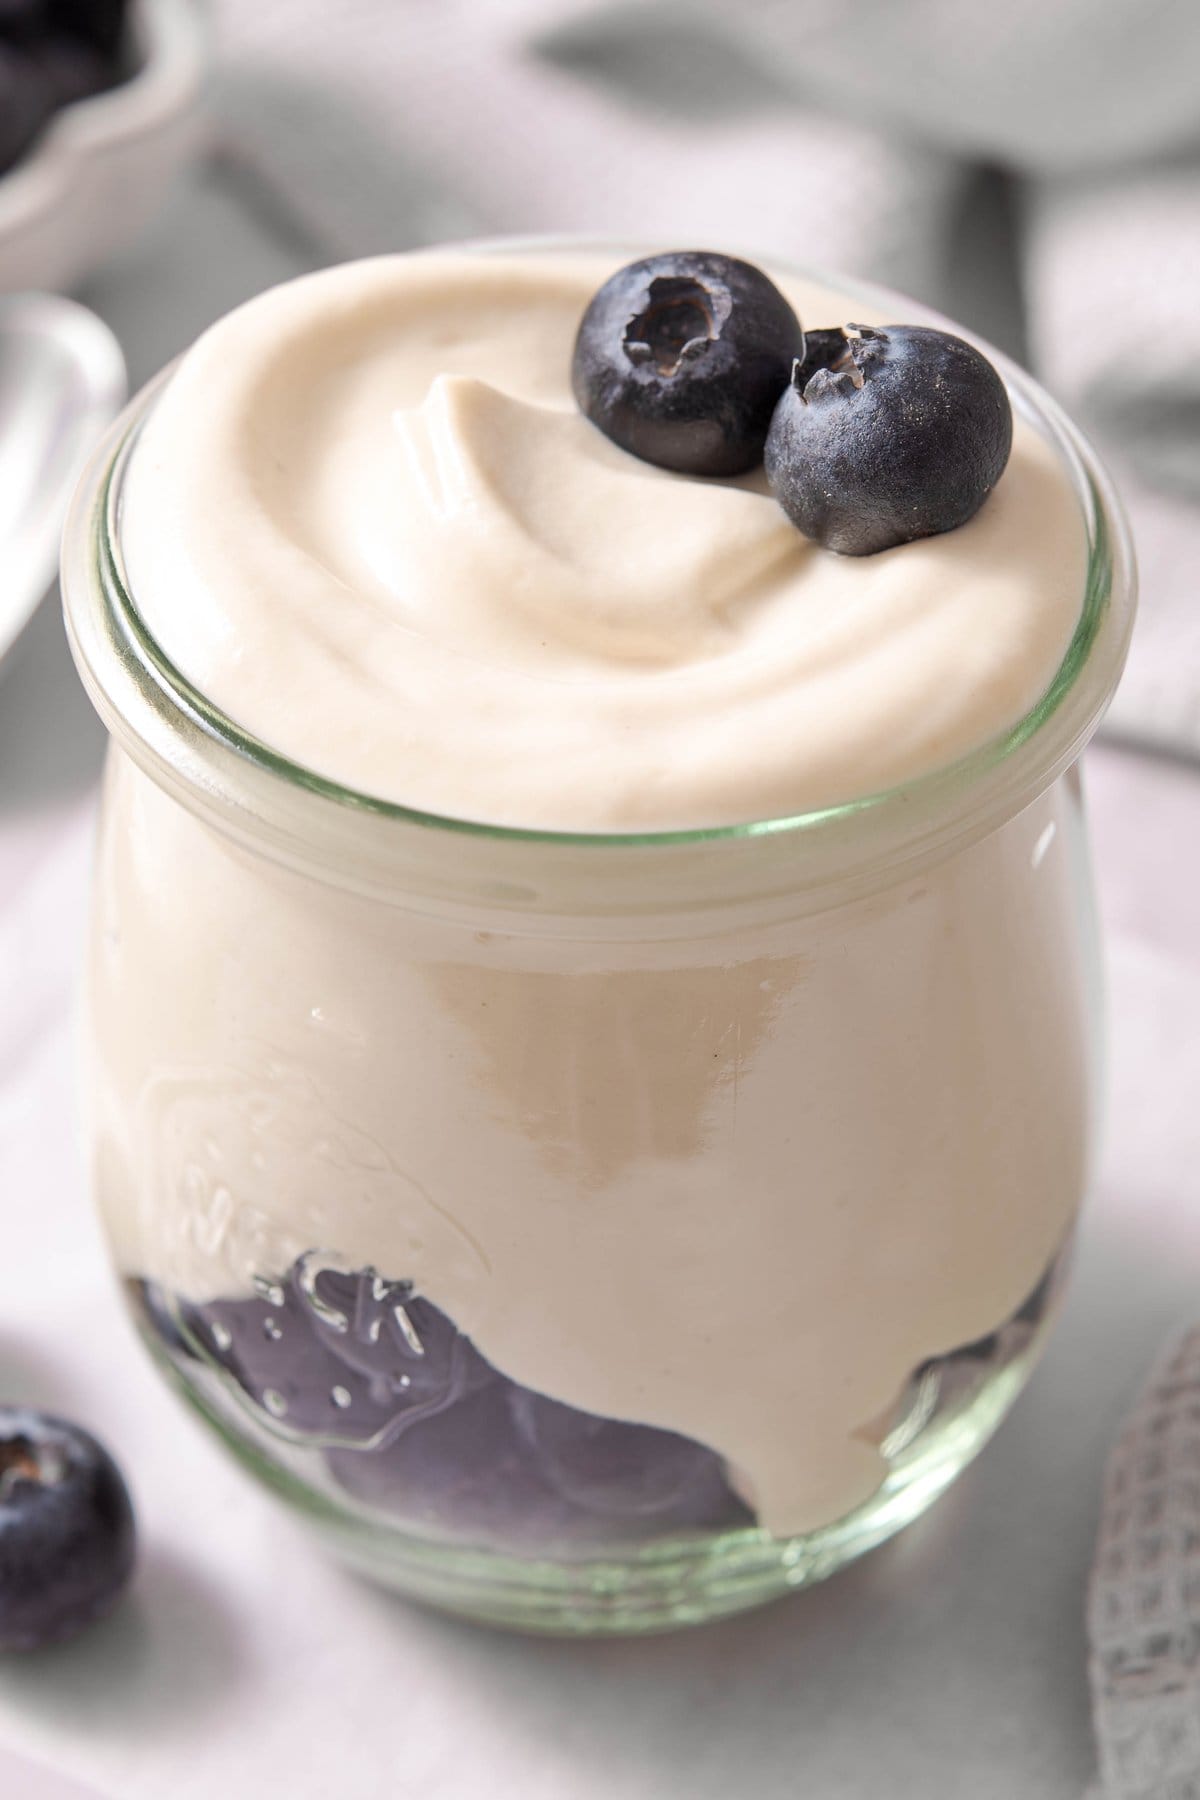
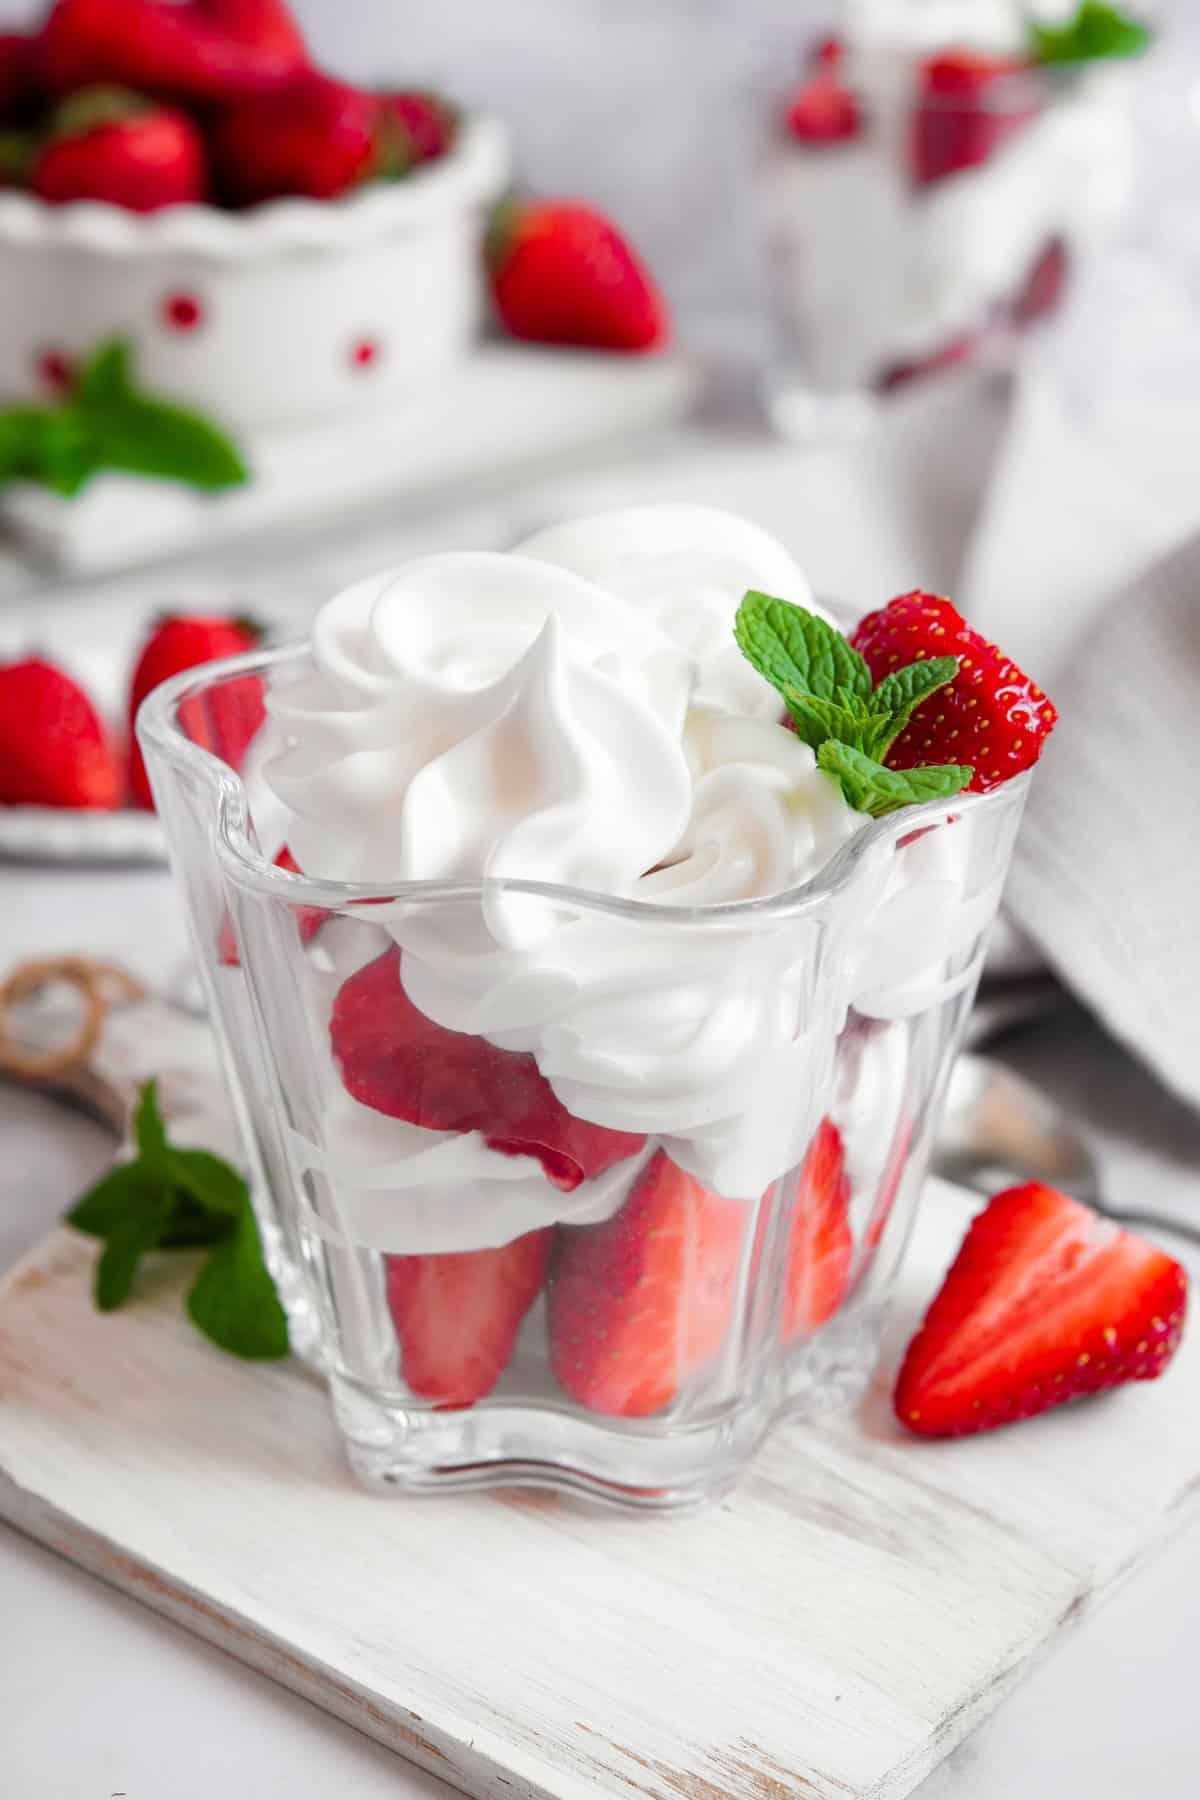
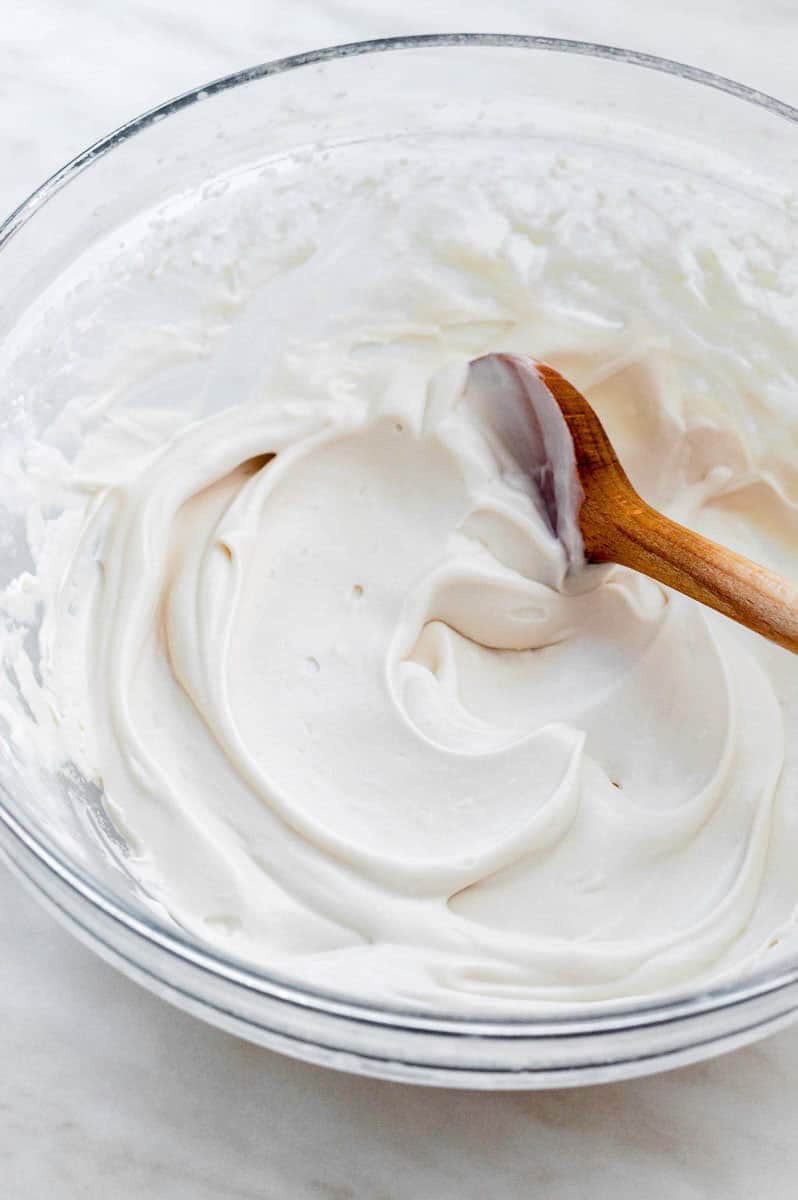
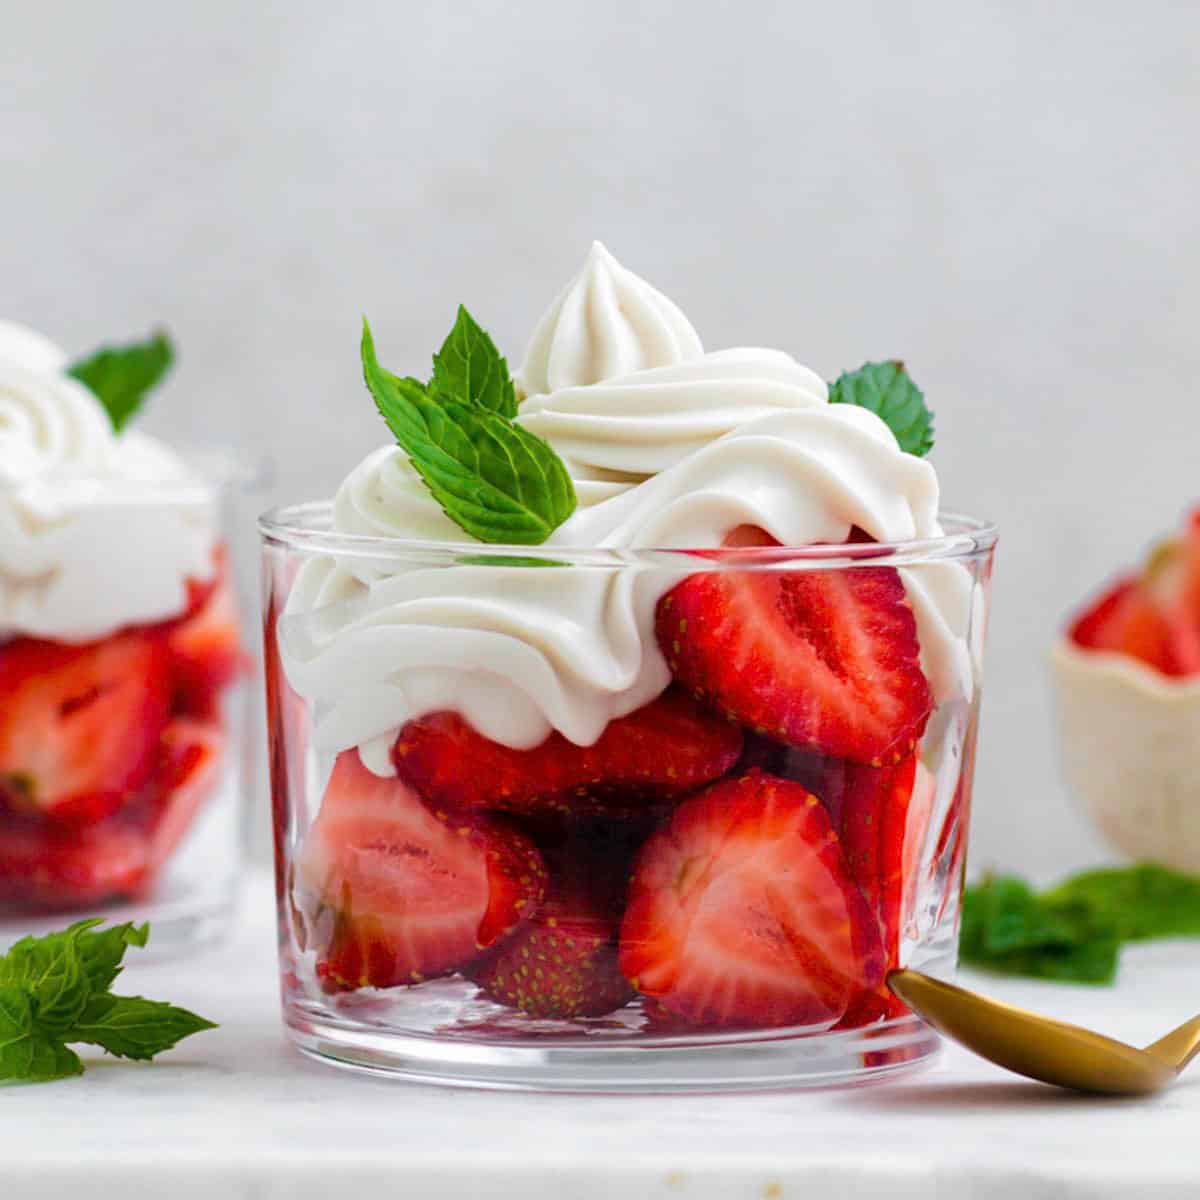
This is the one most people know, and it's my go-to for everyday use. The texture is the closest to traditional whipped cream, thick, creamy, and it holds its shape well.
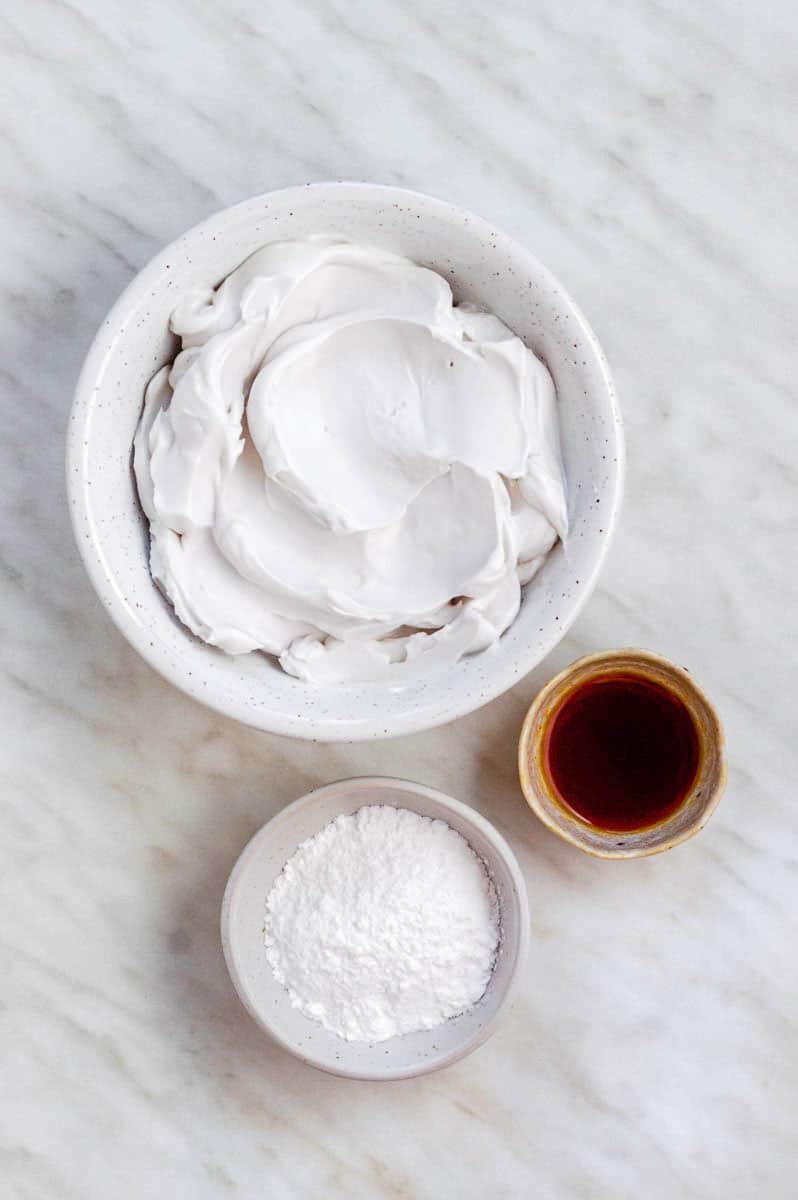
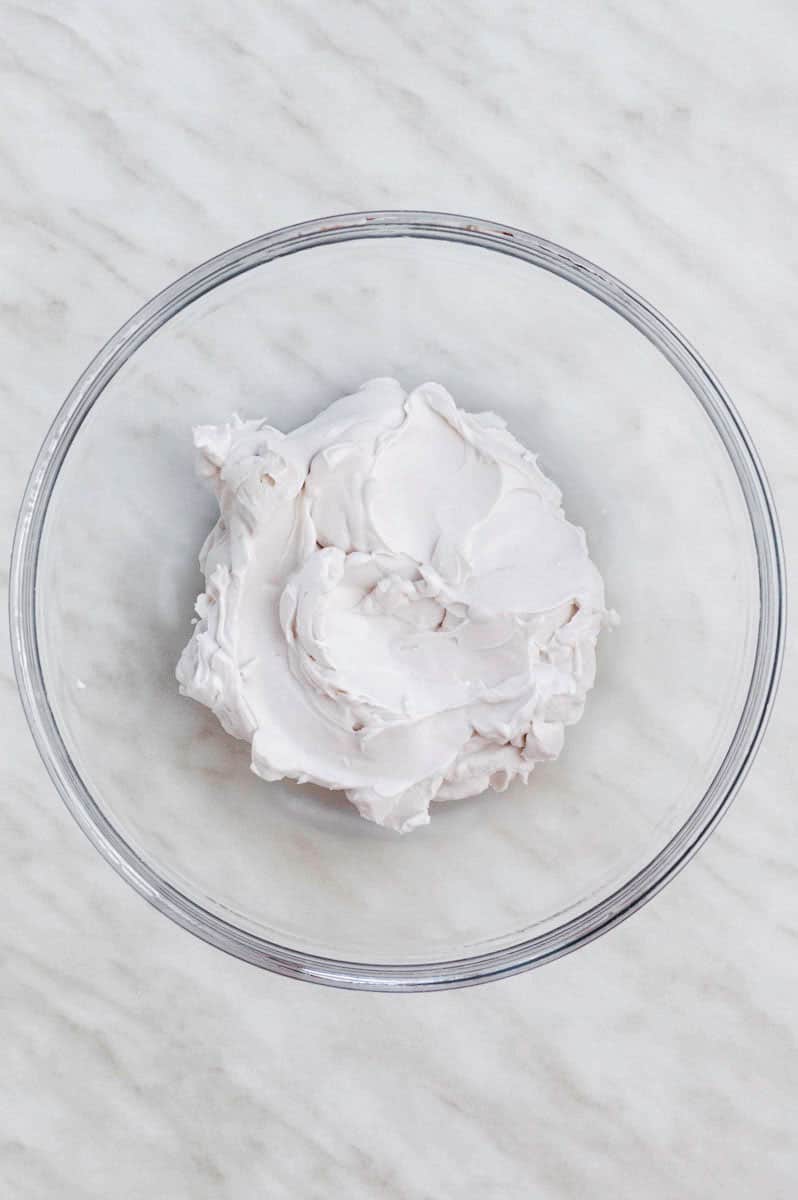
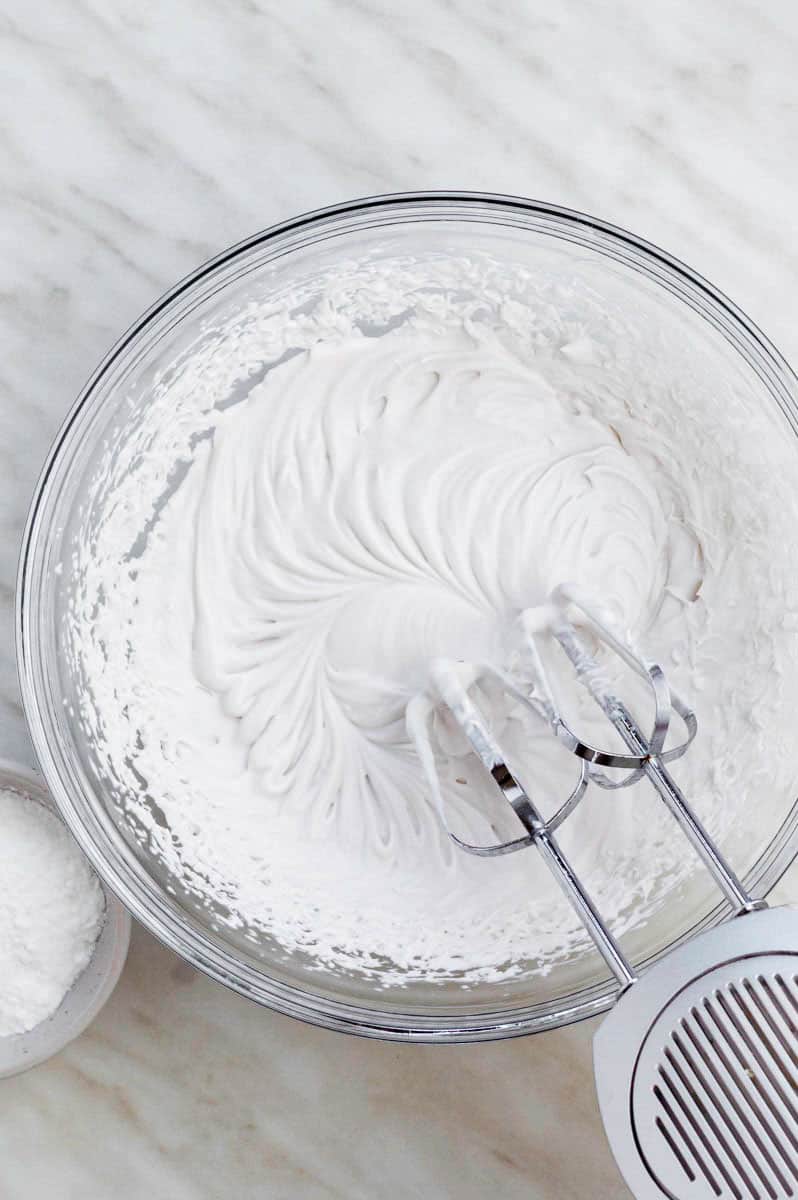
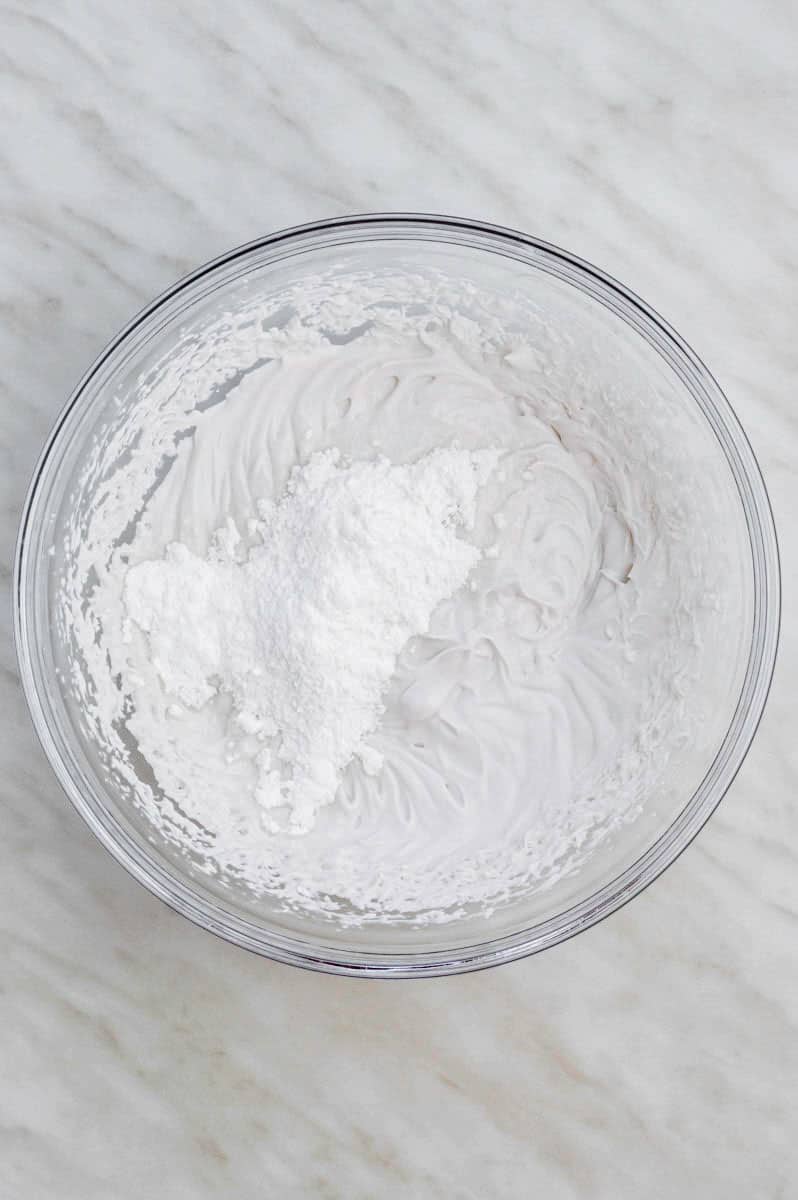
To make dairy-free whipped cream with coconut milk, chill a can of full-fat coconut milk overnight (Thai Kitchen and Aroy-D work best), scoop the solid cream off the top, and beat it with a chilled hand mixer for 2 minutes until soft peaks form. Mix in powdered sugar and vanilla and mix. Takes about 5 minutes.
Don't overmix or the cream will liquefy. If that happens, just refrigerate for 30 minutes and give it another quick whip. Full measurements and step-by-step instructions are in the recipe card below.
How to Make Dairy Free Whipped Cream using Cashew Cream (No Coconut Flavor)
Full measurements and all versions (classic and stabilized) are in the recipe card below.
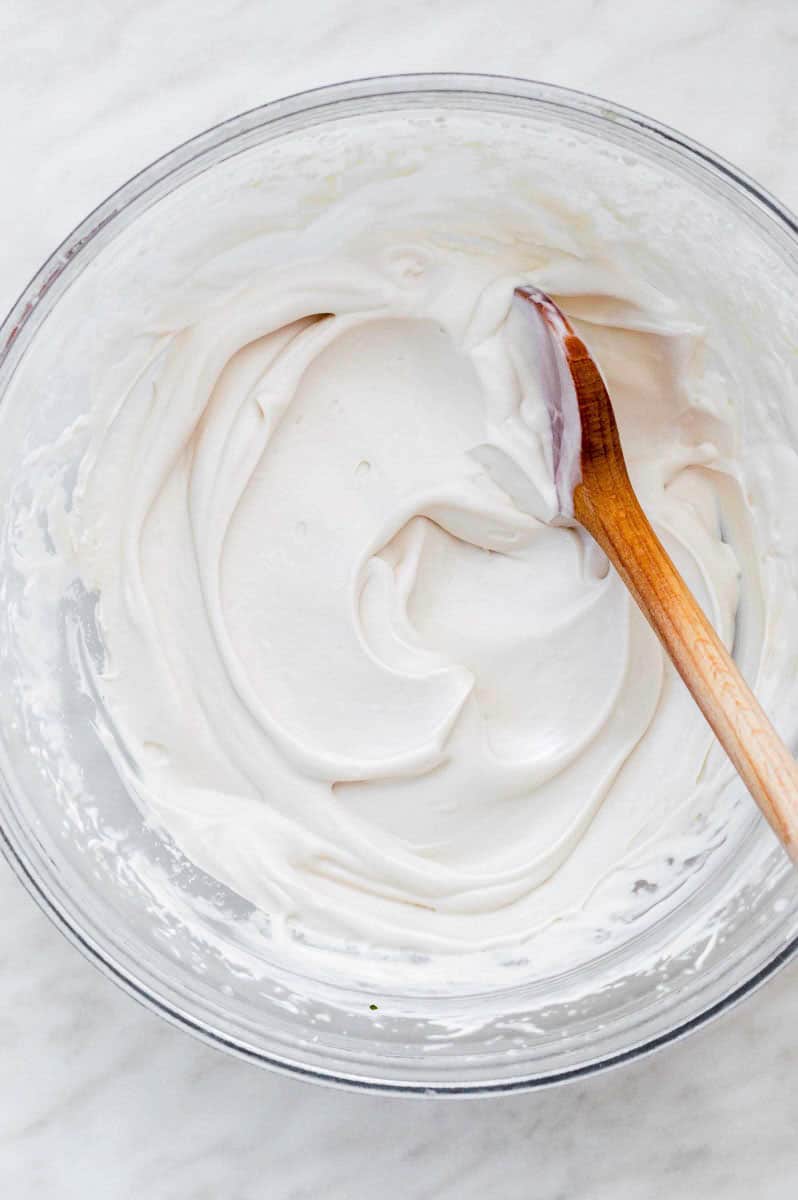
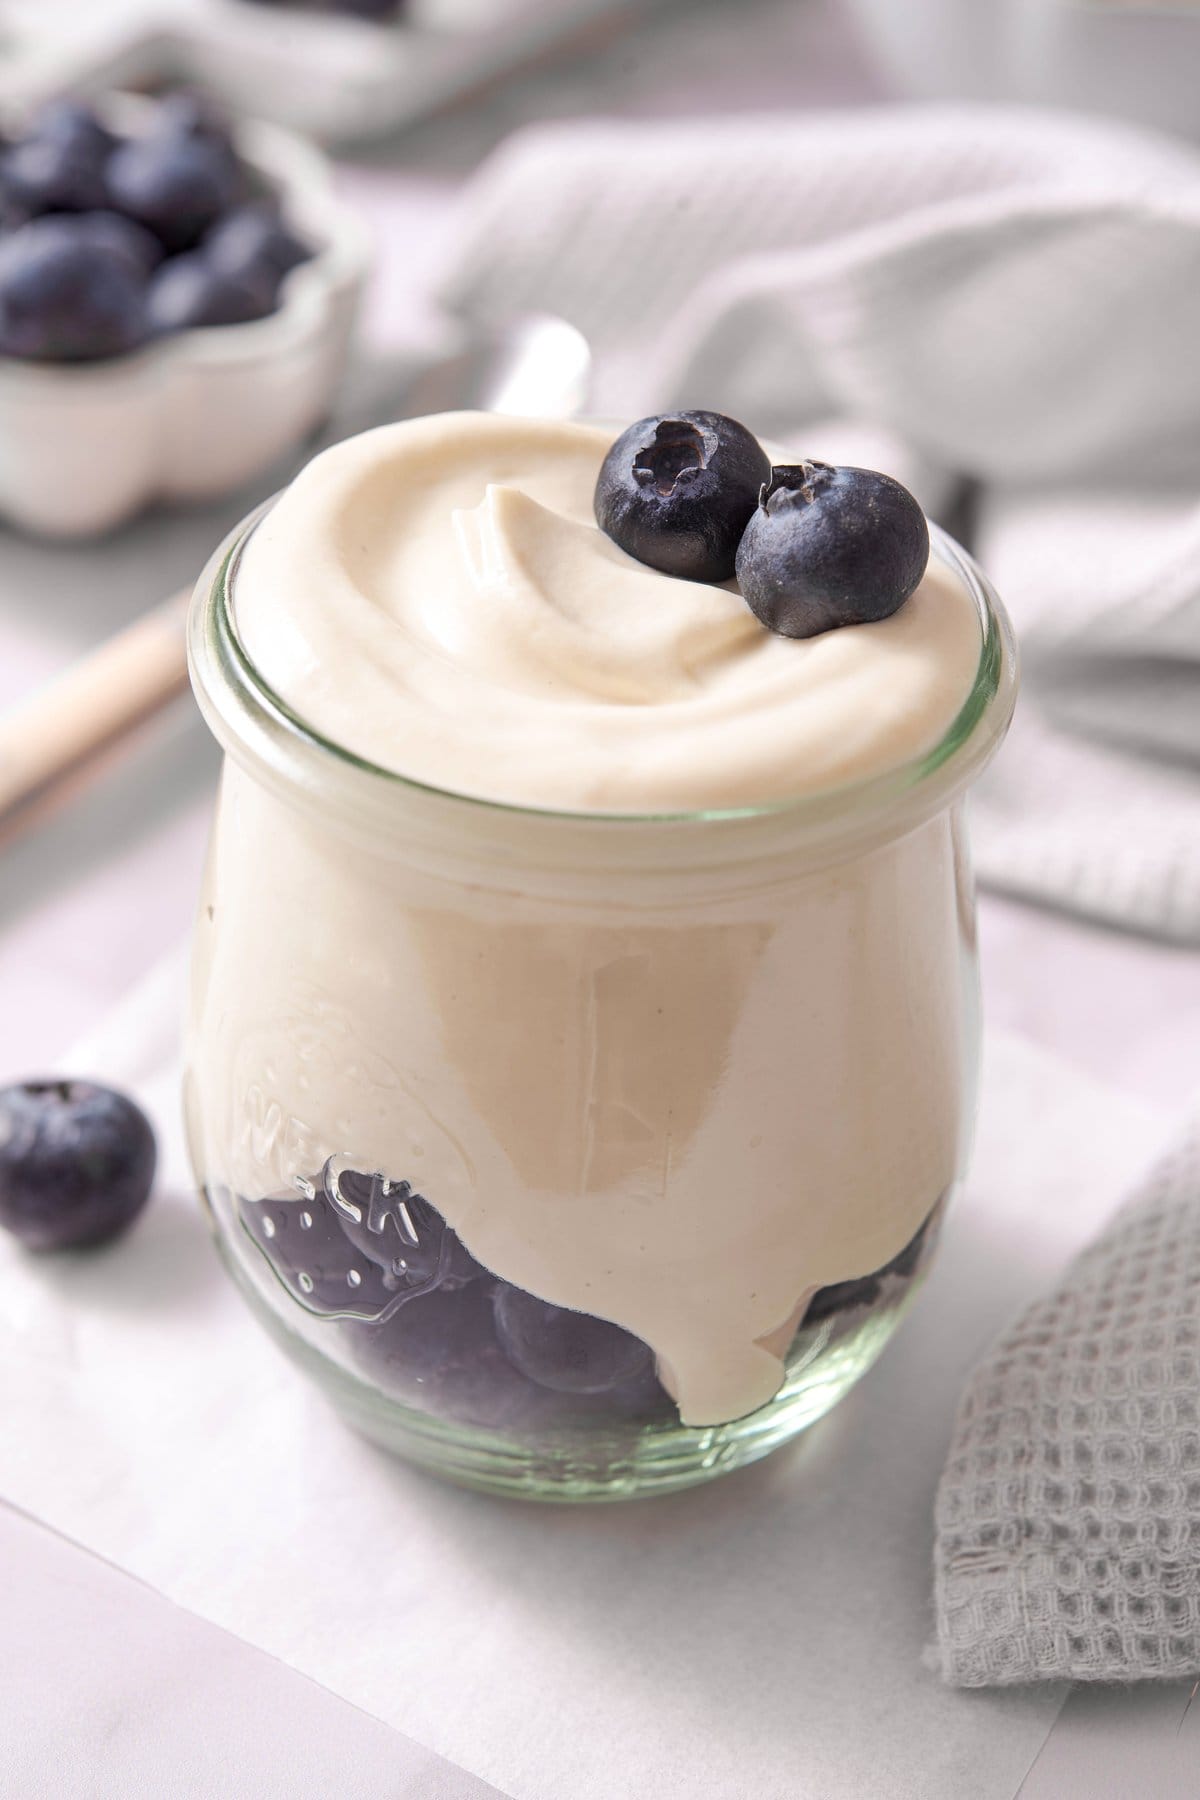
This is my recommendation if you don't like coconut flavor. The taste is completely neutral, creamy and mild, almost like traditional heavy cream. It's also denser and more stable than coconut, which makes it better for frosting dairy-free cupcakes and piping onto cakes.
To make dairy-free whipped cream with cashews, you need to soak raw cashews (4 hours), blend them with cold water and maple syrup until silky smooth, then chill.
The texture won't whip into airy peaks like coconut, think of it more like creme fraiche, thick and spoonable. If you need it to hold up for decorating, I add a little agar-agar to the blend and it sets firm enough to pipe.
How to Make Dairy Free Whipped Cream using Aquafaba (Nut-Free, Soy-Free Version)
Full measurements and all versions are in the recipe card below.
Aquafaba is the liquid from a can of chickpeas, and it whips up into stiff, glossy peaks just like egg whites. This is the lightest, airiest option of the three and it's free from all major allergens. If you make my chickpea flour brownies, save the liquid from the can for this. The end result is perfect for pancake or waffle dips like my chickpea flour pancakes.
To make dairy-free whipped cream with with aquafaba, whip cold aquafaba with a little cream of tartar, add powdered sugar gradually, and keep whipping until you get stiff peaks. This takes about 8-10 minutes total.
The result is beautiful spooned onto chocolate nice cream or folded into mousse. Just know that it deflates faster than the other two methods, so use it right away. You can also mix in cocoa powder, lemon zest, or berry puree for flavored versions.
How to Stabilize Dairy-Free Whipped Cream
If you want a dairy-free whipped cream that holds its shape for hours, you need to stabilize it. Here are three methods I've tested, ranked by ease of use:
1. Tapioca Starch (Easiest)
Add 1-2 tablespoons of tapioca starch to your coconut cream before whipping. It thickens the mixture without affecting the taste. Add it gradually.
2. Cream of Tartar
Add ¼ teaspoon of cream of tartar to the coconut cream before whipping. This helps maintain the structure and prevents deflating. This is what I use when I need it to hold for a few hours on a dessert table.
3. Powdered Agar (Most Stable)
Dissolve ½ teaspoon of agar powder in 2 tablespoons of warm water. Let it cool slightly, then drizzle it into the cream while whipping. This creates the firmest hold, good enough for piping onto cakes and cupcakes. The texture is very close to store-bought Cool Whip.
Best Coconut Milk Brands for Whipped Cream
Not all coconut milk works for whipping. I've tested several brands, and the difference is significant.
What to look for: full-fat, canned (never the carton), coconut cream or coconut extract and water only, no guar gum if possible, at least 70% fat content.
- Best results: Thai Kitchen and Aroy-D consistently give the thickest cream layer, about ¾ of the can is solid after chilling. These are my go-to picks.
- Decent results: 365 (Whole Foods brand) works most of the time, but occasionally the separation isn't as clean.
- Inconsistent results: Trader Joe's coconut cream varies batch to batch. Buy two cans in case one doesn't cooperate.
- Skip: Any "light" or "reduced fat" coconut milk. These don't have enough fat to whip.
Top Tips
- Refrigerate the can overnight. This is a key step of this dairy-free whipped cream recipe. Do not skip it. You will need the fat to harden in order to scoop the solid part.
- Chill your utensils. This further helps with keeping the cream cool for as long as possible. Do not skip it!
- Don't overmix. The more you mix the cream the softer it gets. Stop mixing the moment everything comes together.
- Chill the whipped cream before using. If you have overmixed your whipped cream, or it has softened too much - refrigerate for 30 minutes before serving.
Storage
Coconut method: Transfer to a sealed container and refrigerate for up to 1 week. It may firm up in the fridge. Let it sit at room temperature for 5 minutes and give it a quick stir before serving.
Cashew method: Refrigerate in a sealed container for up to 5 days. Stir before using, as it thickens considerably.
Aquafaba method: Best used immediately. Can be refrigerated for up to 24 hours, though it may deflate slightly. Re-whip briefly before serving. It doesn't freeze well.
Freezing (coconut or cashew only): Transfer to a freezer-safe container or pipe dollops onto parchment and freeze flat. Keeps for up to 1 month. Thaw overnight in the fridge and re-whip briefly before serving.
Frequently Asked Questions
A liquid sweetener such as maple syrup can it weigh down. If you want to substitute powdered sugar, you can use stevia.
If your whipped cream is too thin and runny, try refrigerating it first for at least 1 hour. if that doesn't help, you can add 1-2 tablespoons of tapioca starch. Make sure to add it a little bit at a time, while mixing, until you reach the desired result.
Yes! Transfer it to a freezer-safe bag, or a container and keep it in the freezer for up to 1 month. Let it thaw overnight in the fridge before using. You may need to whip it up with a mixer until it's light and fluffy again.
Serving Suggestions
These variations of dairy-free whipped cream is the perfect substitution for anything that you would need a dairy-based whipped cream.
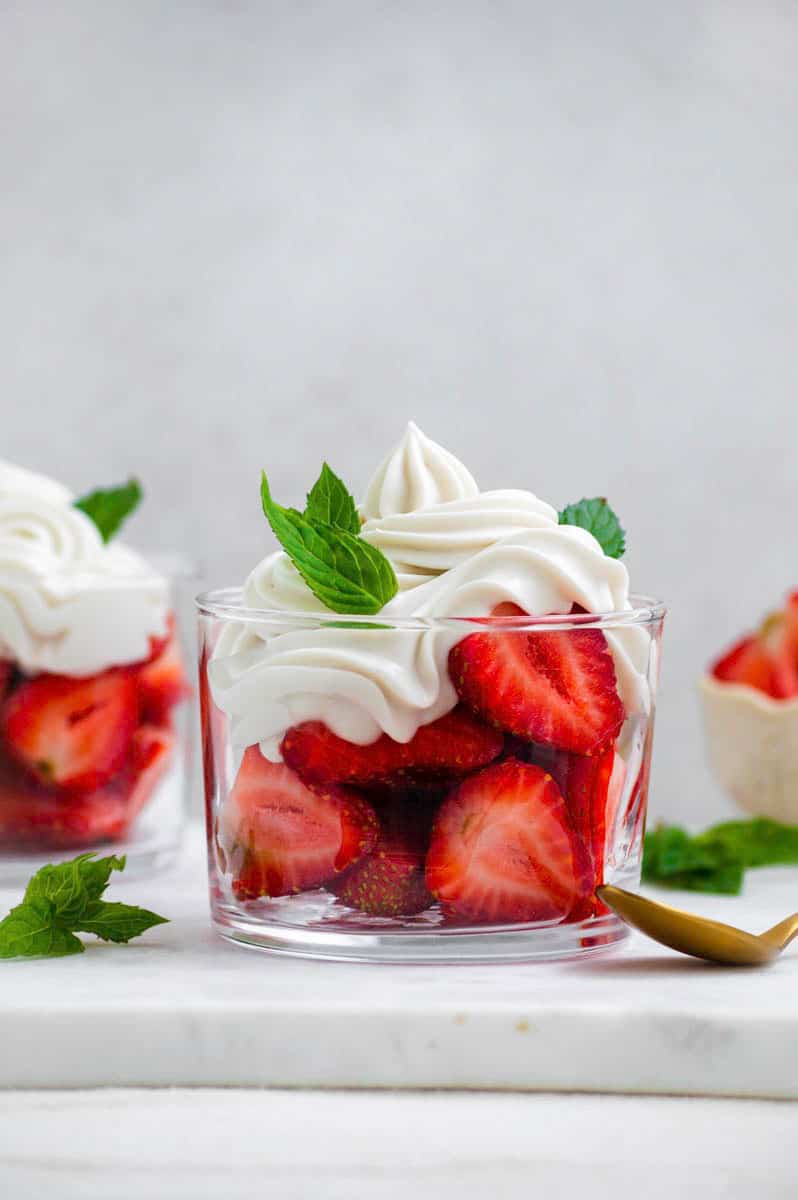
You can use it to top desserts such as hot cocoa, vanilla pudding, and even vegan ice cream. It's also great for vegan pancakes and muffins.
If you want to use it for decorating cakes and cupcakes, you'll have to scale up the recipe accordingly. Also, note that, unlike regular whipped cream, this one doesn't keep well at room temperature. I suggest frosting your cake the day before and keeping it in the fridge until the very last minute.
Top this Vegan Lemon Cake with some whipped cream!
More Dairy-free Dessert Recipes
Vegan Chocolate Cupcakes with Chocolate Frosting
Vegan Chocolate Covered Strawberries
Chocolate Chip Cookie Dough Bites
If you're looking for even more ideas, check out my 30 Best No-Bake Dairy-Free Desserts.
Recipe Card
Ingredients
Coconut Cream Method
- 1 can (14oz) full fat coconut milk (chilled overnight in fridge)
- 2-3 tablespoon powdered sugar
- 1 teaspoon vanilla extract
- A pinch of salt
Cashew Cream Method
- 1 cup raw cashews soaked 4 hours or boiled 15 minutes
- ½ cup cold water
- 2-3 tablespoon maple syrup
- 1 teaspoon vanilla extract
- 1 teaspoon lemon juice
- Pinch of salt
Aquafaba Method
- ½ cup aquafaba liquid from one 15 oz can of chickpeas, chilled
- ¼ teaspoon cream of tartar
- ¼ cup powdered sugar
- 1 teaspoon vanilla extract
Instructions
Coconut Cream Method
- Chill a large bowl and your mixer attachments in the freezer for 10-15 minutes before starting the recipe.
- Scoop the thick part of a can of coconut milk (reserve the coconut water to add to smoothies like this pumpkin pie smoothie). Add it to a bowl and using a stand mixer or a hand mixer, beat on high speed for a couple of minutes until soft peaks form.
- Sift the powdered sugar into the whipped coconut cream and add the vanilla extract. Mix until creamy and smooth. Avoid overmixing, because it can cause the coconut cream to liquefy.
- Taste and adjust the sweetness as needed. Add 1 more tablespoon of powdered sugar if you like it sweeter. If the whipped cream is too soft, refrigerate before using.
Cashew Cream Method
- Soak raw cashews in hot water for 4 hours (or boil 15 minutes). Drain and rinse.
- Add cashews and ½ cup cold water to a high-speed blender. Blend on high 2-3 minutes until completely smooth.
- Add maple syrup, vanilla, lemon juice, and salt. Blend again until combined.
- Transfer to a container and refrigerate 30-60 minutes. It thickens as it chills. Stir before serving.
Aquafaba Method
- Chill the aquafaba in the fridge for at least 1 hour.
- Pour aquafaba and cream of tartar into a clean bowl. Beat on medium-high for 3-5 minutes until soft peaks form.
- Add powdered sugar one tablespoon at a time with the mixer running.
- Continue whipping 3-5 more minutes until glossy, stiff peaks form. Add vanilla and mix briefly.
Notes
- Coconut method: Use full-fat coconut milk with at least 70% fat. Thai Kitchen and Aroy-D give the most consistent results. Chill the can overnight and chill your bowl and beaters too.
- Coconut method: Don't overmix. Stop the moment everything comes together. If the cream liquefies, refrigerate 30 minutes and re-whip.
- Stabilizing coconut cream: Add ¼ teaspoon cream of tartar before whipping for a few extra hours of hold.
- Cashew method: For a stabilized version you can pipe, blend in ½ teaspoon agar-agar dissolved in ¼ cup simmered water. Chill 1-2 hours until set.
- Aquafaba method: Use right away for best results. Deflates within 1-2 hours. Add 1-2 tablespoon cornstarch while whipping for extra stability.
- Storage: Coconut keeps 1 week refrigerated. Cashew keeps 5 days. Aquafaba is best used immediately. Coconut and cashew freeze up to 1 month.
- Yields approximately 1½ cups per method.
Nutrition
©Watch Learn Eat. All content and images are copyright protected. Recipes and photos are not to be used or republished without prior permission. If you adapt this recipe, please re-write the recipe in your own words, and link back to this post for the original recipe.

Leave a Reply