Vegan Vanilla Pudding
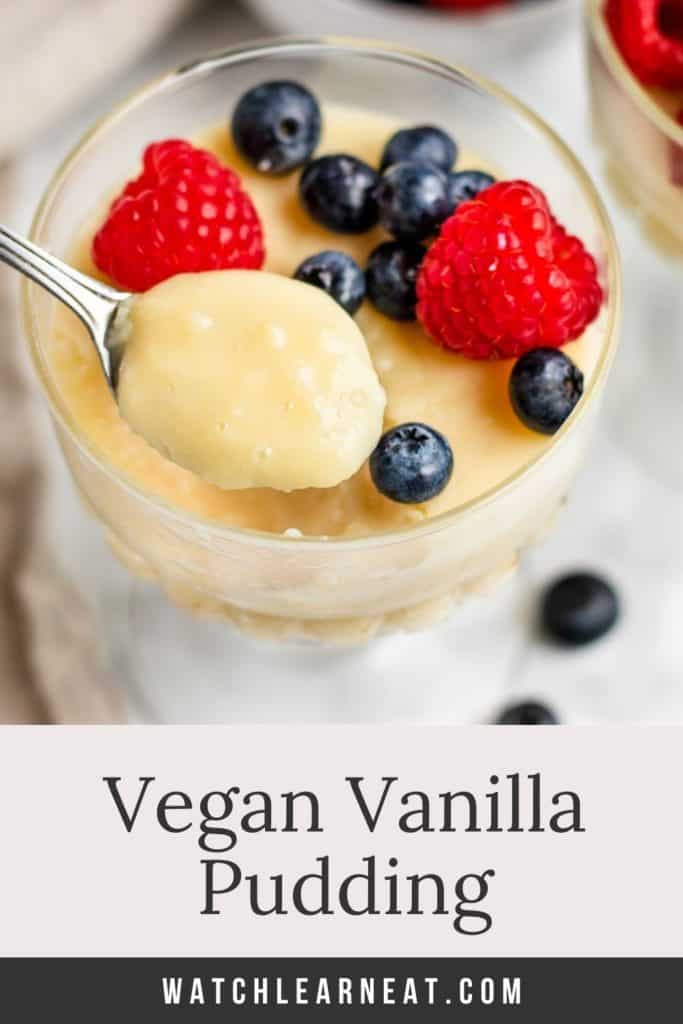
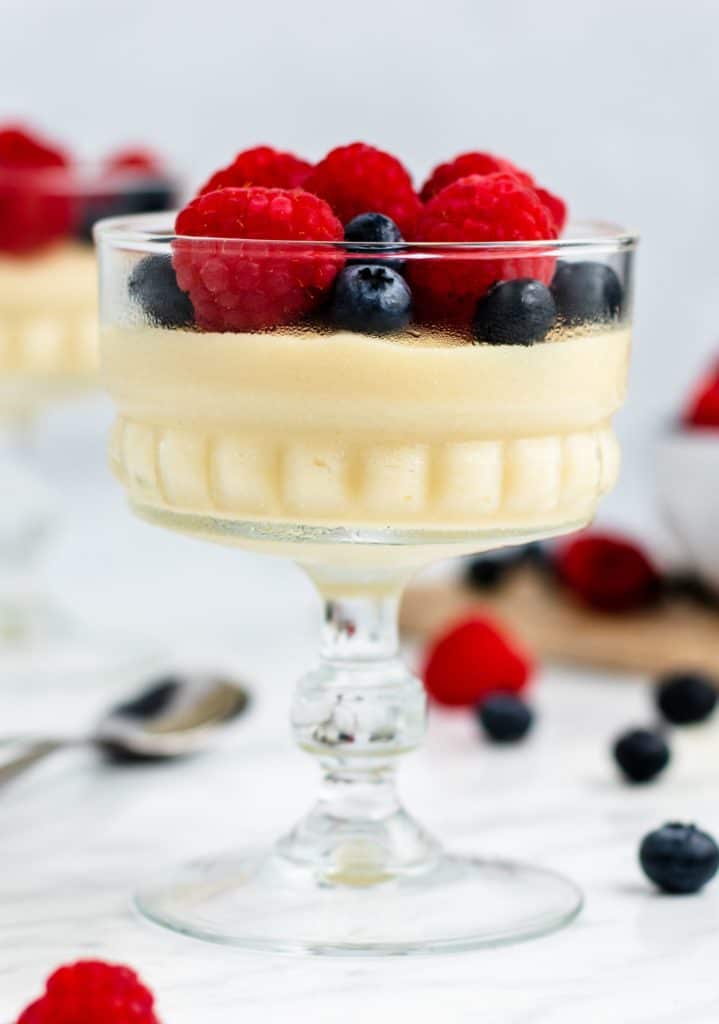
This vegan vanilla pudding is an easy-to-make sweet treat that requires just 4 ingredients! Top with some fresh berries for a light and refreshing dairy-free dessert!
Jump to Recipe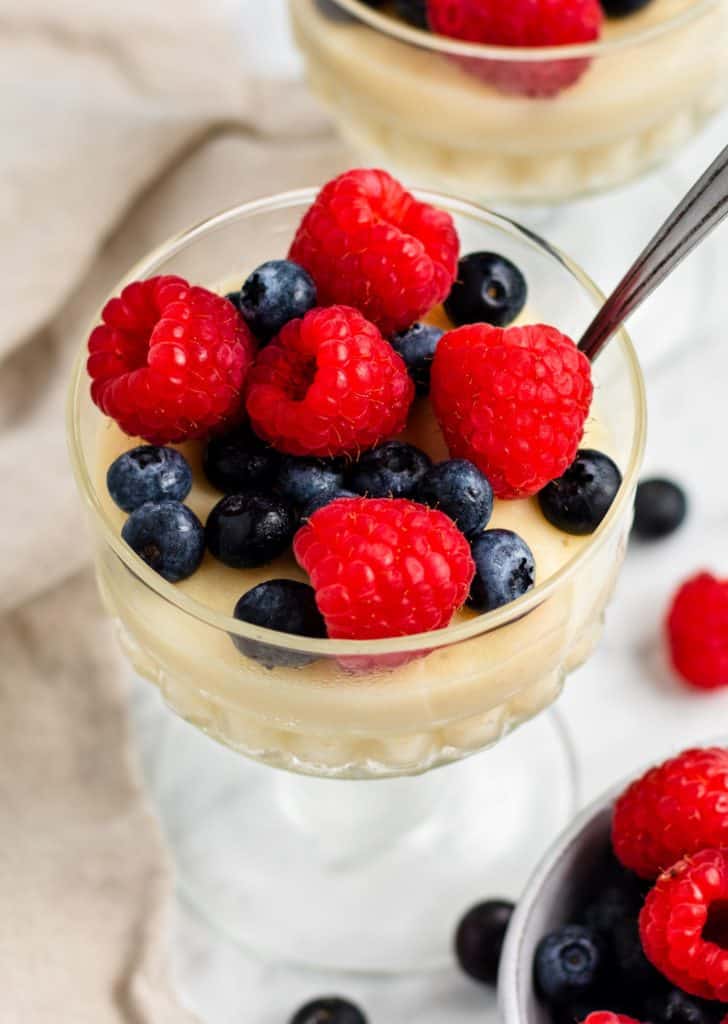
If you've never tried making pudding from scratch, you'll be surprised at how easy it is to do.
Pudding is one of those desserts that seems the perfect ending to just about any meal.
It's nice and light but offers just the right amount of sweetness at the same time.
Homemade pudding is also a favorite among kids and grown-ups alike.
And since it's served in individual containers, everyone can top it the way they like too...which is a win-win if you've got picky eaters. 😉
Jump to:
- Why you'll love this vegan pudding recipe
- Ingredients you'll need
- How to make vegan vanilla pudding from scratch
- Top Tip
- Storing
- Serving Suggestions
- Variations and Substitutions
- Can I make pudding without milk?
- Can you use another type of milk?
- Can I use this dairy-free pudding recipe in other recipes that call for vanilla pudding?
- More dairy-free sweets
- More vegan sweets
- Vegan Vanilla Pudding
Why you'll love this vegan pudding recipe
- You only need 4 simple ingredients
- Uses non-dairy milk, so it's vegan, allergen-friendly, and egg free
- Lighter than storebought instant vanilla pudding mix
- Creamy vanilla pudding with the perfect amount of sweetness to satisfy your sweet tooth
Ingredients you'll need
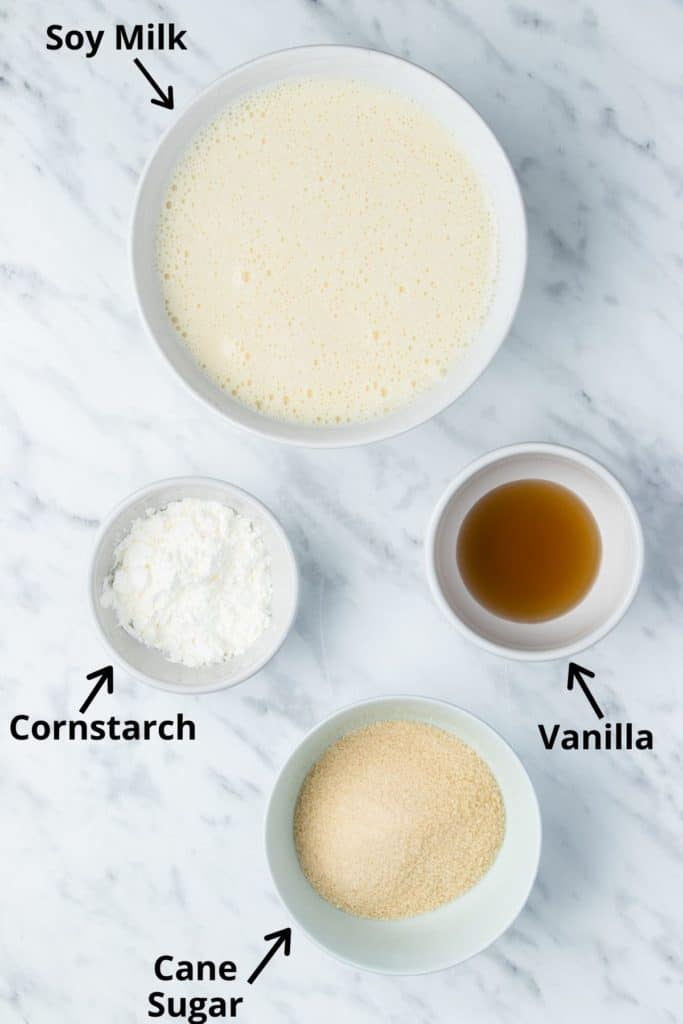
- Soy Milk
- Organic Cane Sugar
- Non-GMO Cornstarch
- Vanilla Extract
See recipe card for quantities.
How to make vegan vanilla pudding from scratch
Add the cornstarch and 2 tablespoons of the soy milk to a medium saucepan.
Whisk thoroughly until no lumps remain.
Gradually add the rest of the soy milk, whisking as you go.
Add the organic sugar and whisk again to combine.
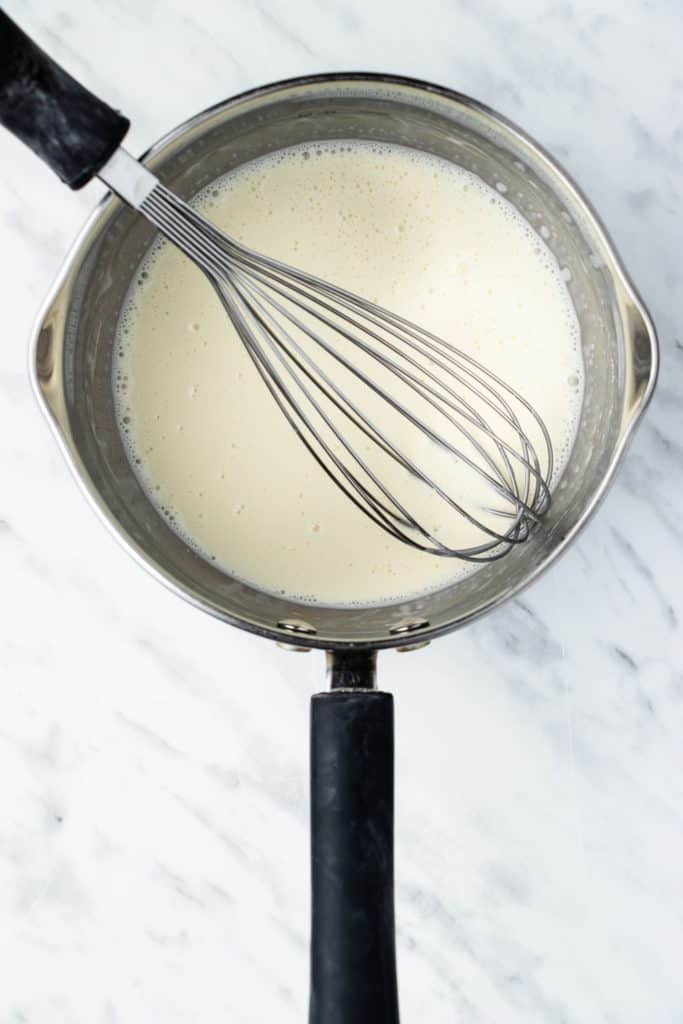
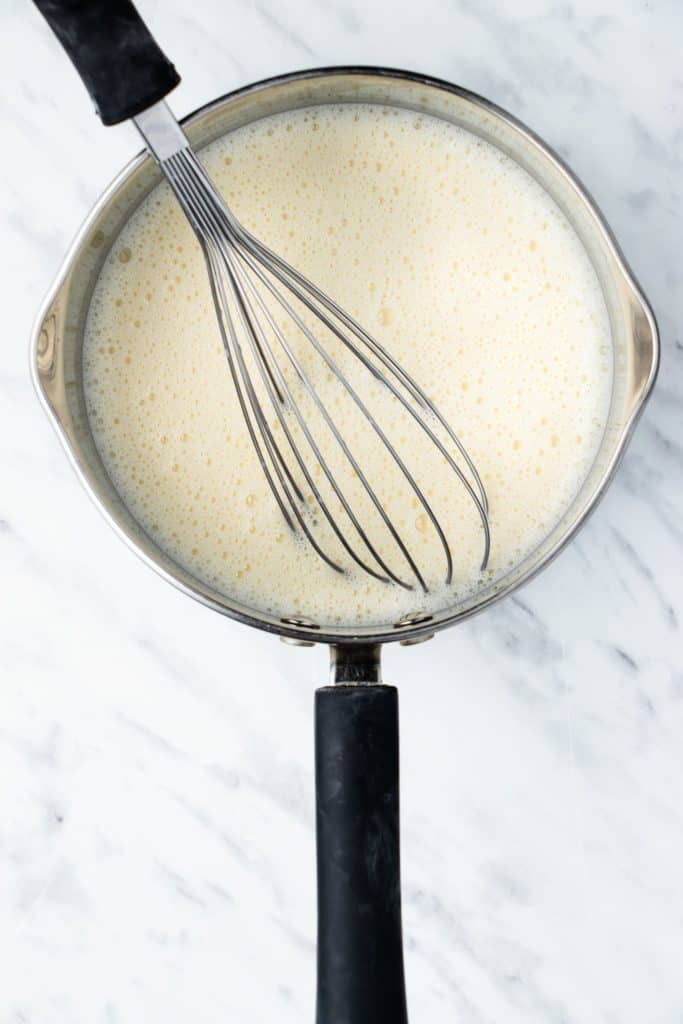
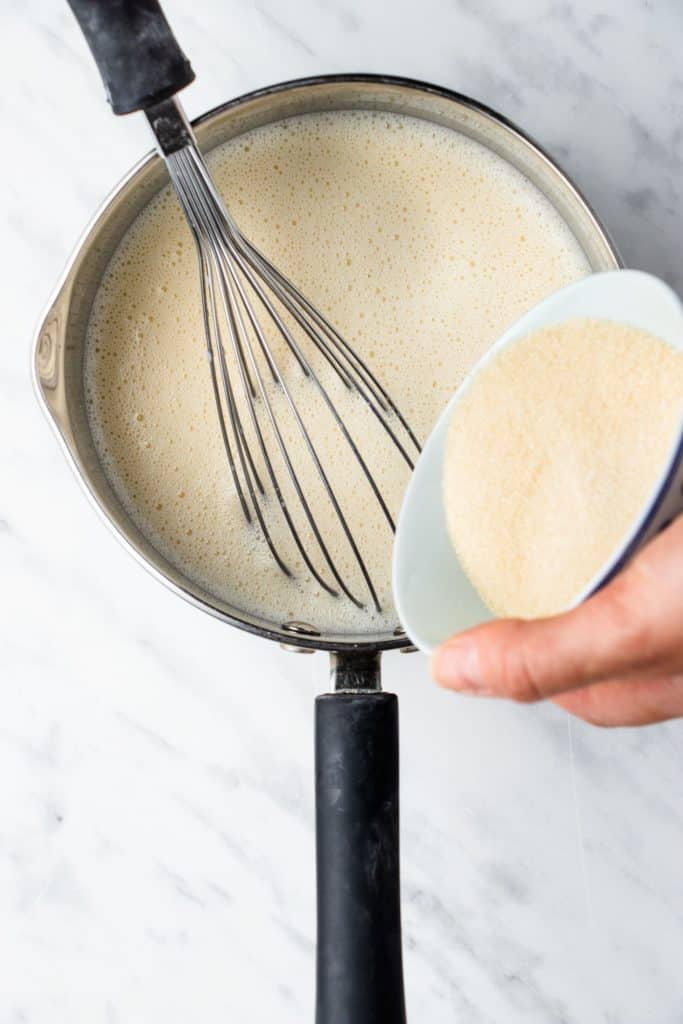
Place the saucepan over medium heat and bring to a boil, whisking constantly.
Once boiling, let it cook for another 2 minutes, continuing to whisk.
At this point, the mixture will have thickened up.
Remove from the heat and mix in the vanilla extract.
Allow to cool for 10 minutes.
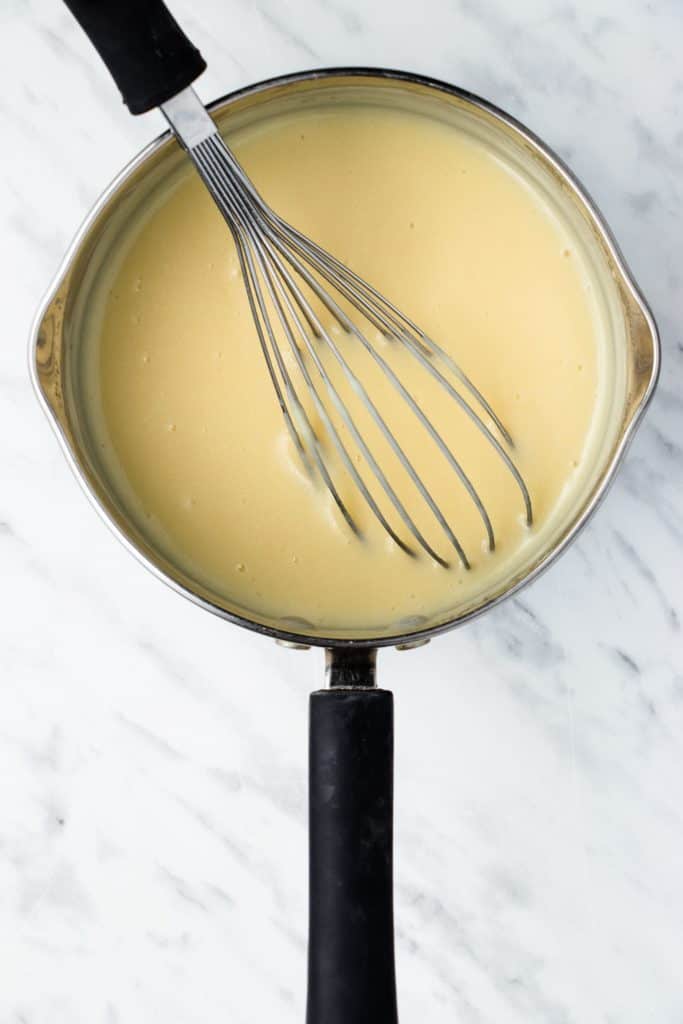
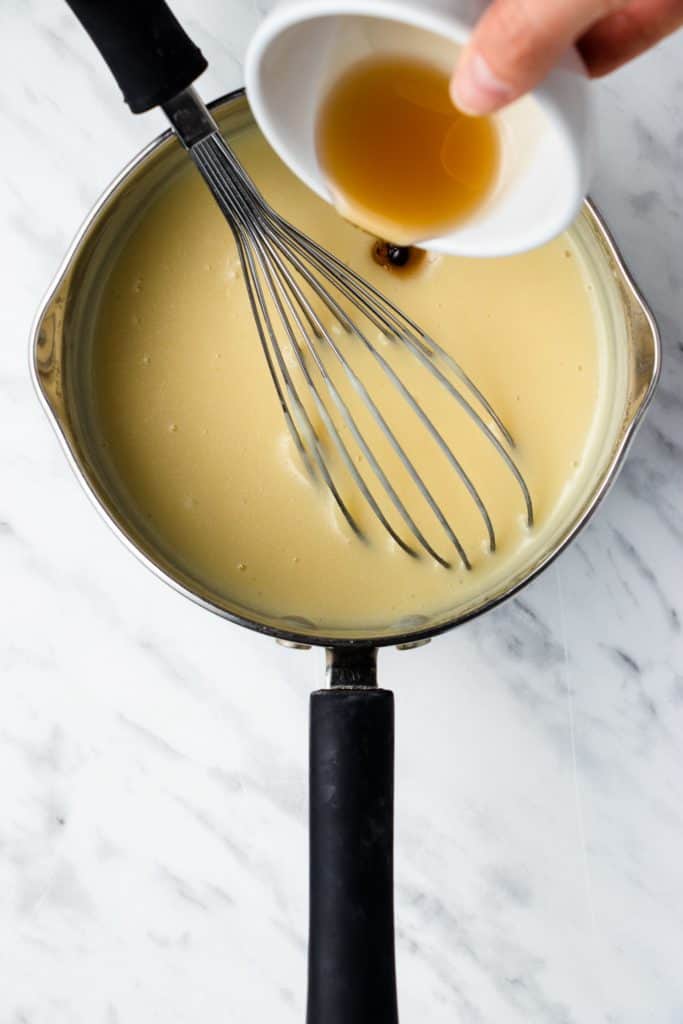
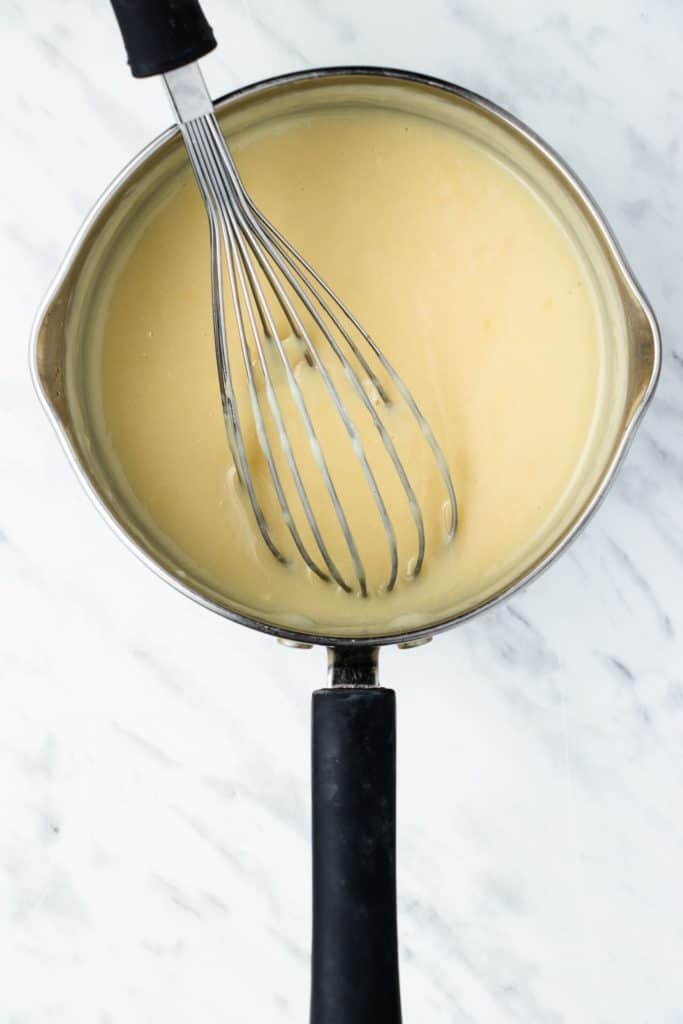
Transfer the thick pudding mixture to individual serving dishes and refrigerate for 2-3 hours.
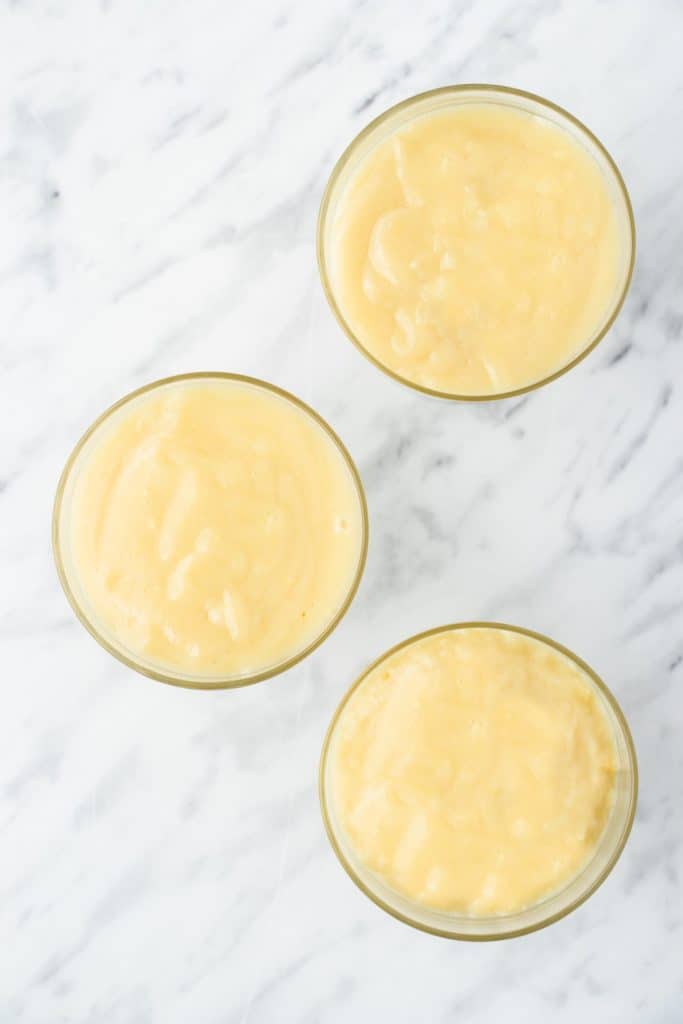
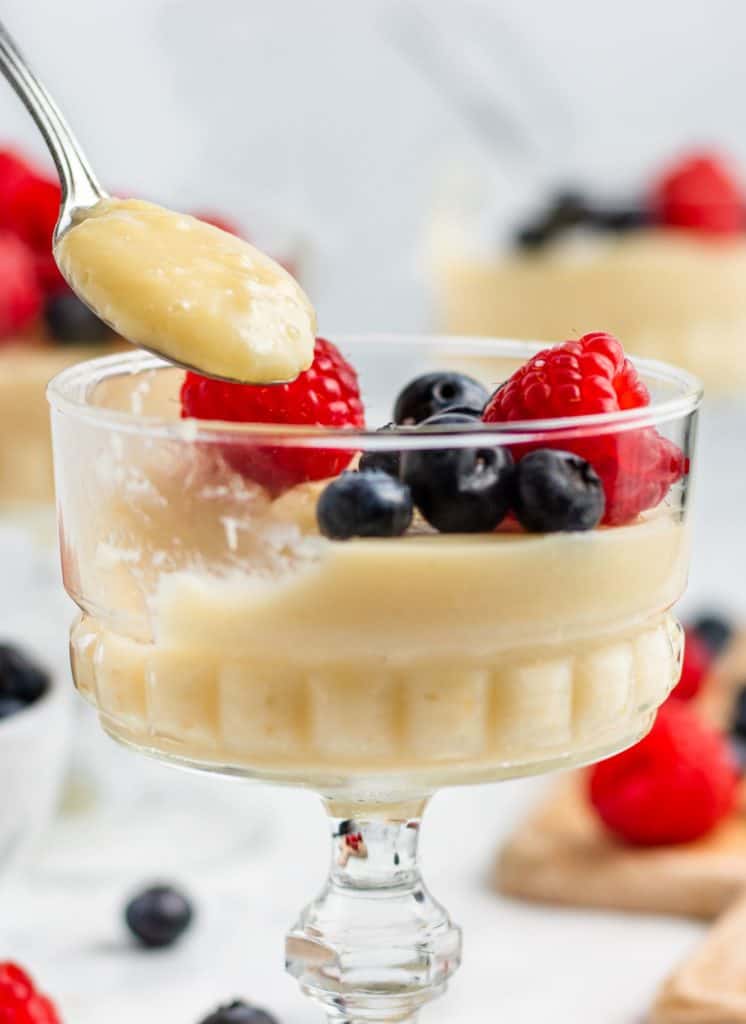
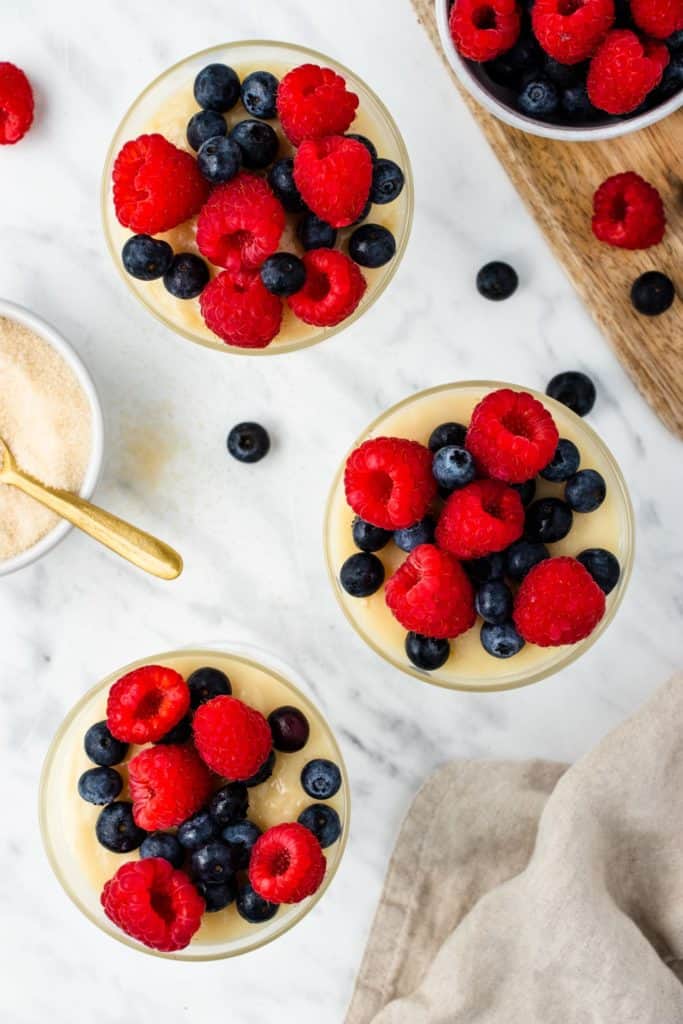
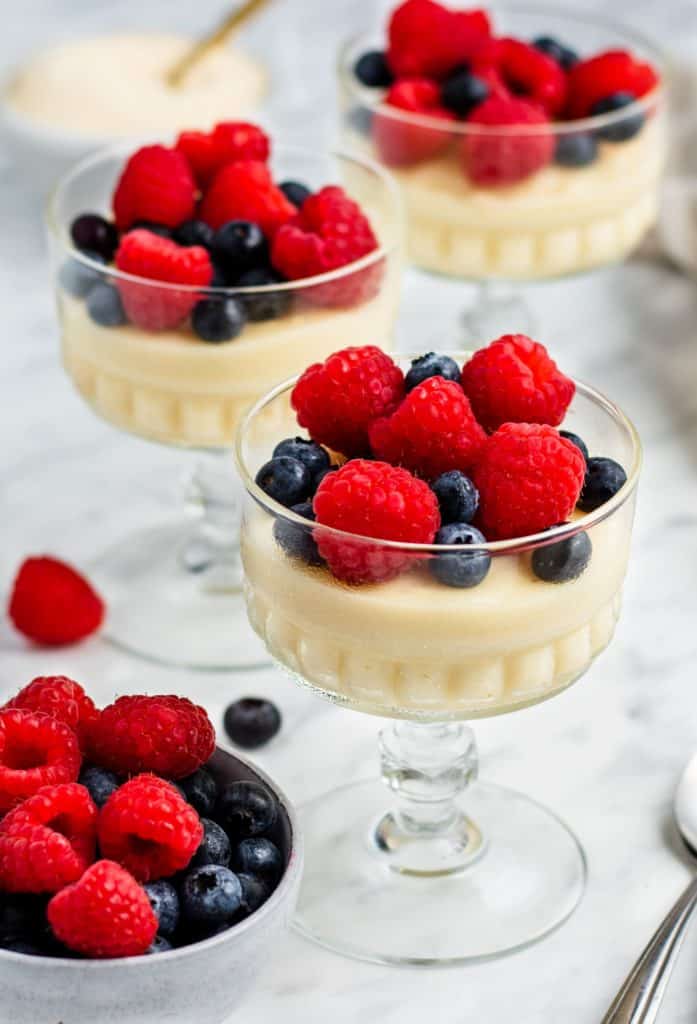
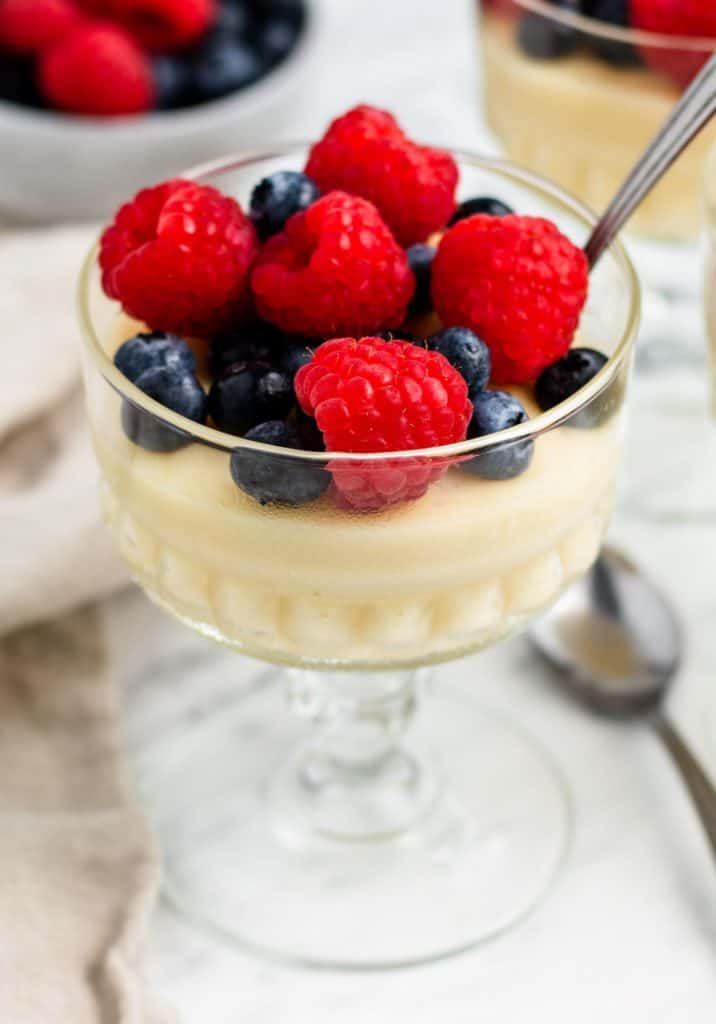
Enjoy this vegan dessert as is or with your favorite toppings such as fresh fruit or non-dairy whipped cream.
Top Tip
Be sure the homemade vanilla pudding has thickened before removing it from the heat. If it has not thickened after 2 minutes of boiling and whisking, continue to cook for a little longer until it thickens up.
Storing
The best way to store the pudding is in the refrigerator, covered with plastic wrap or in an airtight container, for 3-5 days.
The pudding does not freeze well because of the cornstarch. When cornstarch is frozen and then thawed, the pudding will not have the same, correct consistency.
Serving Suggestions
There are tons of ways to serve and garnish pudding depending on whether you want a simple dessert or something a little more decadent.
Here are some ideas to garnish your vegan pudding with:
- a drizzle of almond butter, sunflower butter, peanut butter, or other vegan butter
- chopped up bananas, blueberries, raspberries, blackberries, and fresh strawberries
- a handful of granola or chopped nuts
- garnish with dairy free chocolate sauce, a homemade thick vanilla sauce, dairy free ganache, etc.
- vegan whipped topping and a cherry
- add a dollop of fresh jams or preserves
Variations and Substitutions
- Swap out the vanilla extract for a homemade vanilla paste
- Sub out the cane sugar with other natural sweeteners like maple syrup, coconut sugar, agave syrup, stevia, etc. for a slightly different yet still delicious sweet taste.
- This is the perfect base to make other pudding flavors from. Try adding lemon extract in place of vanilla extract and a bit of lemon zest for some tasty lemon pudding!
- Add a little texture to your pudding by using chia seeds
- You can switch out the cornstarch for arrowroot powder. I haven't tested this recipe this way yet, but I have seen others use it successfully
- You may also add spices, like cinnamon, pumpkin pie spice, etc
Can I make pudding without milk?
You bet! That's one of the fantastic things about this wonderful recipe is that it's dairy-free and made with soy milk. The important thing to remember when choosing your milk is to choose the unsweetened variety so you don't have to adjust the sweetener that you're using in the recipe.
Can you use another type of milk?
You certainly can use a different milk alternative for this easy dessert. I have only tested this recipe using soy milk, as I know it's nice and creamy and generally soy milk heats well, but I imagine using coconut milk, unsweetened almond milk, or even cow's milk if not following a vegan diet or need a vegan version of this recipe, will work too.
Can I use this dairy-free pudding recipe in other recipes that call for vanilla pudding?
Yes, you can use this dairy free vanilla pudding in other recipes that call for vanilla pudding. This vegan vanilla pudding recipe is fantastic by itself or topped with your favorite fruit, but it takes your other recipes that use vanilla pudding up to a whole new level too!
More dairy-free sweets
More vegan sweets
Vegan Vanilla Pudding
Ingredients
- 3 tablespoons non-GMO cornstarch
- 2 cups unsweetened, plain soy milk
- ⅓ cup organic cane sugar
- 2 teaspoons pure vanilla extract
Instructions
- Add the cornstarch and 2 tablespoons of the soy milk to a saucepan. Whisk thoroughly until no lumps remain.
- Gradually add the rest of the soy milk, whisking as you go.
- Add the sugar and whisk again to combine.
- Place the saucepan over a medium heat and bring to a boil, whisking constantly.
- Once boiling, let it cook for another 2 minutes, continuing to whisk. The mixture should have thickened up. If it is not thick enough, you can continue cooking for a little longer.
- Remove the pan from the heat and add the vanilla extract. Mix in and allow to cool for 10 minutes.
- Transfer the mixture to individual serving dishes, cover and refrigerate for 2-3 hours before serving.
- Add toppings of your choice such as fresh berries, fruit preserves or non-dairy whipped cream.
(Please refer to the post above for instructional photographs and other helpful information for this recipe)
Notes
Nutrition
©Watch Learn Eat. All content and images are copyright protected. Recipes and photos are not to be used or republished without prior permission. If you adapt this recipe, please re-write the recipe in your own words, and link back to this post for the original recipe.